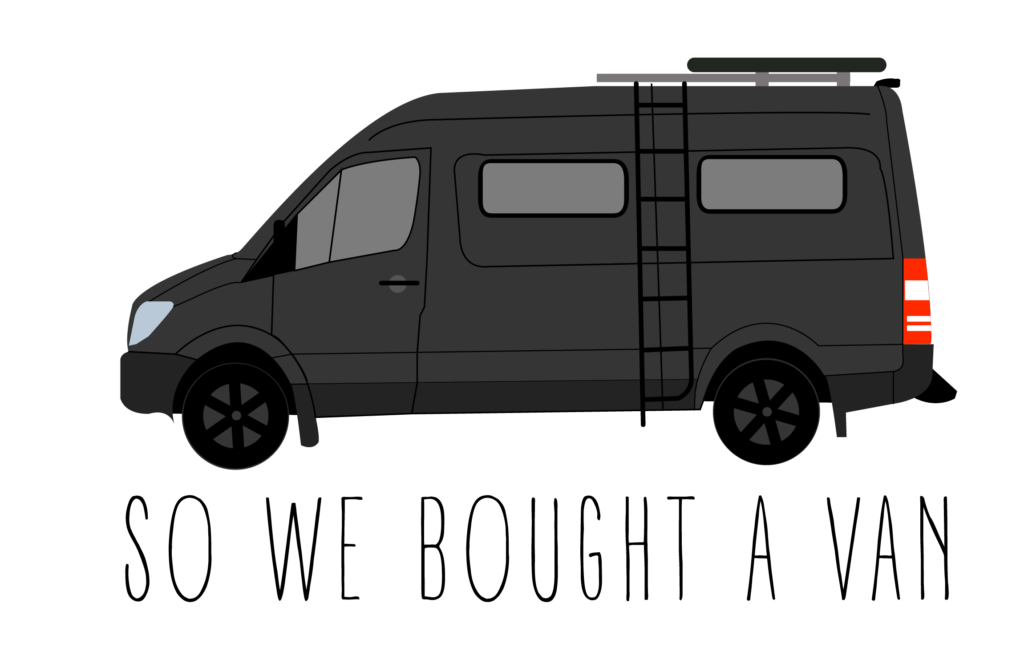
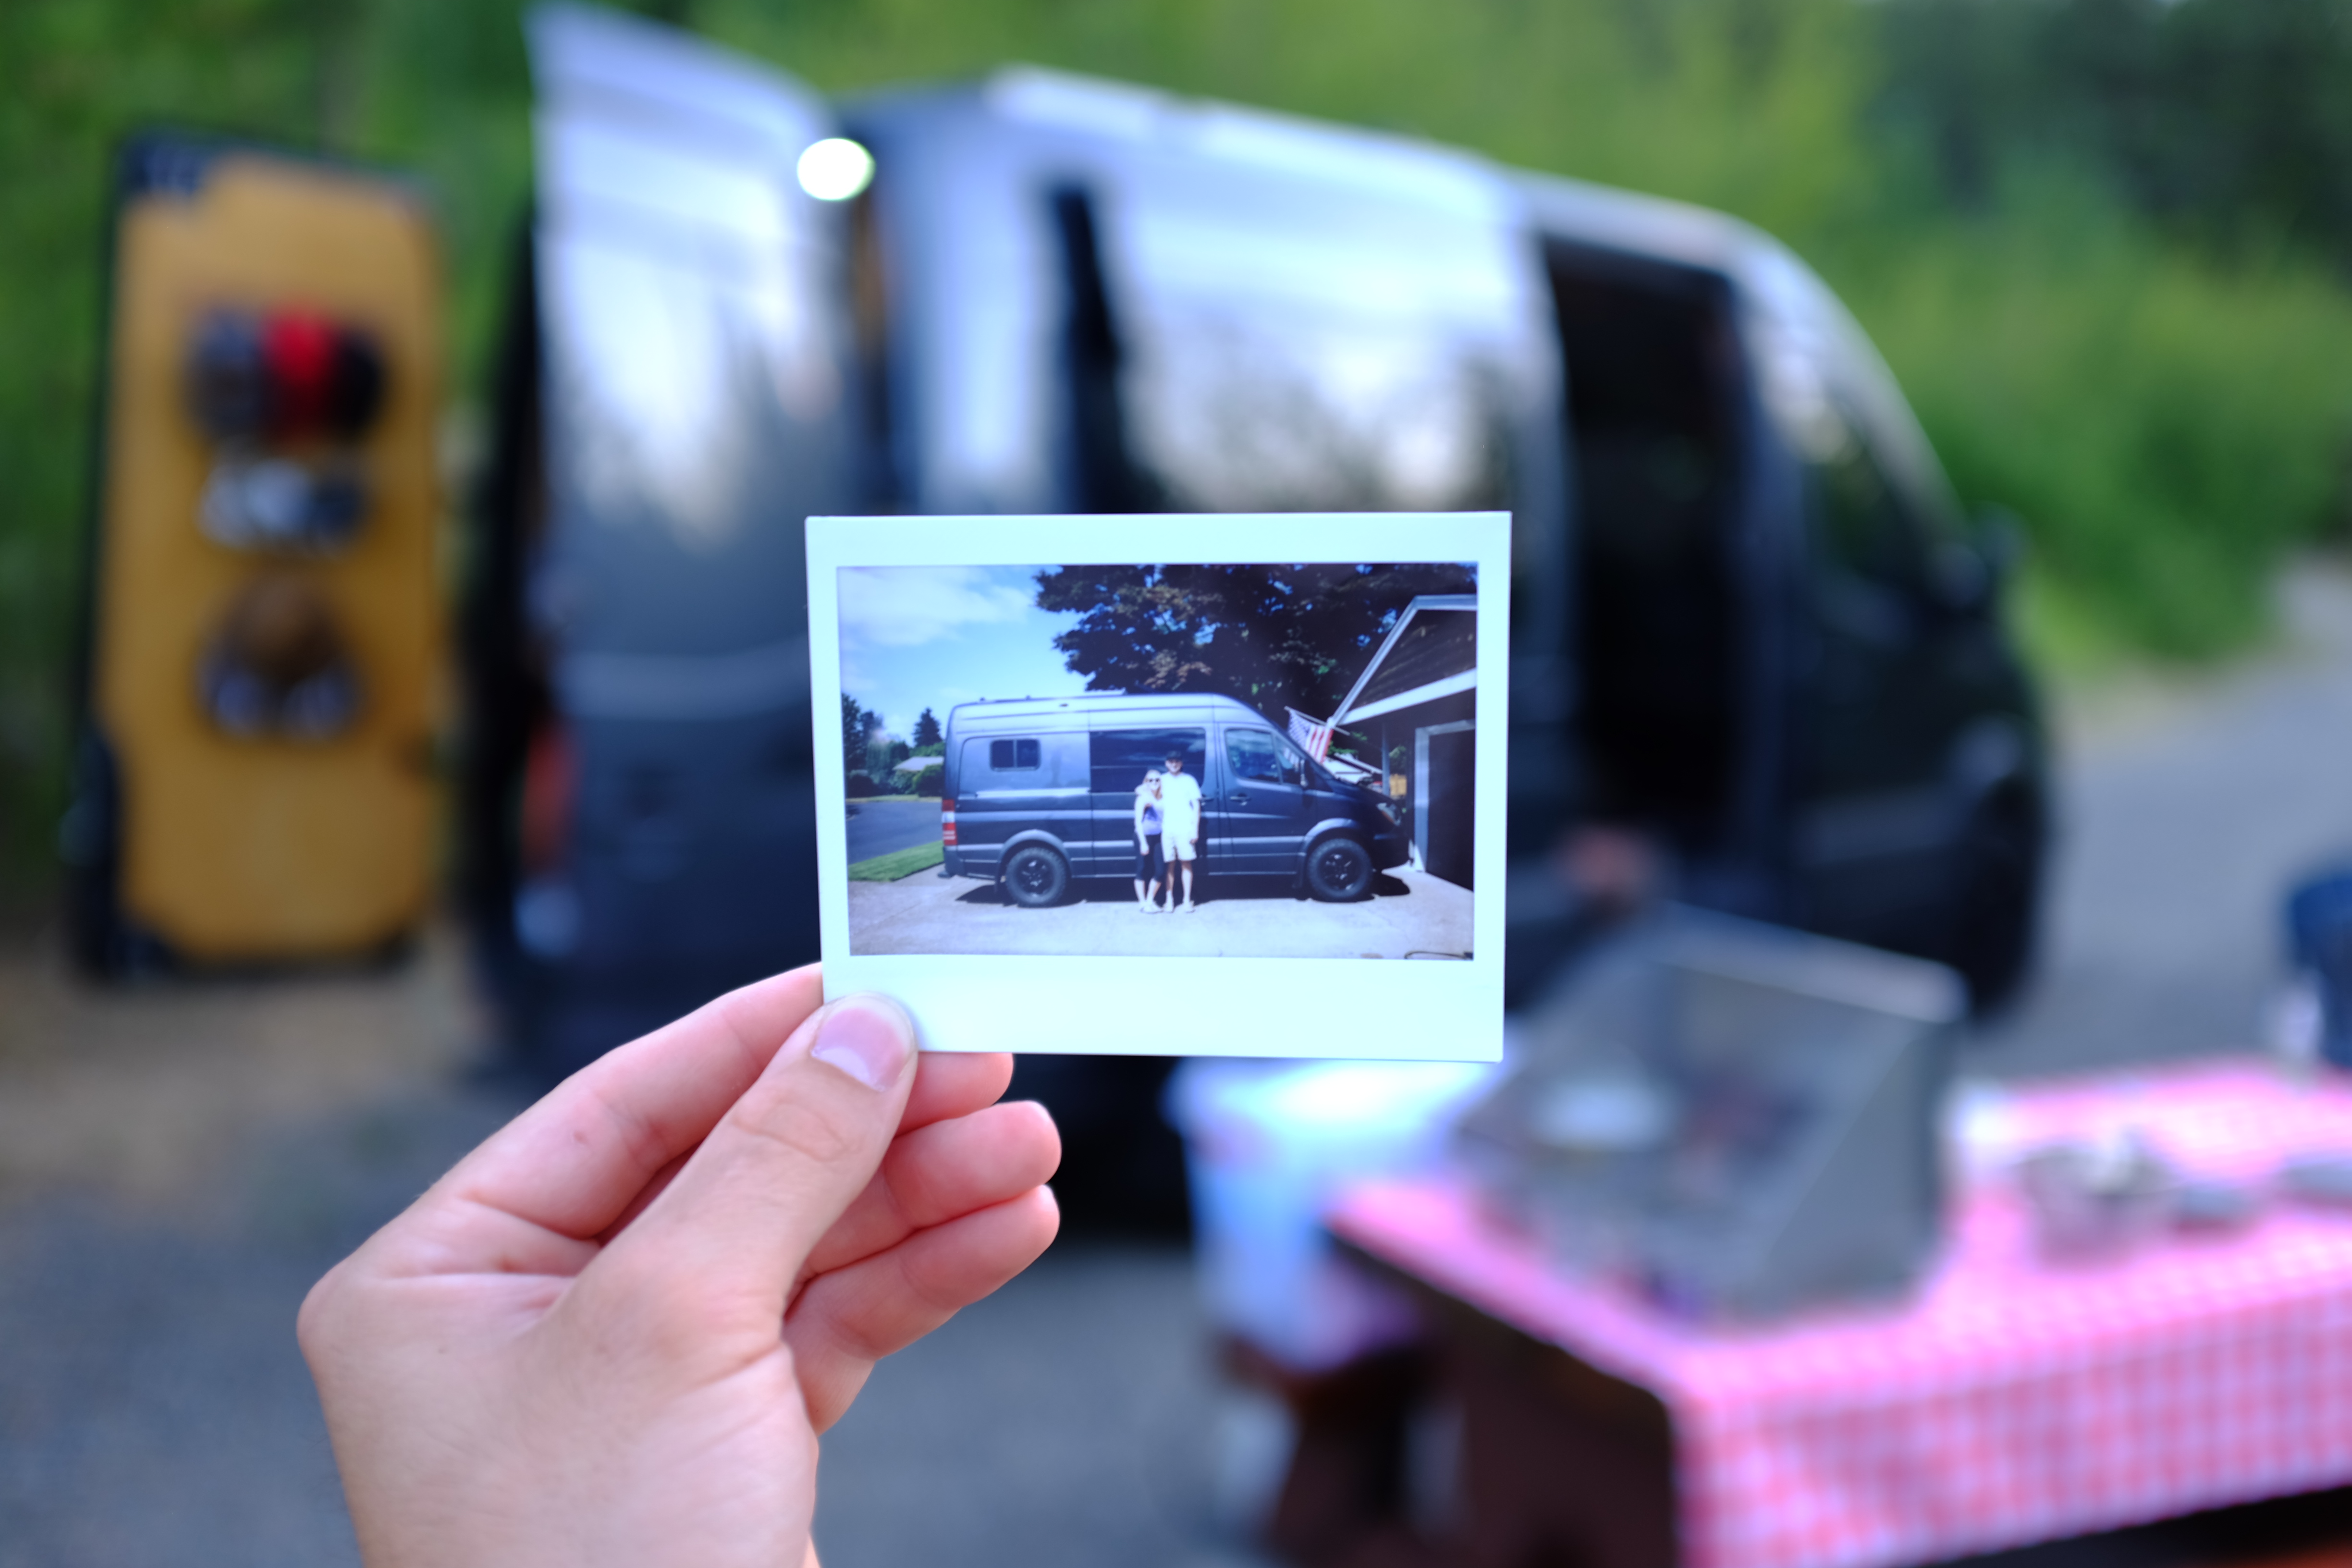
We can officially announce that the van conversion is all done!
As many of you know, a van conversion is never truly “complete”. There are always improvements you may wish to make, things you want to change, etc. But as of the end of June, we decided to be satisfied with all the work we completed, make a trip to Bed, Bath & Beyond, and move into the van.
Some of the last-minute purchases we made include:
- 3” inch memory foam mattress topper and 3” inch gel foam mattress topper from Costco
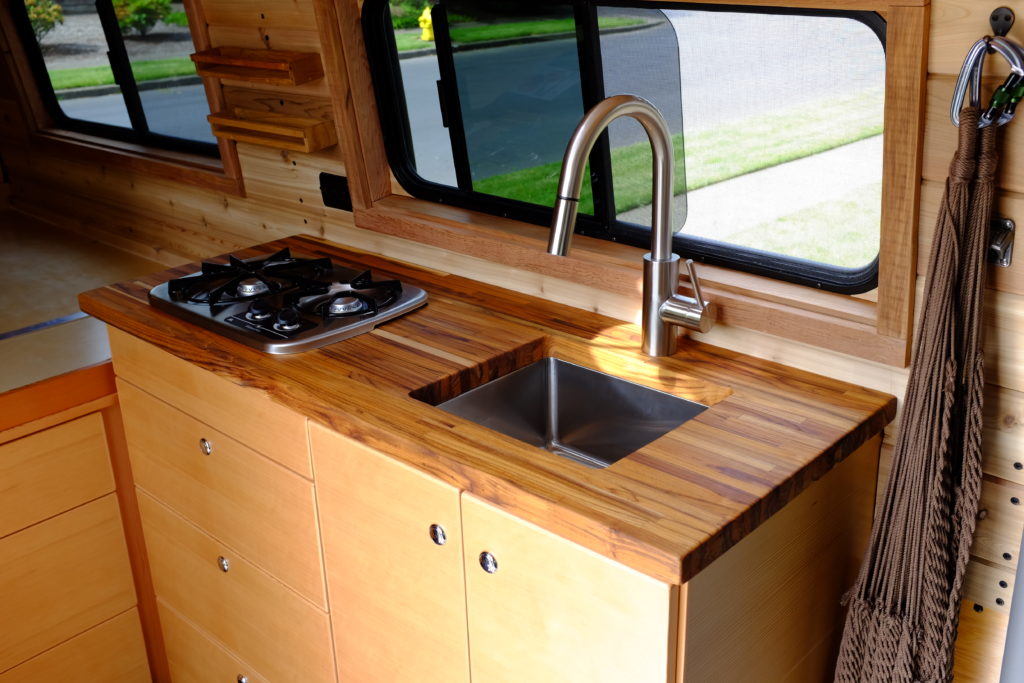
- OXO giant slide-free cutting board that covers our sink for more food prep area
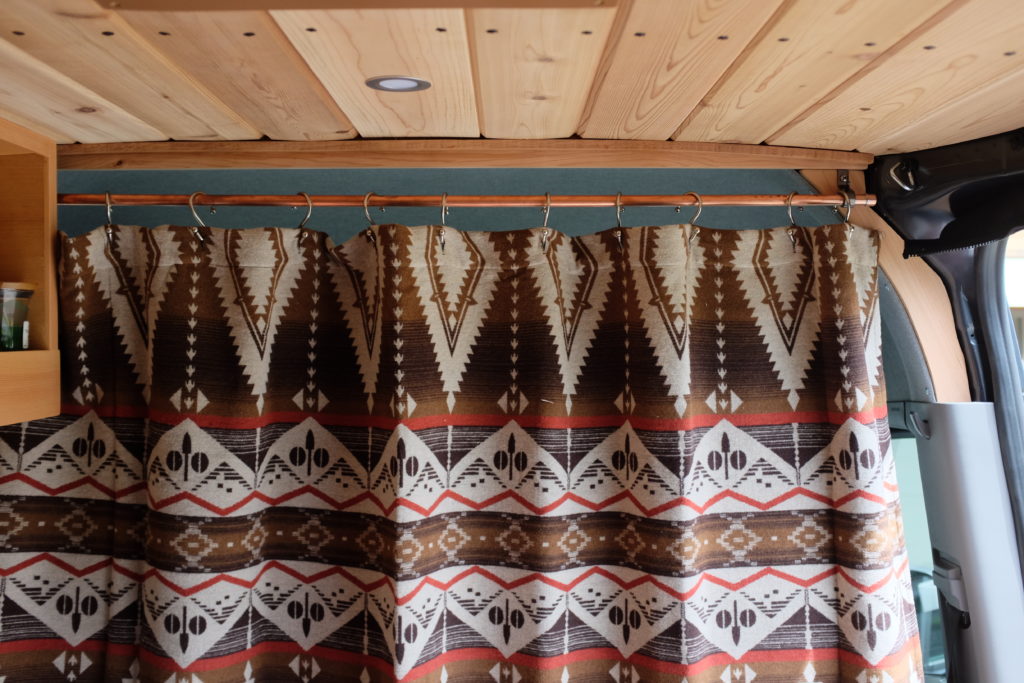
- Pecos shower curtain from Pendleton to hang on the ½” copper rod we installed near the front cabin
- 2 floor mats for the kitchen area
- New bedding and pillows for our cozy bed
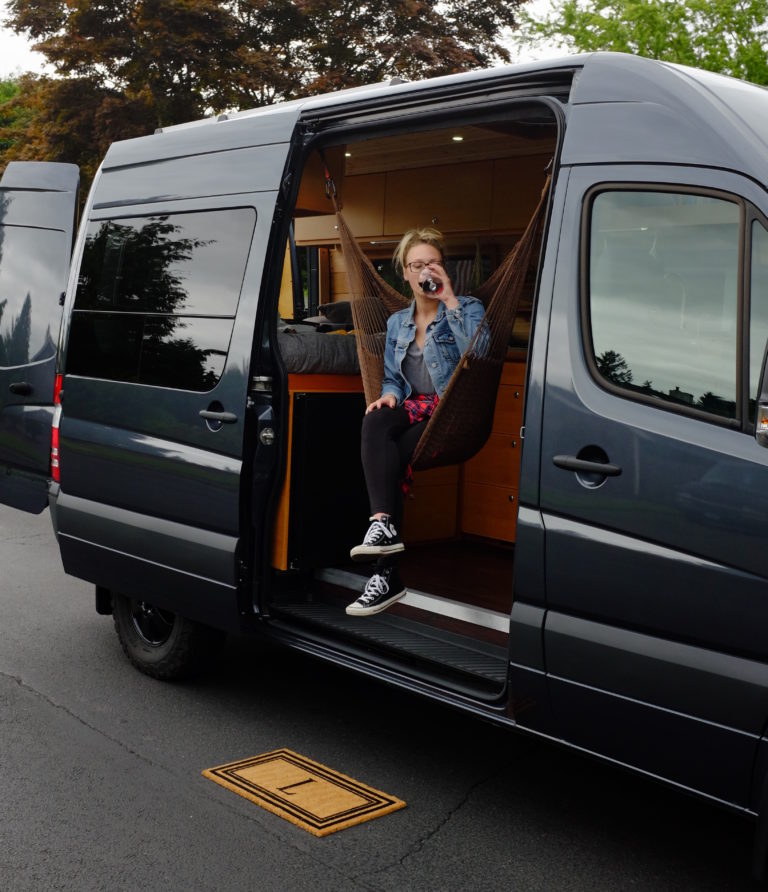
- Sitting hammock for the sliding door area
- Magnet board and strip to hang photos
- Thetford porta potti toilet
- Leapair shower pop-up tent
- Hand-held 12v car vacuum
- LOTS of board/travel/card games (checkers, tic tac toe, yahtzee, connect 4, uno, phase 10, etc.)
A few notes on the list above…
We went with 3” mattress toppers instead of a normal spring mattress because our bed frame is a custom size and we wanted to be able to slice through the mattresses easily. Additionally, it was cheaper AND has a gel-foam mattress with a “seasonal feature” – one side cools and one side heats so you can flip the mattress topper when the seasons change.
Additionally, the hammock is usually installed prior to the walls but our van conversion was nearly complete. SO, we used 2 triangle-shaped pieces of hardware that are similar to a d-ring (I looked everywhere online and cannot, for the life of me, find what they are called…we bought them at Ace Hardware) and installed them to the original bolt that holds our sliding door track in place. Then, we used carabiners (REI sells these with a 6” strap already attached) and hooked these to the hardware. This ended up being super simple for us and takes just a brief moment to hang up when we want to use the hammock.
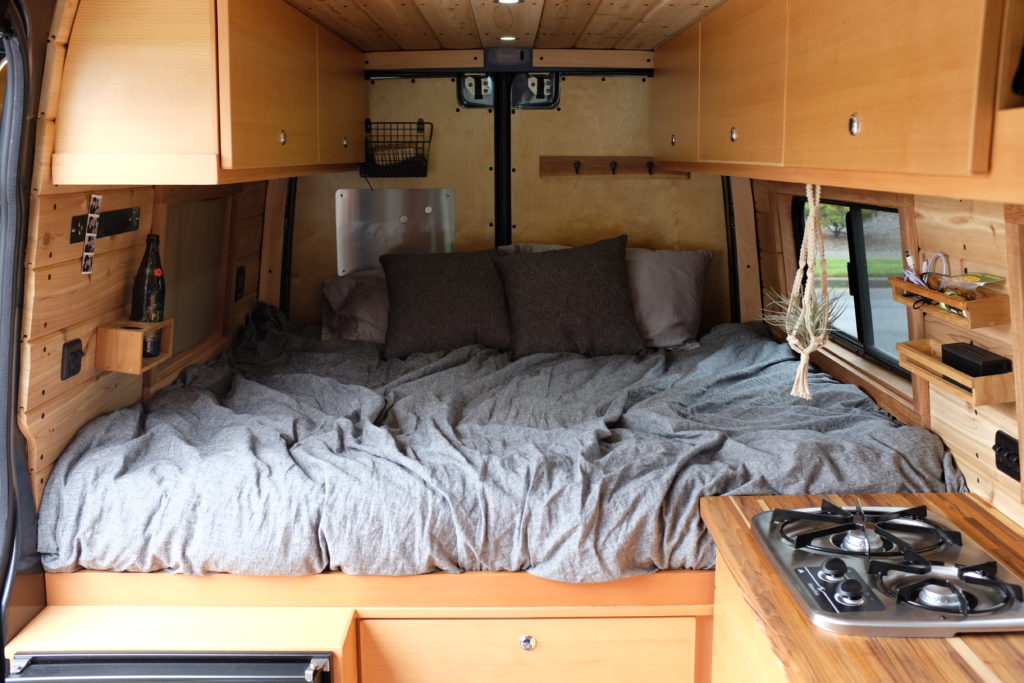
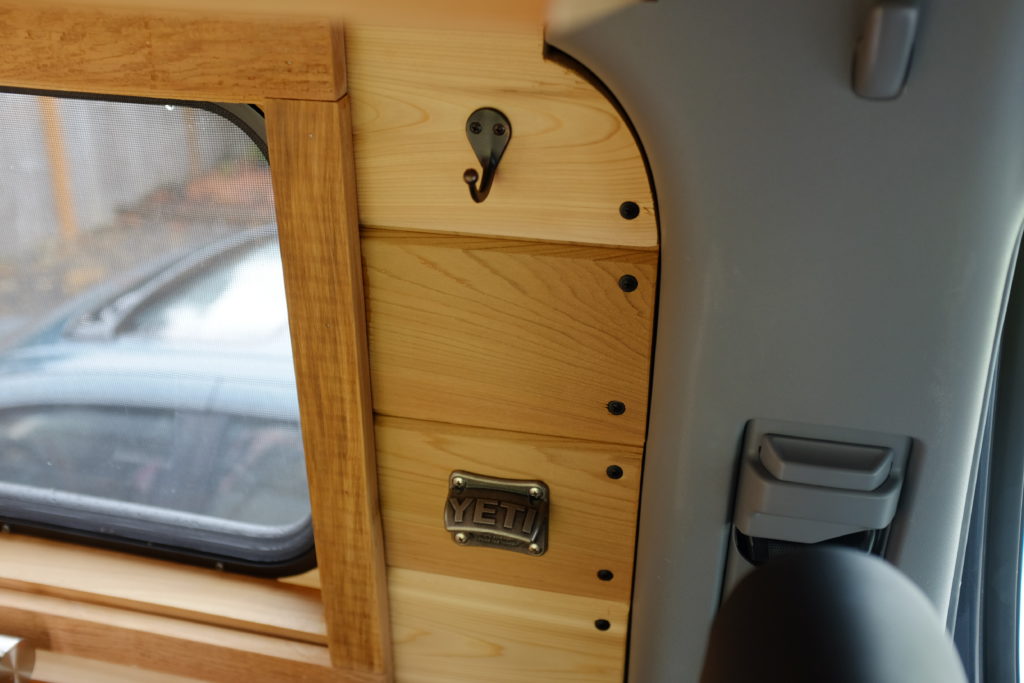
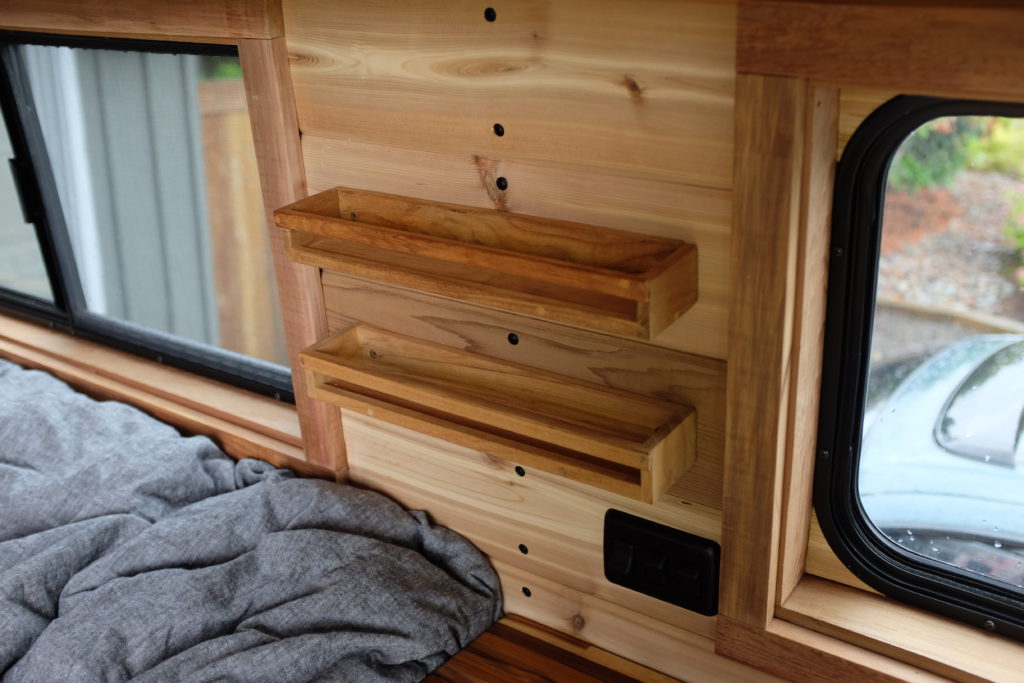
A lot of the last-minute work included small trim pieces throughout the van.
One of our favorite final touches is an aluminum angle piece installed on the step into the van. Some of the trim pieces, such as the corner caps above the front cabin, required custom cuts with a jigsaw, a process that took a while and more than 1 attempt. We also finished installing all the lights, the countertop, appliances, and strapping down the propane tank and the 7-gallon grey-water tank under our sink.
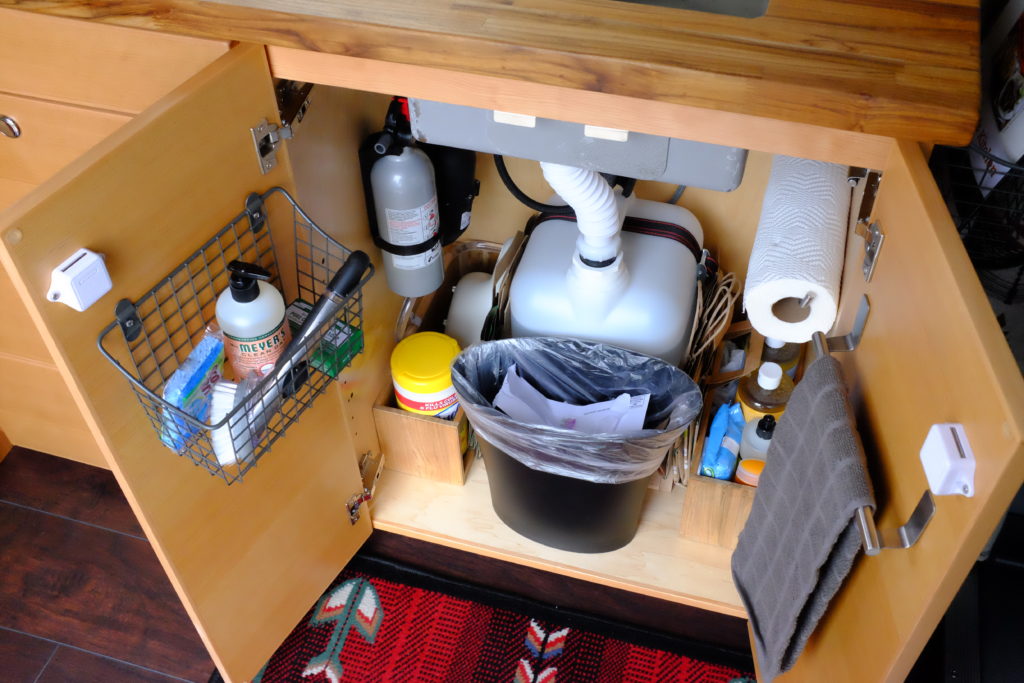
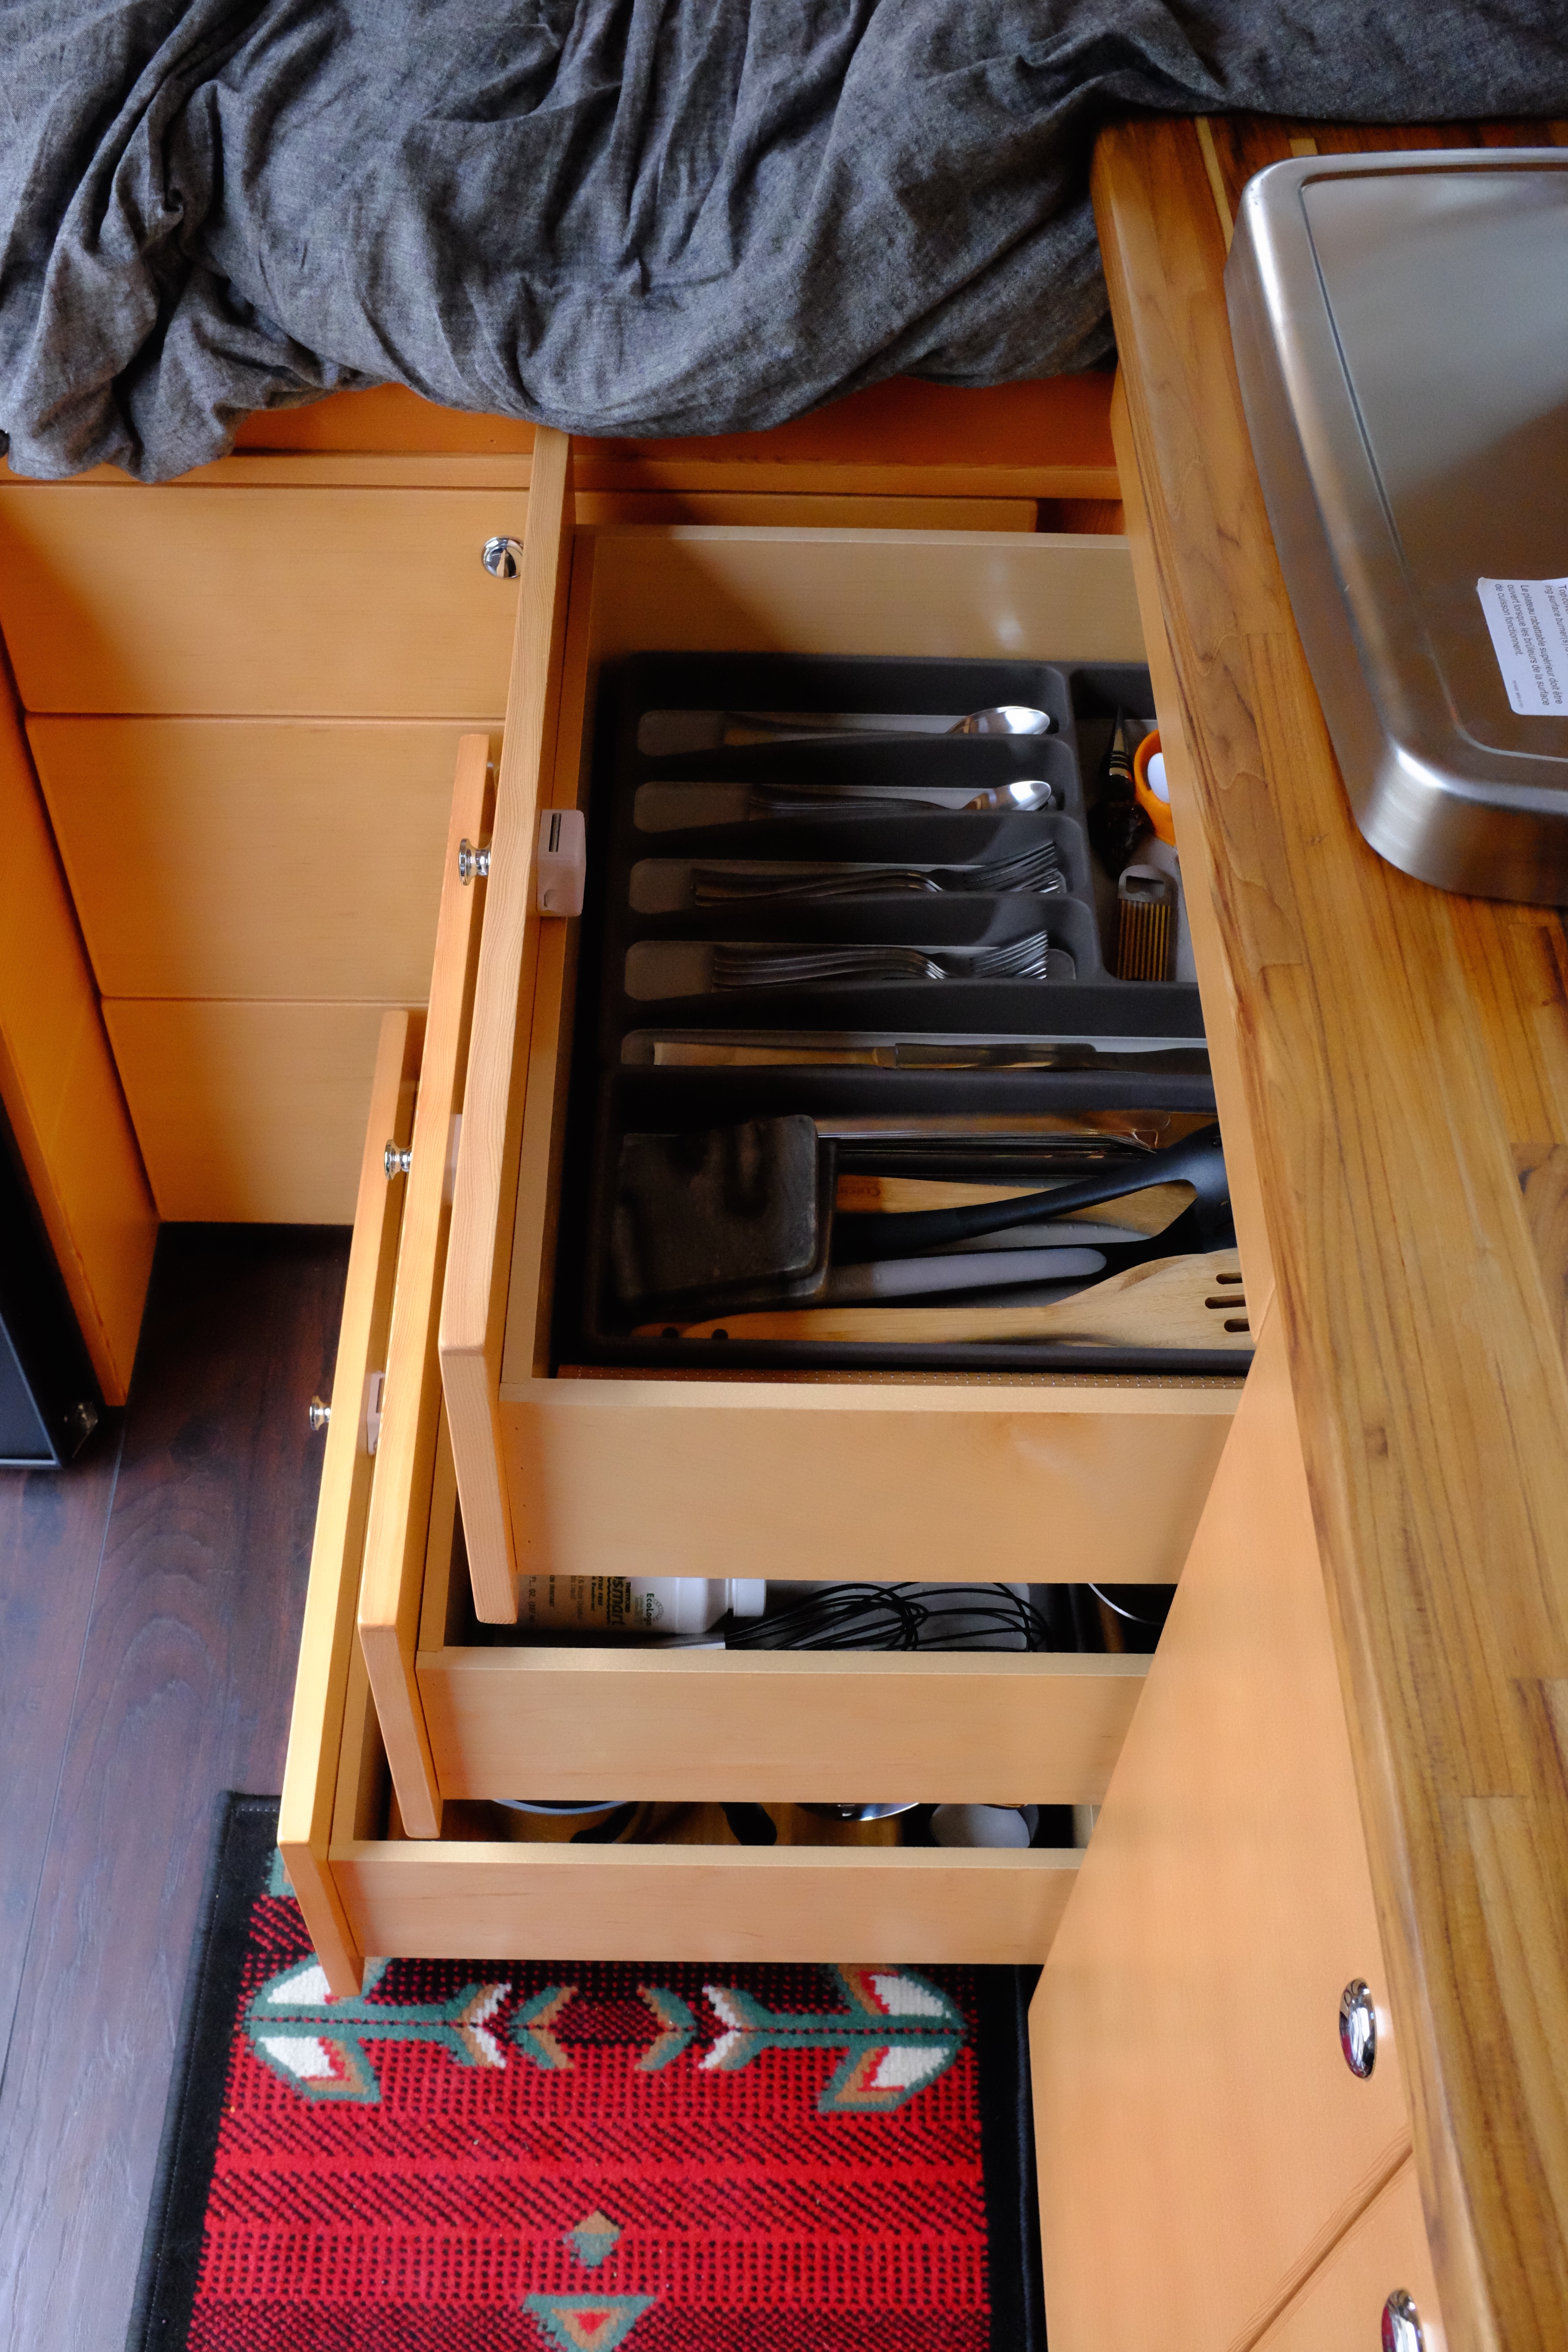
After we finished the rest of the “build” phase, we started filling the van with our new kitchen supplies. We purchased melamine dishes from Crate & Barrel, new pots and pans, and numerous containers from Storables. We then got to (finally) move all our personal belongings into the van.
We’ve been pleasantly surprised at the amount of storage space this thing contains!
Picking and choosing items and clothing that we wanted to bring on this journey was easier than expected. It’s been so nice to take this space that we’ve been working on for so long and give it a personal touch. The longer we live in it, the more we feel it reflects who we are. We’re hoping to get a blog post up soon that details some of the décor we’ve put up since hitting the road.
We’ve been on the road for a little over 2 weeks and have already covered so much ground.
As we continue on our adventure, our blog will focus more on van-living and less on the details of the van conversion. We will be sure to post as many travel photos as possible, as well as give you all an idea of what day-to-day life is like for us. Thanks for sticking with us through the entire build process. We look forward to sharing the next step of our journey!
P.S. We have already met so many cool people on the road! Please feel free to get in touch with us if you are ever interested in collaborating for an adventure or if you have certain questions about the build process. We’ve already received quite a few emails with detailed questions and we love to chat with people about the build. We look forward to expanding our social circle during the next year 🙂