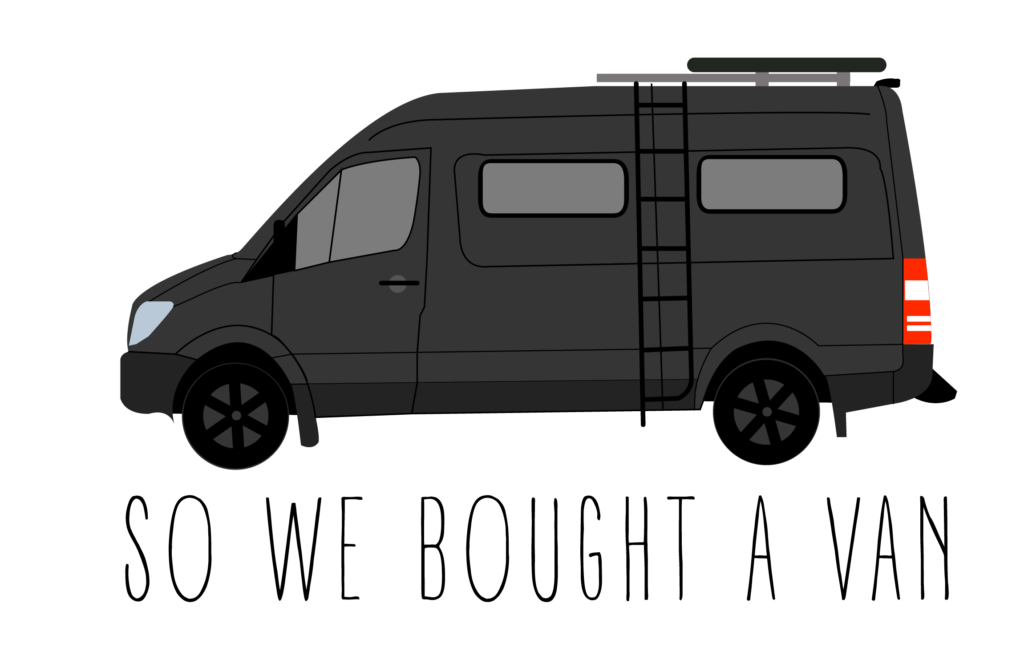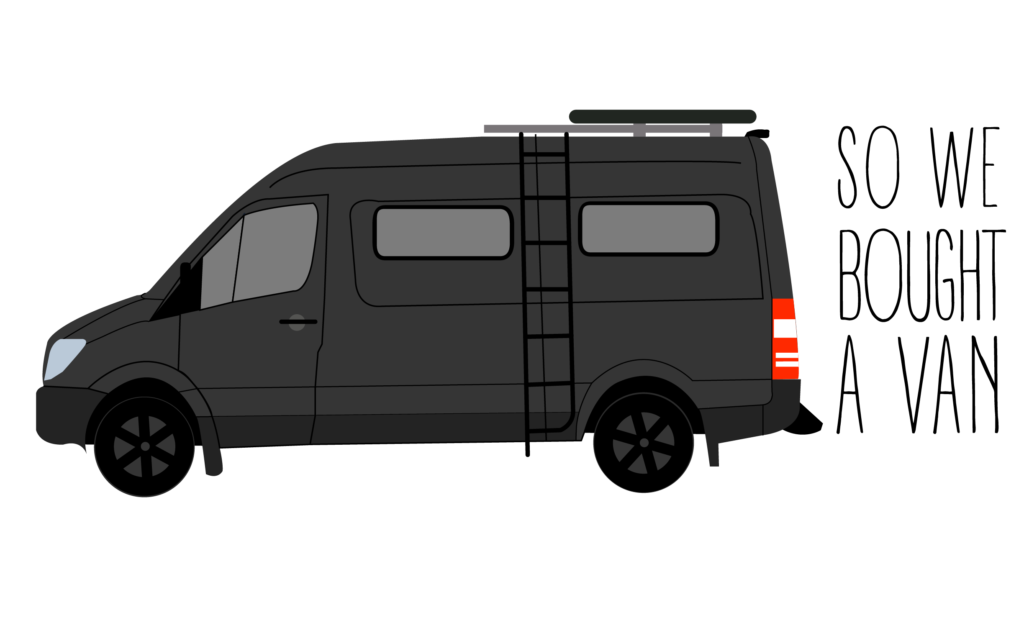
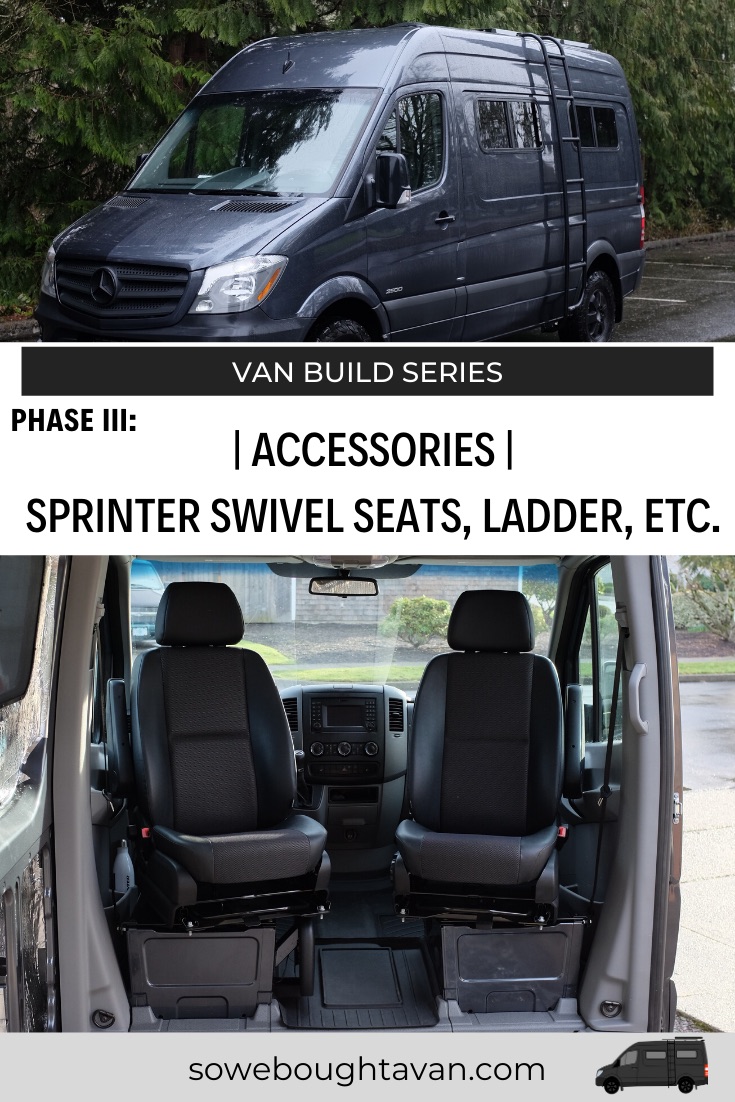
We’ve added exciting, new van accessories!
We have done our best to continue making small additions to the van throughout the large phases to make sure that we don’t have a gazillion things to do near the end of the build. These purchases may be considered less necessary in the van conversion world, but one of the main reasons we’re doing the conversion ourselves (as opposed to buying a pre-converted van) is so we can create this into our own personal home with all the special touches, details, and accessories we love. Here’s a breakdown of some of our favorite additions so far.
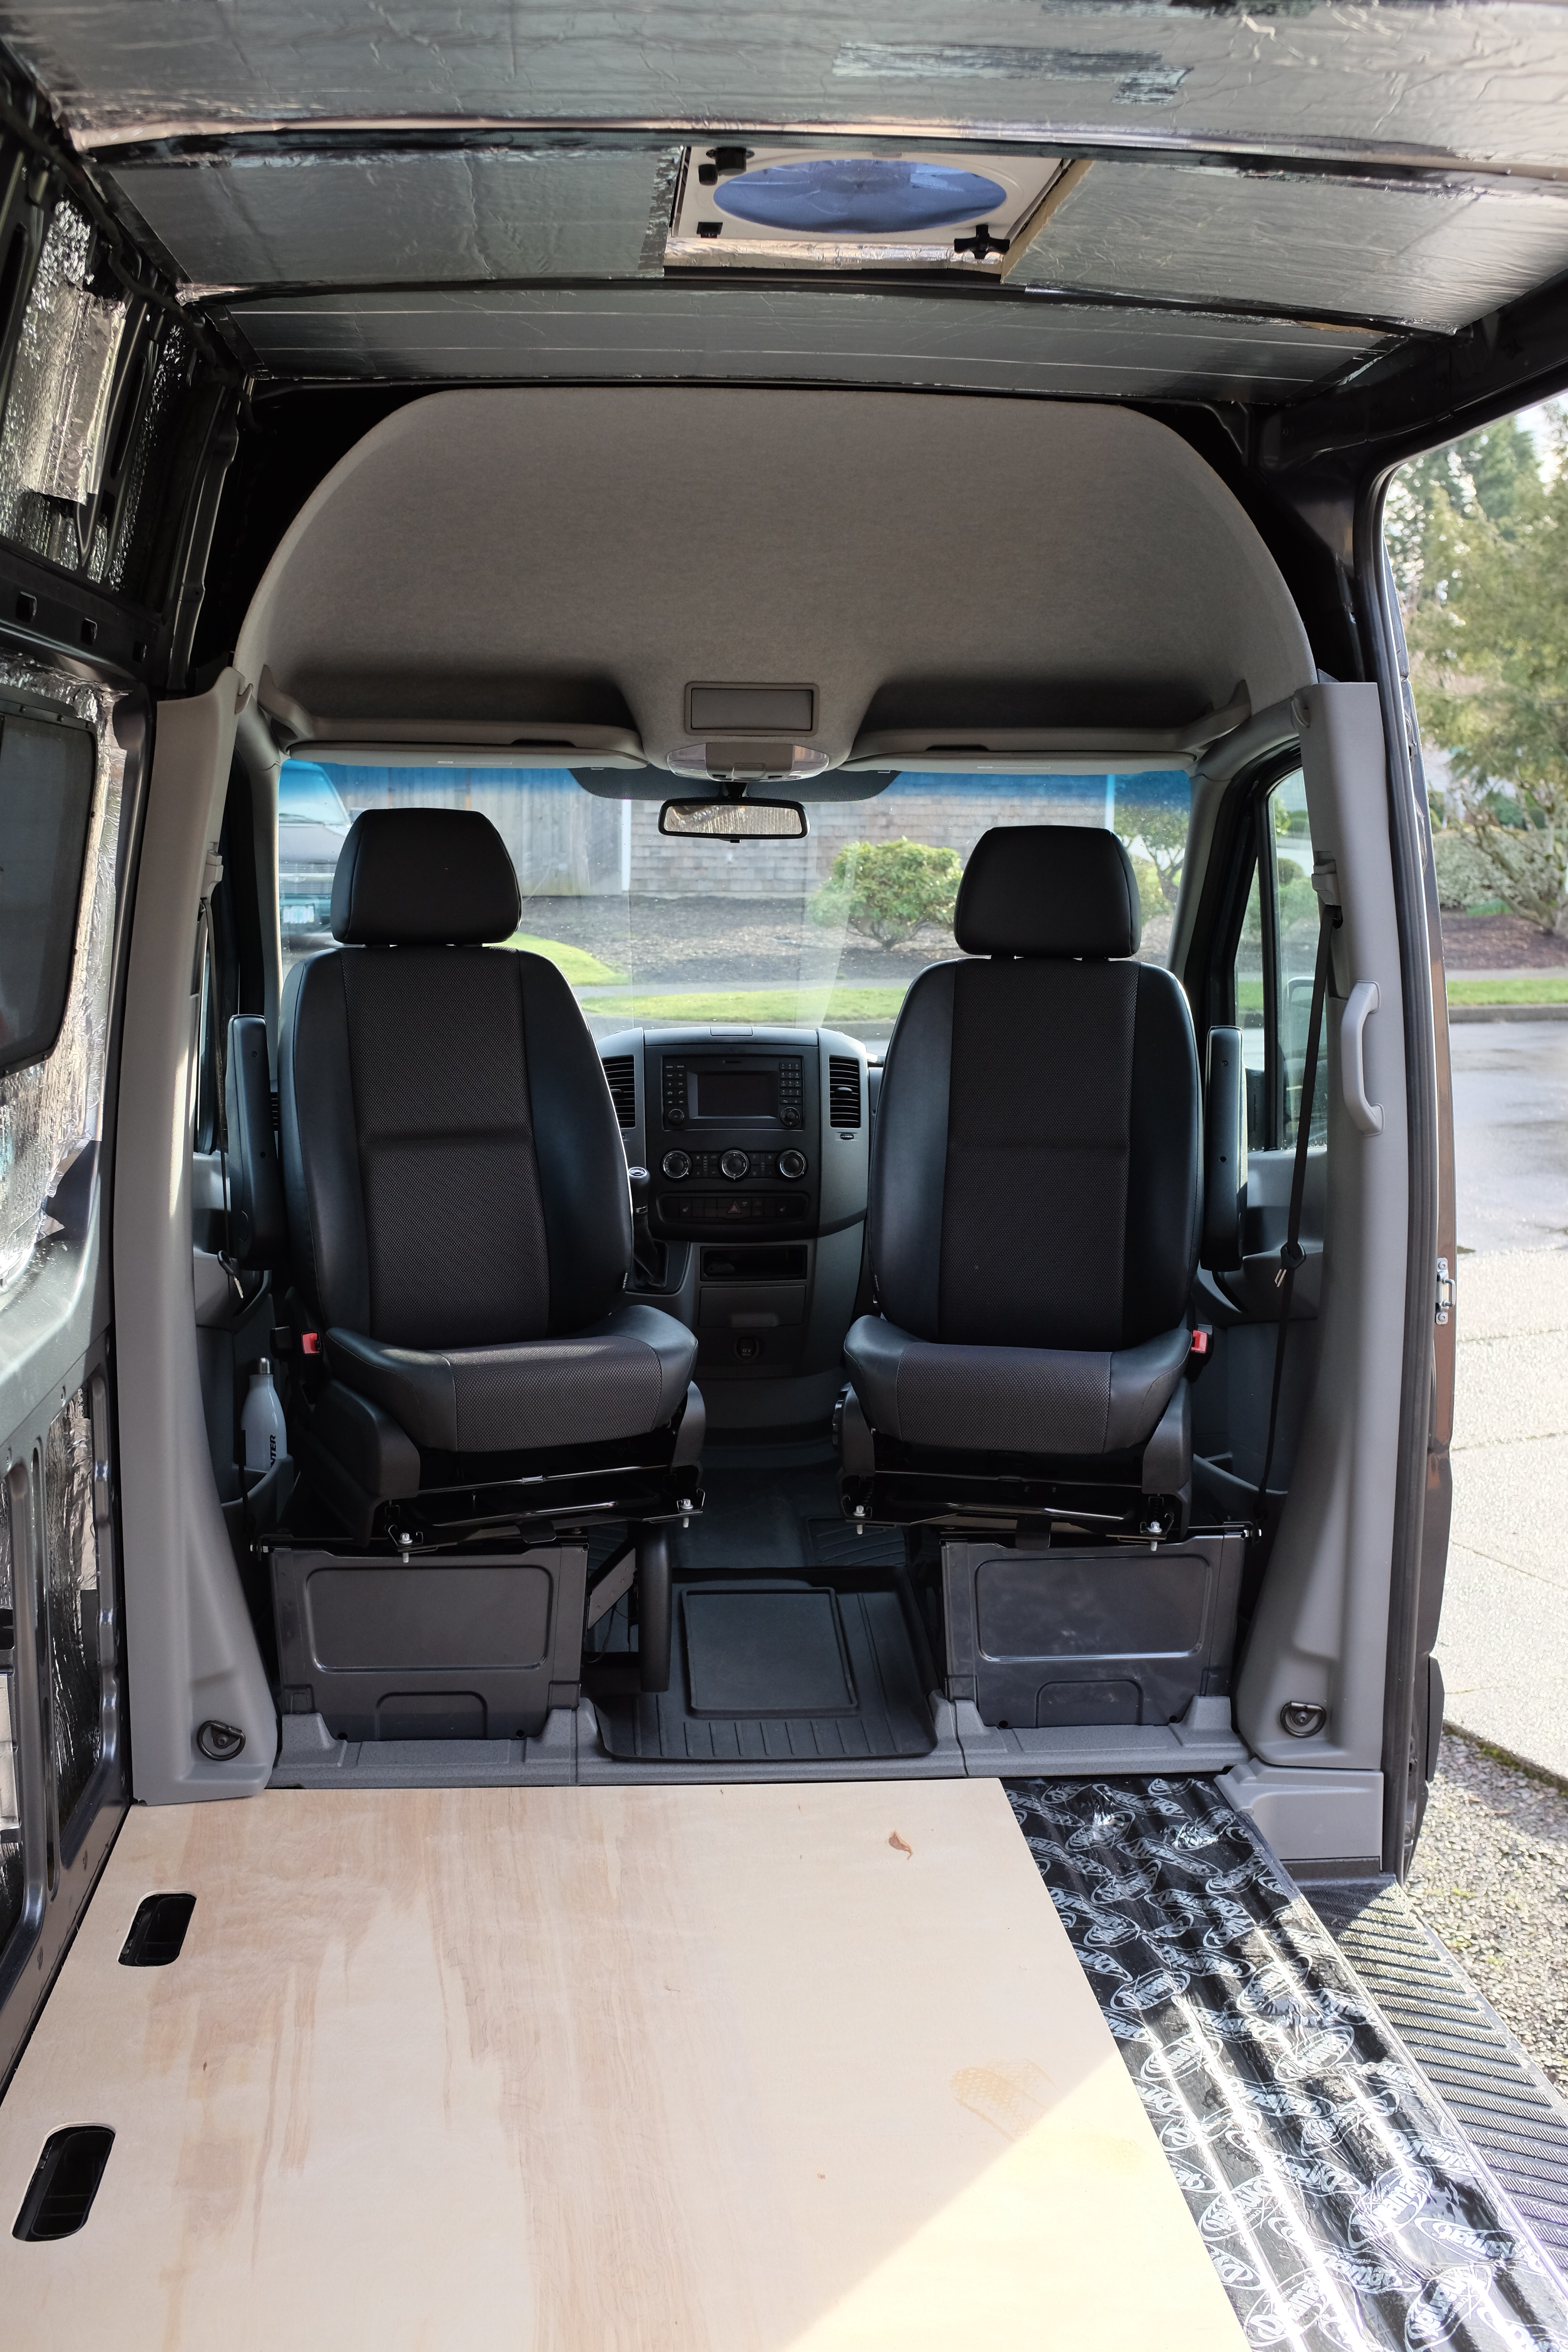
Seat Swivels:
We installed sprinter swivel seat base adapters with offset pivots from Sprinter Upgrades. We went with these specific seat swivels because they are compatible with the year of our vehicle (2016) and with our heated seats. When we thought about living in the van, we really liked the idea of having a bed that we didn’t have to maneuver every night or set up. Most builds we have seen require this, as their bed area doubles as their table/dining area.
Instead, we are going to install a removable RV table that will serve as our dining area when the seats are swivelled towards the rear of the car. They were easy to install and came with step-by-step instructions and photos. (Side note: the back right bracket hole of the passenger seat swivel did not align perfectly with the original seat base so we had to enlarge the hole with a drill bit. The seat swivels also didn’t come with washers so we ended up buying our own.)
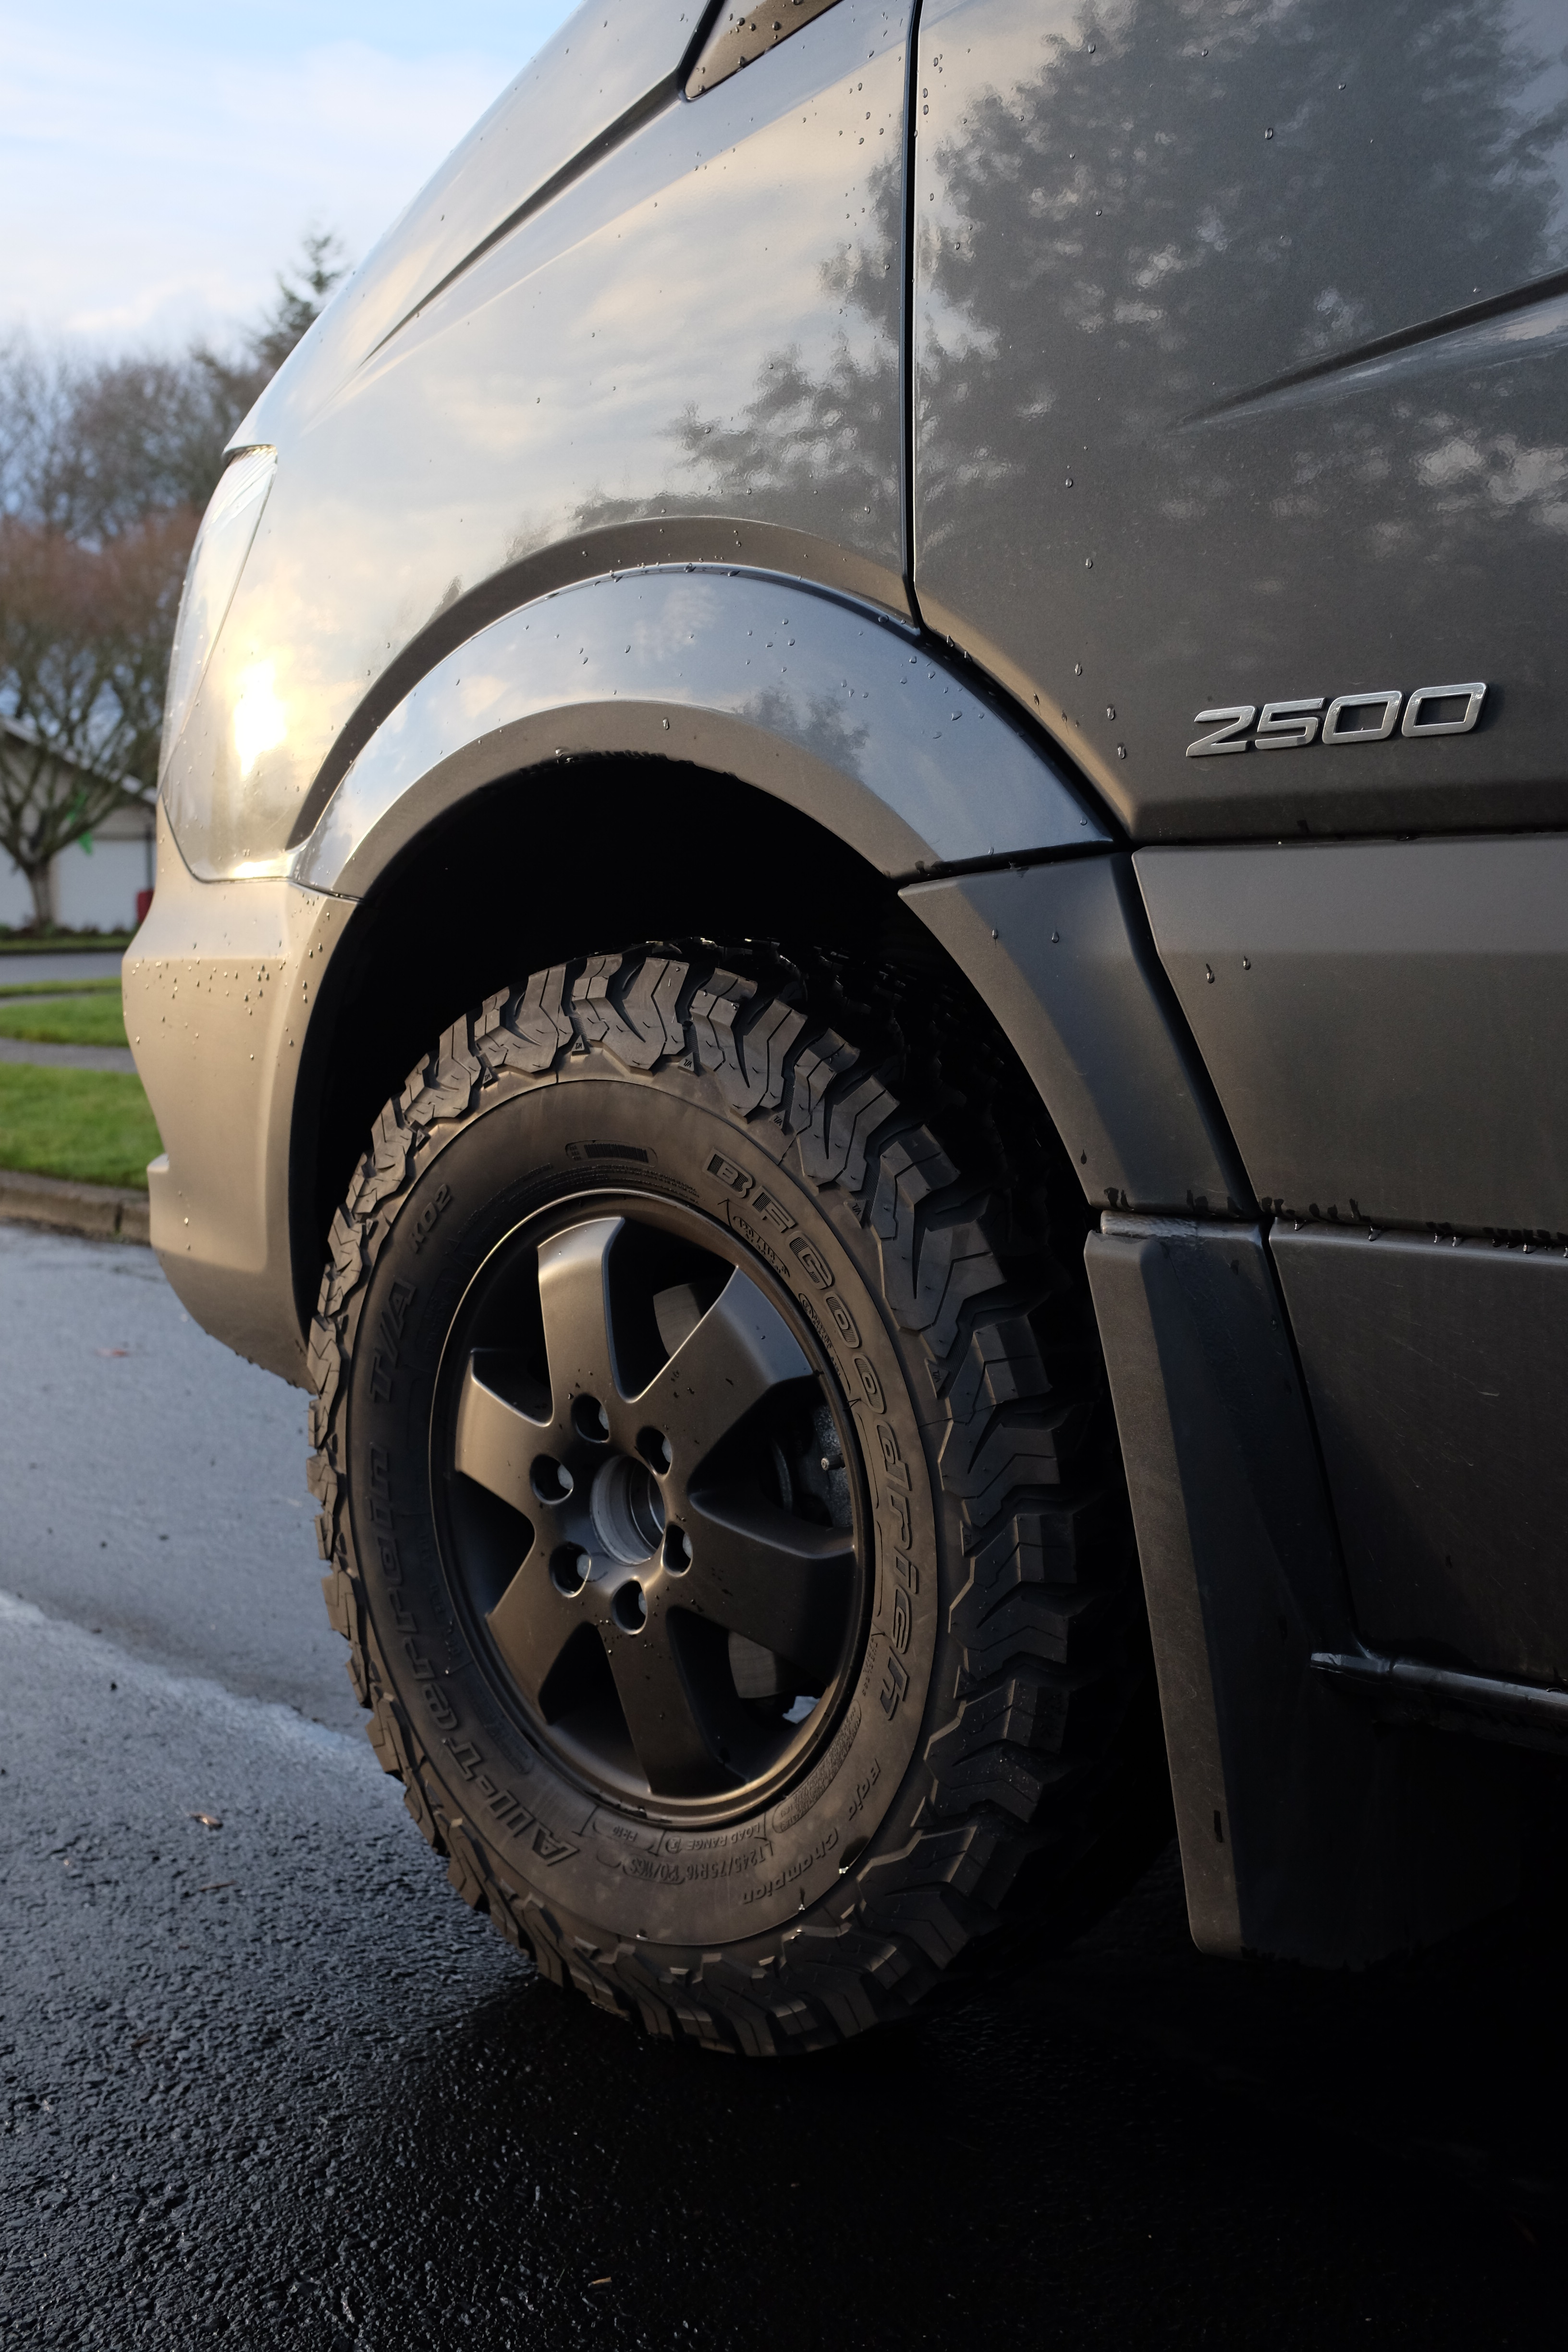
Tires/Wheels:
We replaced the original wheels and tires with BF Goodrich KO2 All Terrain tires to allow us to explore farther off the beaten path. The wheels are factory Mercedes wheels and powder coated flat black. We also have custom center caps that we are working on resizing to finish off the clean look.
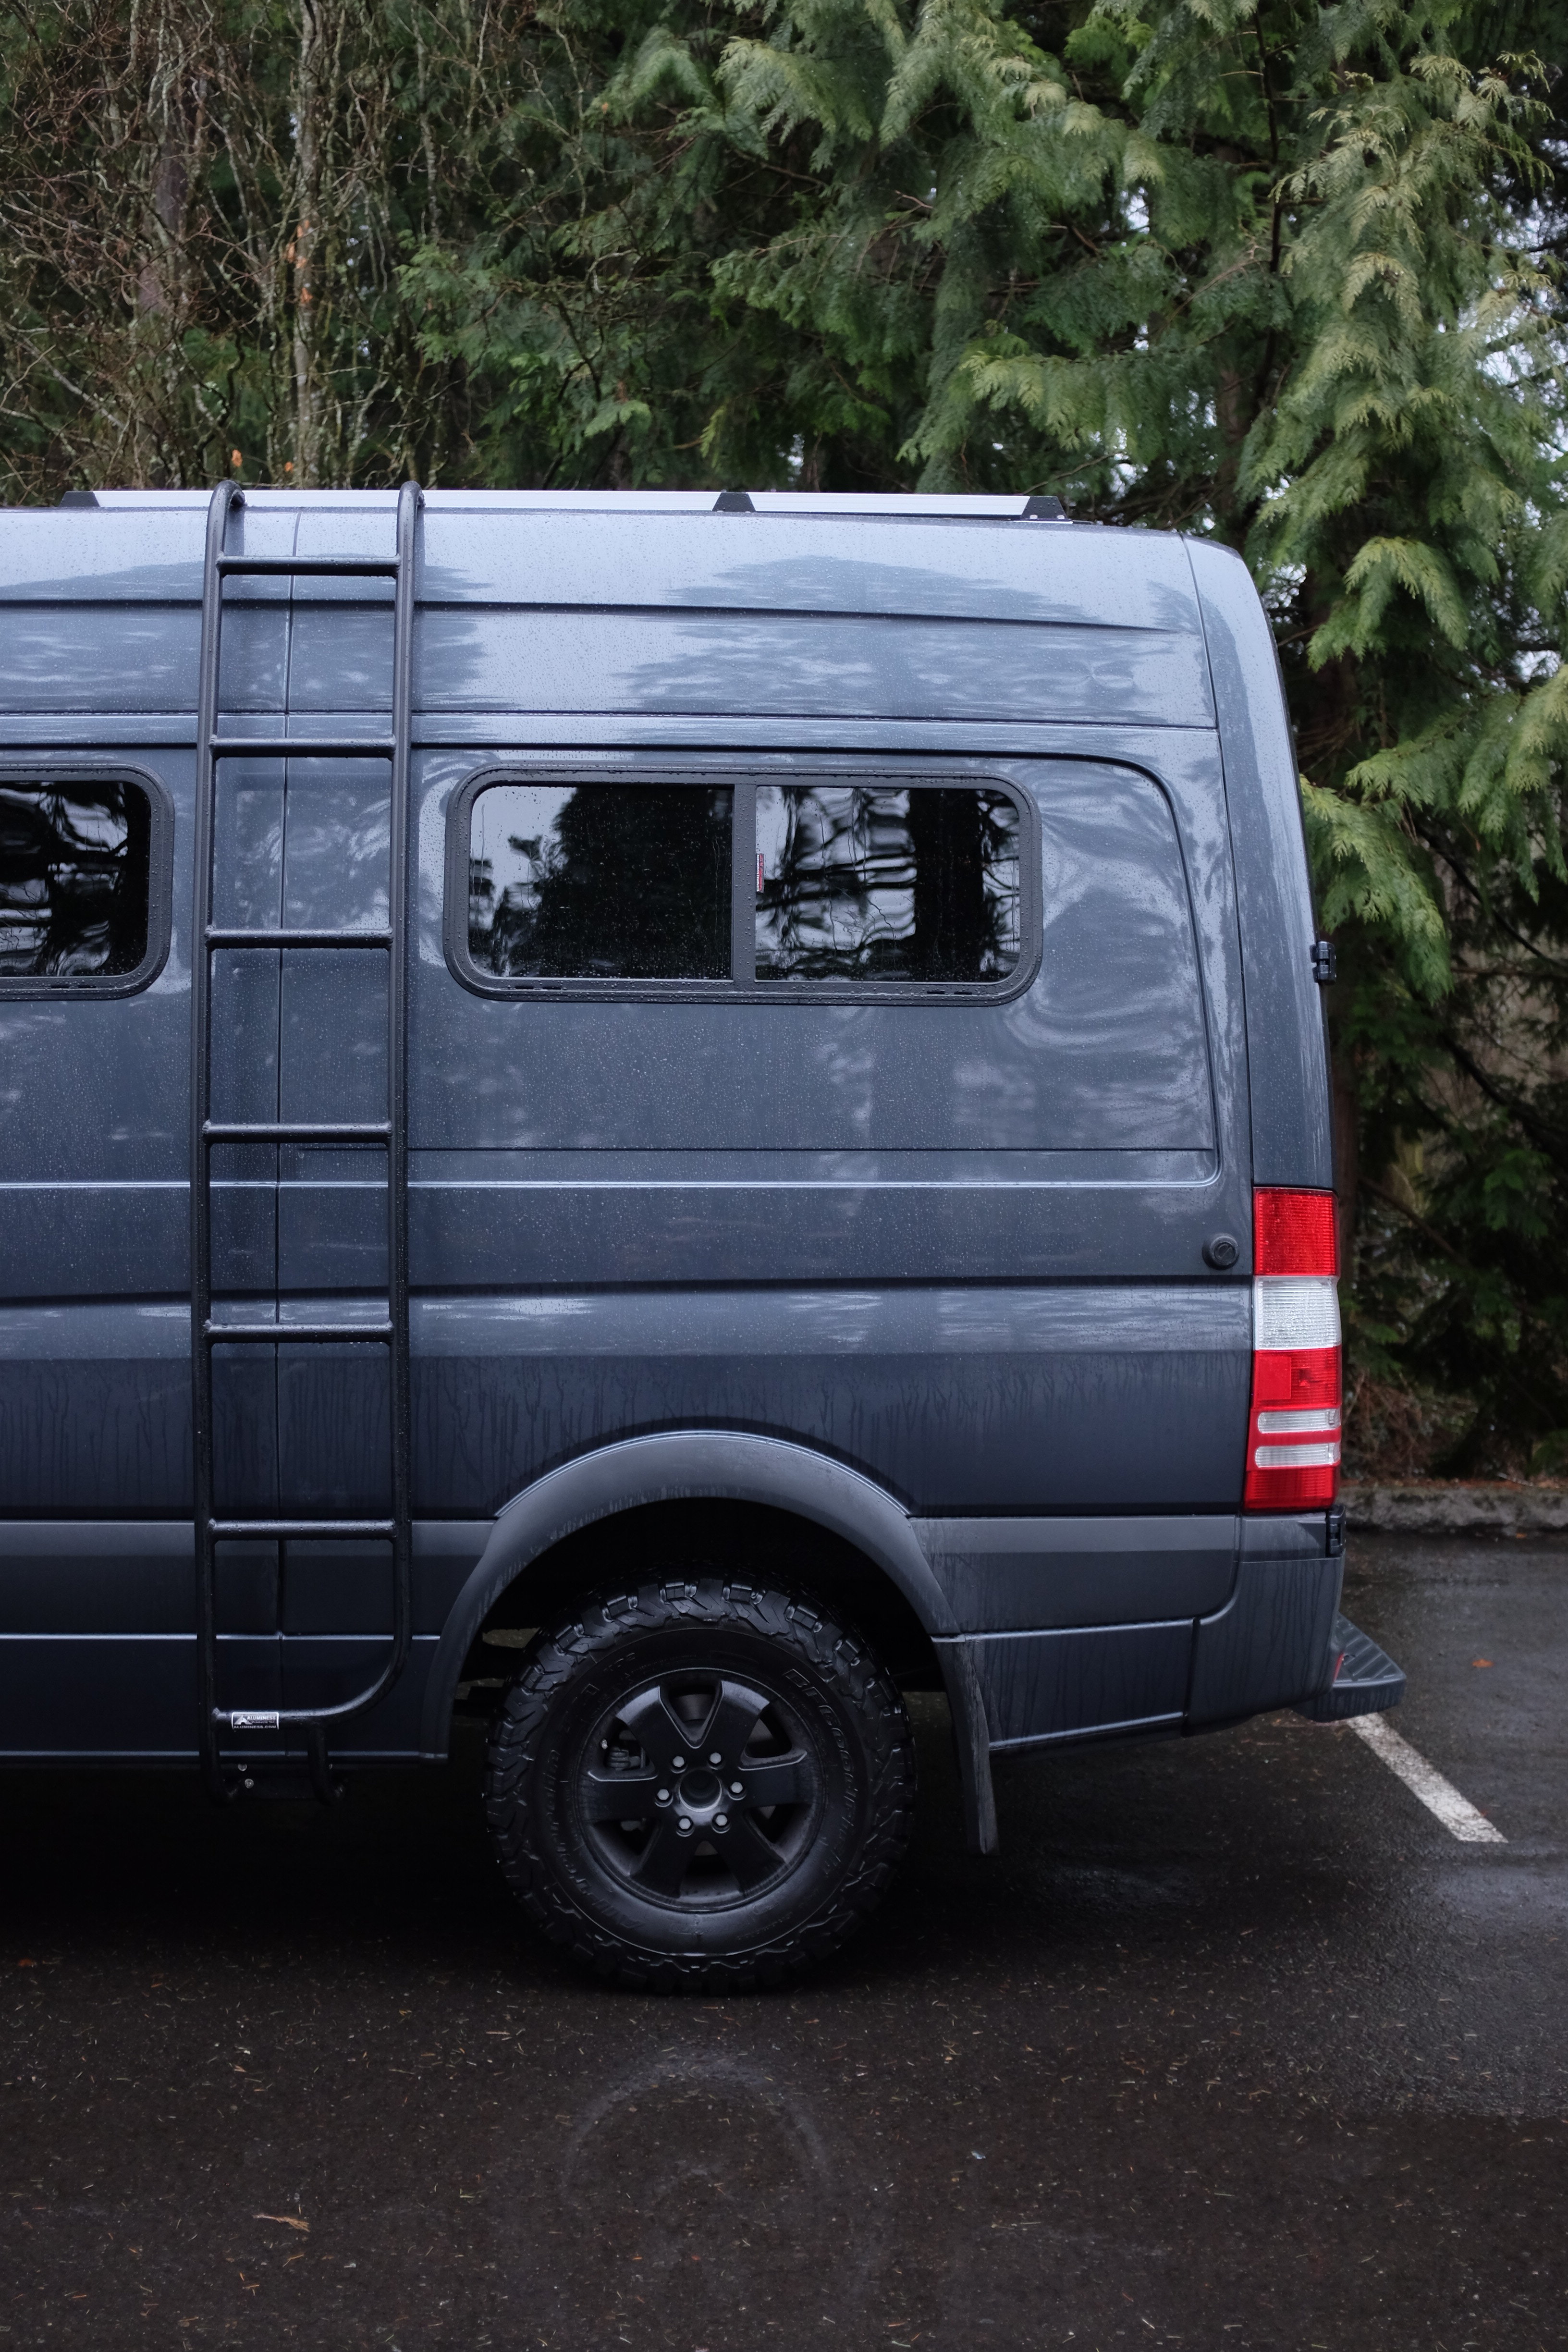
Ladder:
We went back and forth on the idea of putting a ladder on the back or the side of the van. Originally, we decided against it but reconsidered after we started seeing more and more vans around Portland with a ladder (we both just really love the exterior look with an added ladder). We also wanted to ensure that we had a way to reach the solar panels in case of emergency and for routine cleaning.
Aluminess makes these awesome, customized ladders for the drivers side of a high roof sprinter. We are SUPER excited about the look of the ladder, especially since we were able to install it between our passenger side windows as to avoid blocking any window views. (Side note: the L-shaped brackets that mount to the factory roof rails did not line up with the holes in the ladder. The bracket holes were were too small so, using a step bit and a fender washer, we aligned them before mounting the ladder.)
One other brief update! We have measured for our cabinets and submitted our designs. A family friend is professionally building these and we cannot wait to see the outcome. Thanks for following us along the process! More updates coming soon.