The last few months have been focused on DIY Sprinter solar power research, hardware store visits, trial and error, and accomplished goals.
Our van now has a large majority of the insulation completed and most of the wires put in place for the DIY sprinter solar power system. We spent a month or so conducting research and buying all the materials for the electrical system and insulation process. Our schedules really picked up over the holidays, causing the conversion process to slow down a bit. Even so, we have continued to chip away at our to-do list whenever we have free time outside of work. Here is what we purchased for the electrical system and the insulation.

ELECTRICAL SYSTEM
- 3 Renogy 100 Watt Monocrystalline Solar Panels
- 4 Vmaxtanks Deep Cycle Marine Grade Batteries
- VMAXTanks Battery Charger (for first full charge)
- Renogy 20 Amp Solar Charge Controller
- Blue Sea Systems Fuse Block (with 12 circuits)
- Blue Sea Systems Circuit Breakers
- JR black double switch and JR black triple switch
- Krieger 2000 Watt Dual Power Inverter
- Marine grade double panel lighter outlet/charger
- Nova Kool R3800 AC/DC single door refrigerator/freezer
- SHURflo Water Pump
- 10-gallon Water Tank
- Under cabinet LED lights (12 bars)
- RV Recessed Circular ceiling lights (4)
- A bunch of wire/different gauge sizes: 2/0, 4, 12, 16
- 1/0 gauge stud copper lugs
- TEMCo glue lined marine heat shrink tubing
- TEMCo hammer lug crimper
- Split-Loom cable organizer (varying sizes)
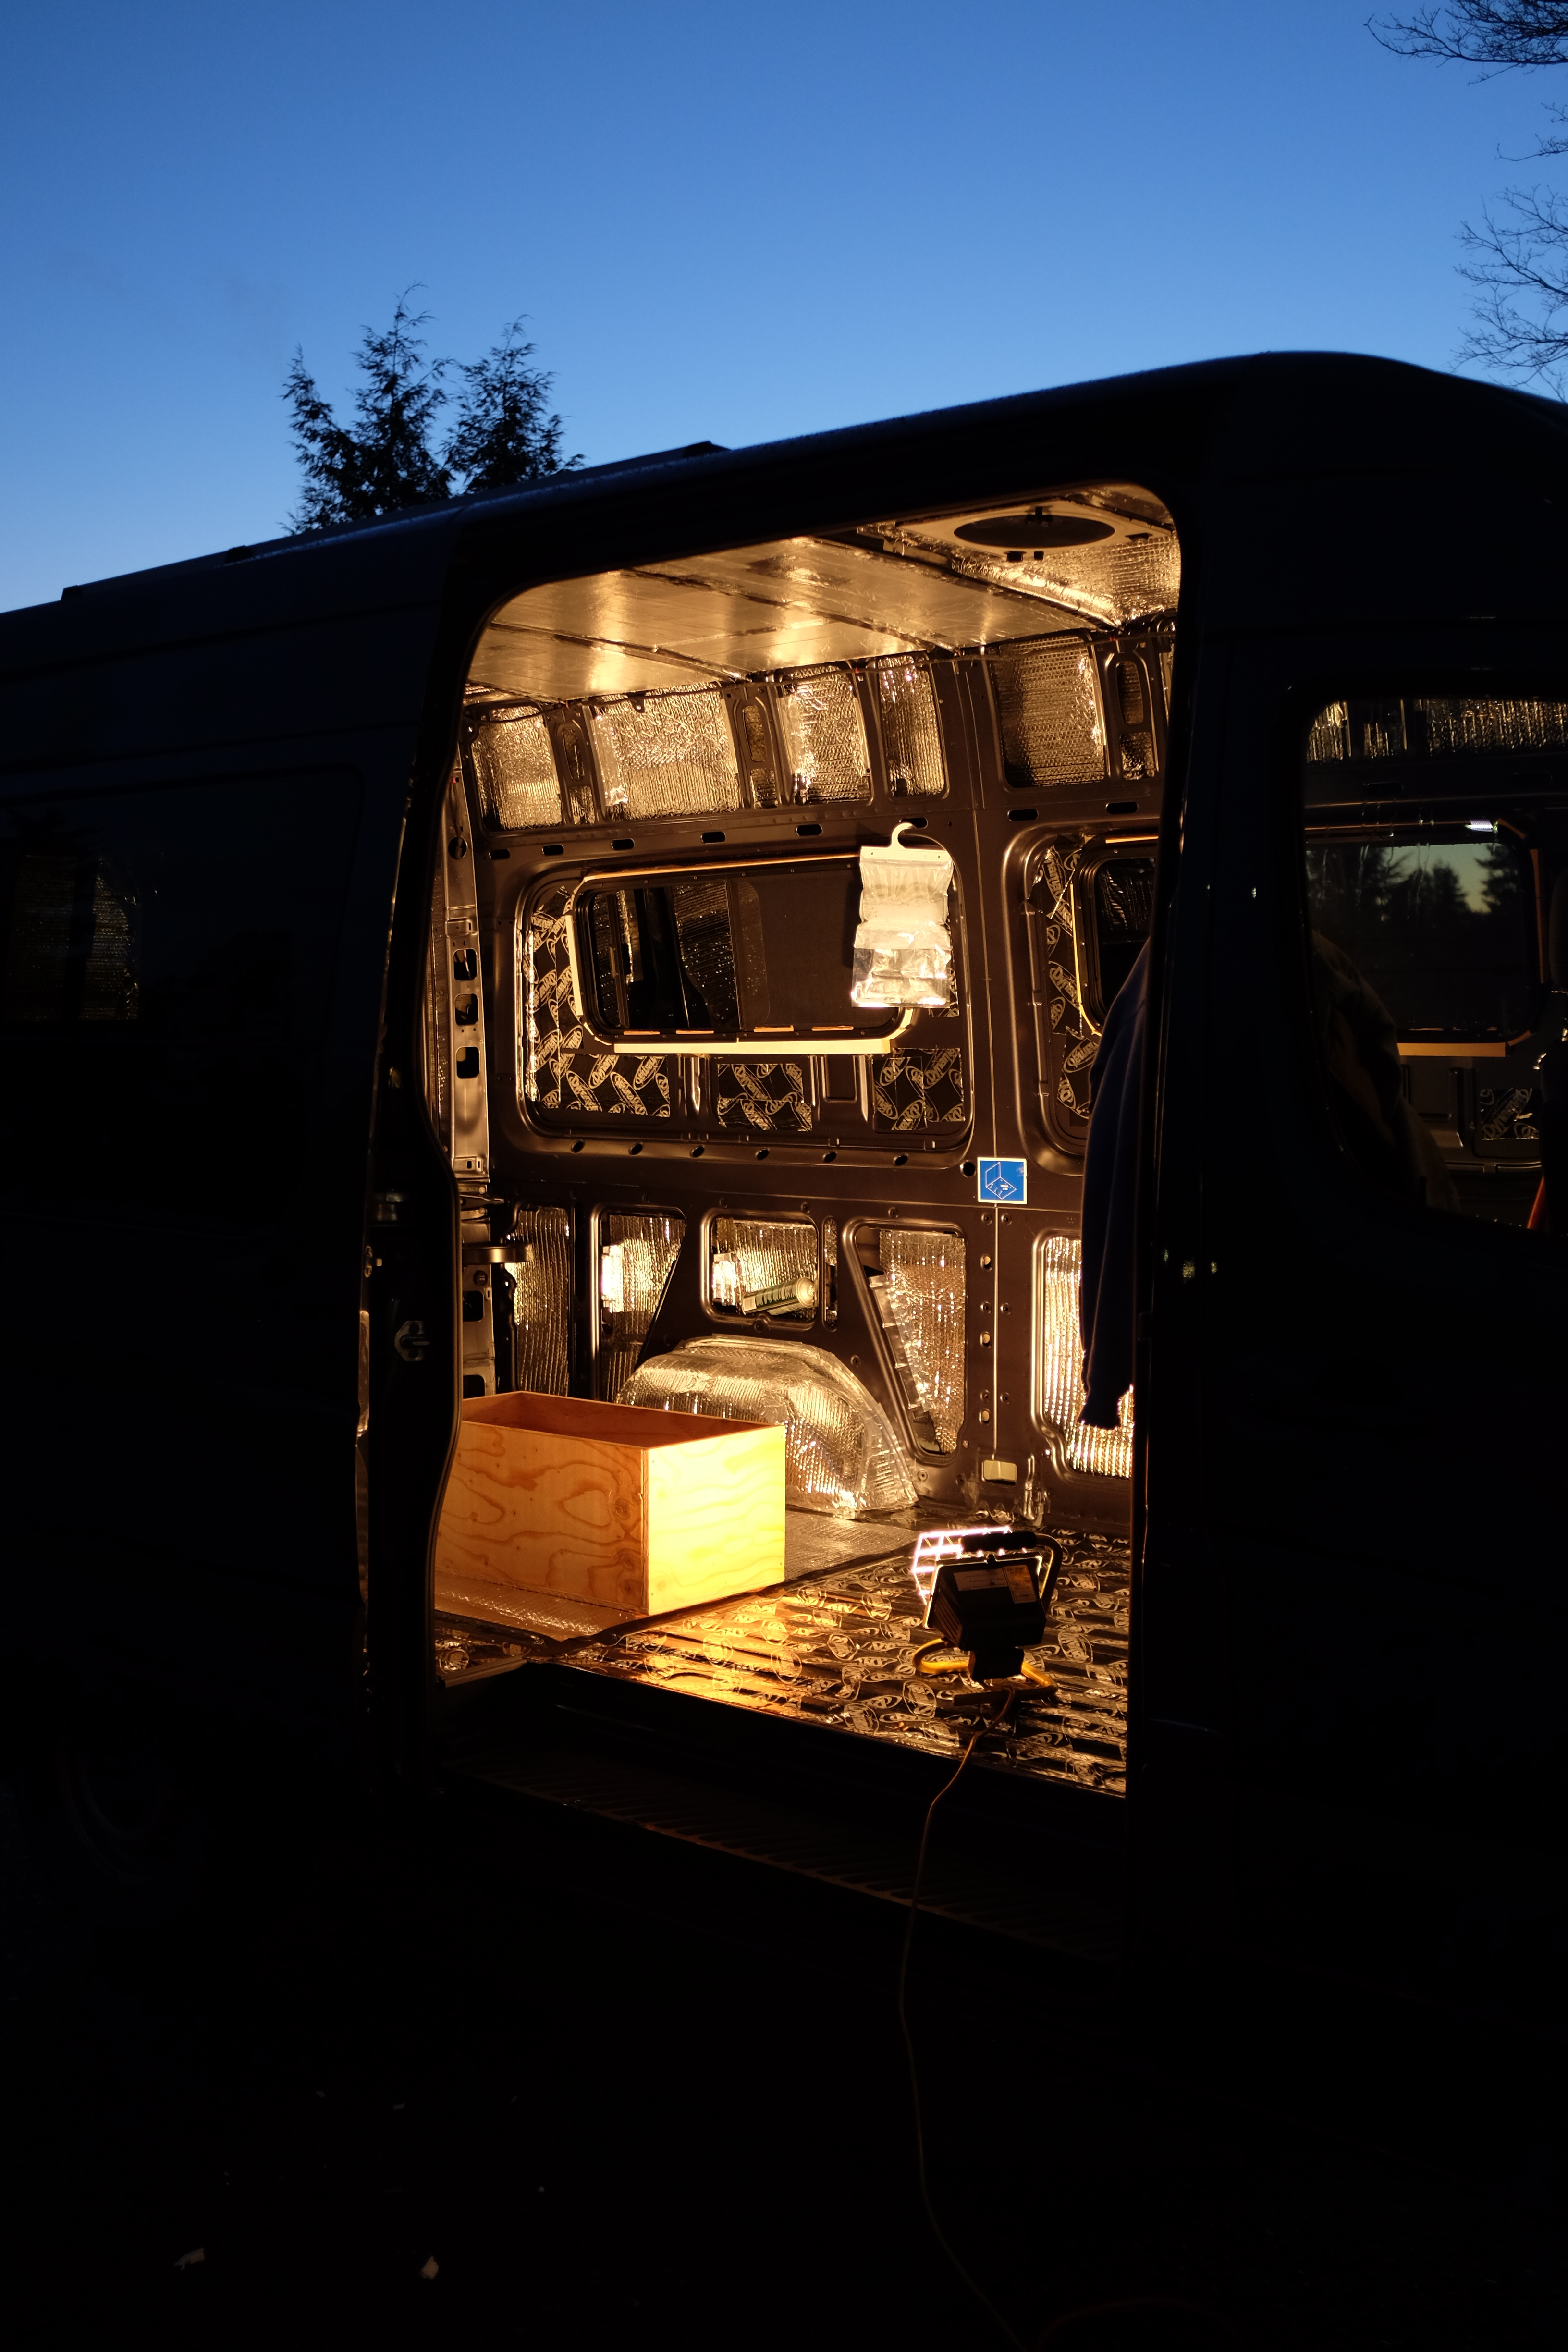
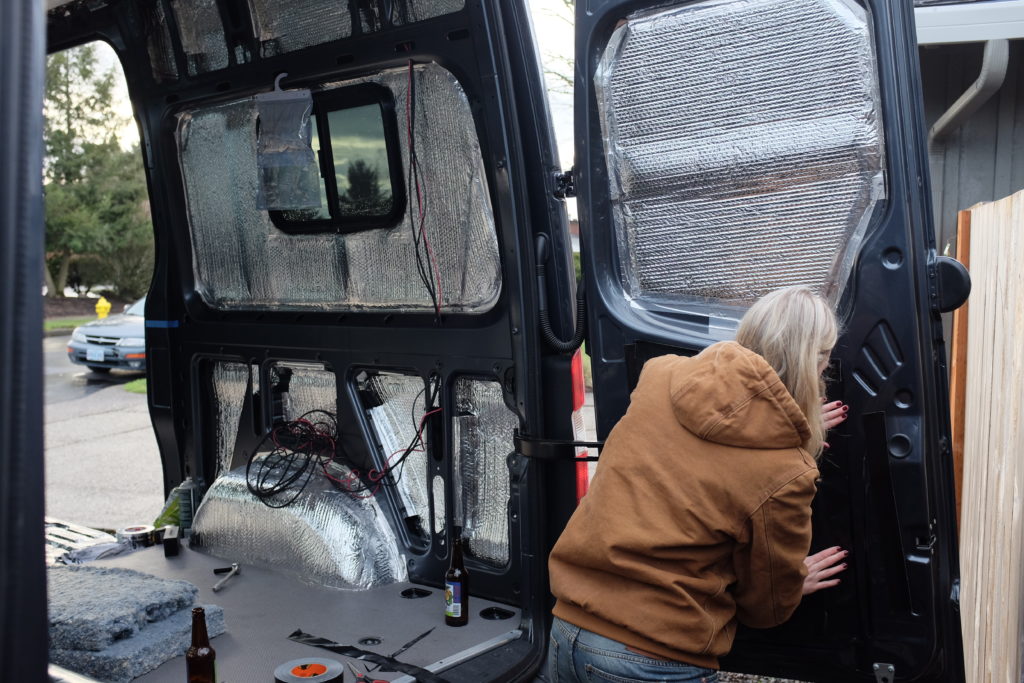
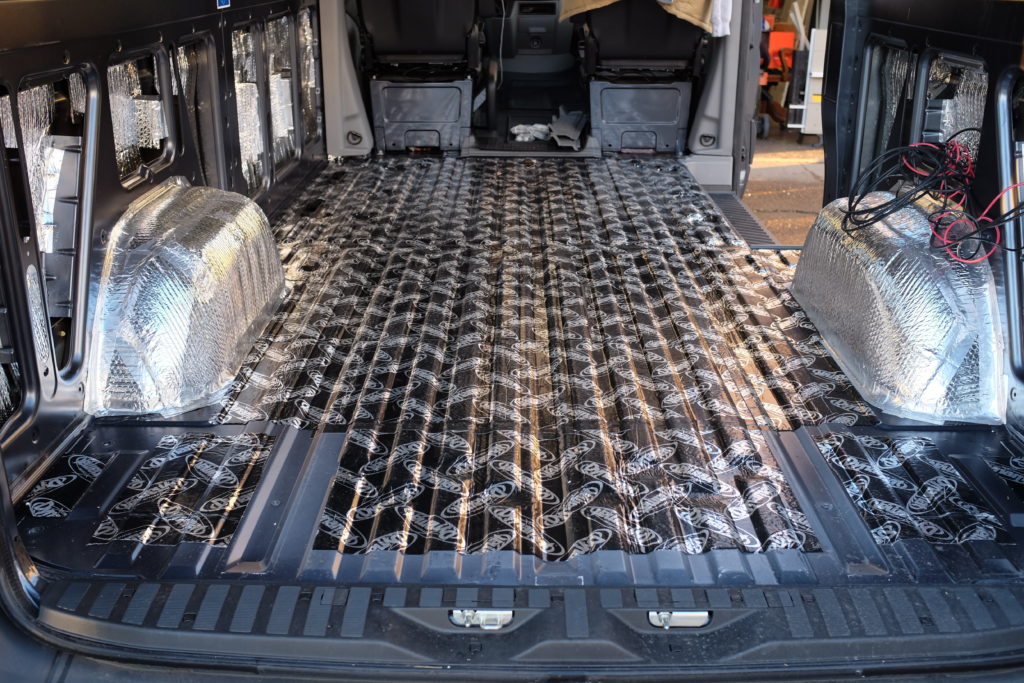
We began the insulation process by dynamatting most blank surfaces throughout the entire van (ceiling, walls, floor, doors, everything).
This helps the van sound less like an empty tin can while we drive around, and also helps soundproof the entire car. We then layered the interior in reflectix, a multipurpose insulation material that looks a little like shiny bubble wrap. We used the spray-adhesive to stick the reflectix to the van and then taped down the edges using the reflective foil tape. Although this is a little overboard, both Evan and I are a little particular with how we like to do projects and figured we would rather do too much than too little. We finished off the ceiling with rigid foam board between the support beams as its final layer of insulation. Lastly, we stuffed all possible areas with the UltraTouch denim batt insulation, adding yet another layer of insulation to the cargo section of the van.
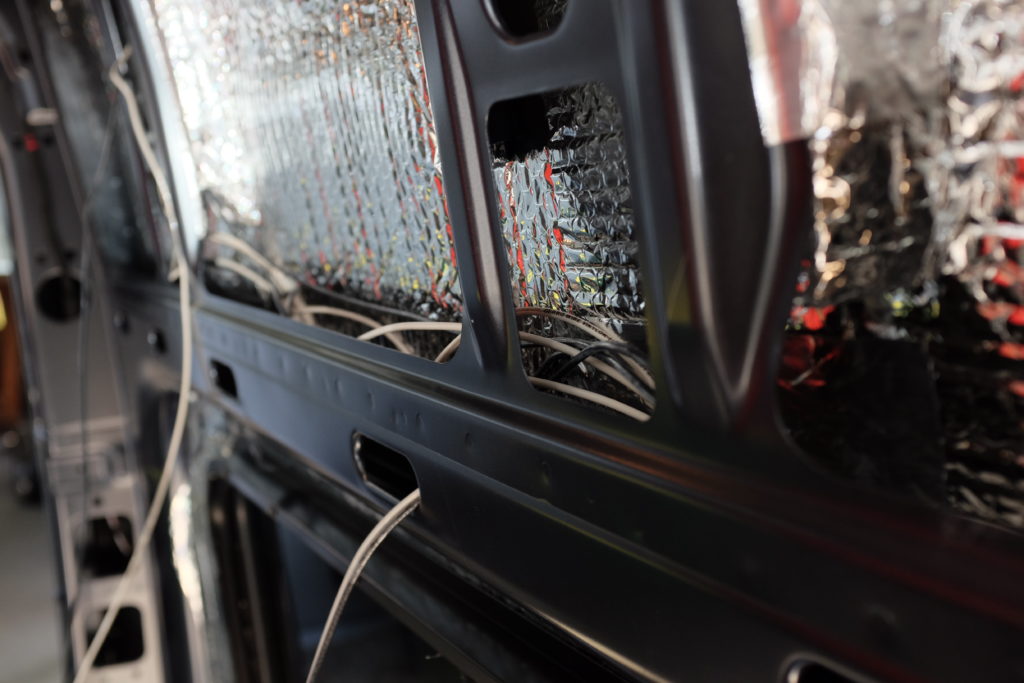
We originally thought we had the DIY sprinter solar power wiring down, but our plan had to be adjusted many times over the last few months. While we have bought (hopefully) all of the necessary pieces for our electrical system, we will not be able to truly put it together until later in the build. (FYI: we laid most of the wires between the reflectix and the denim batting, to help secure the wires down and avoid rattling while driving around).
As of now, the following wires are laid for our DIY sprinter solar power:
WIRES IN ELECTRICAL
- 2/0 gauge for between the batteries and inverter
- 4 gauge for the fuse box and fridge
- 12 gauge for the ceiling fan
- 12 gauge for the ceiling fan
- 12 gauge for the ceiling fan
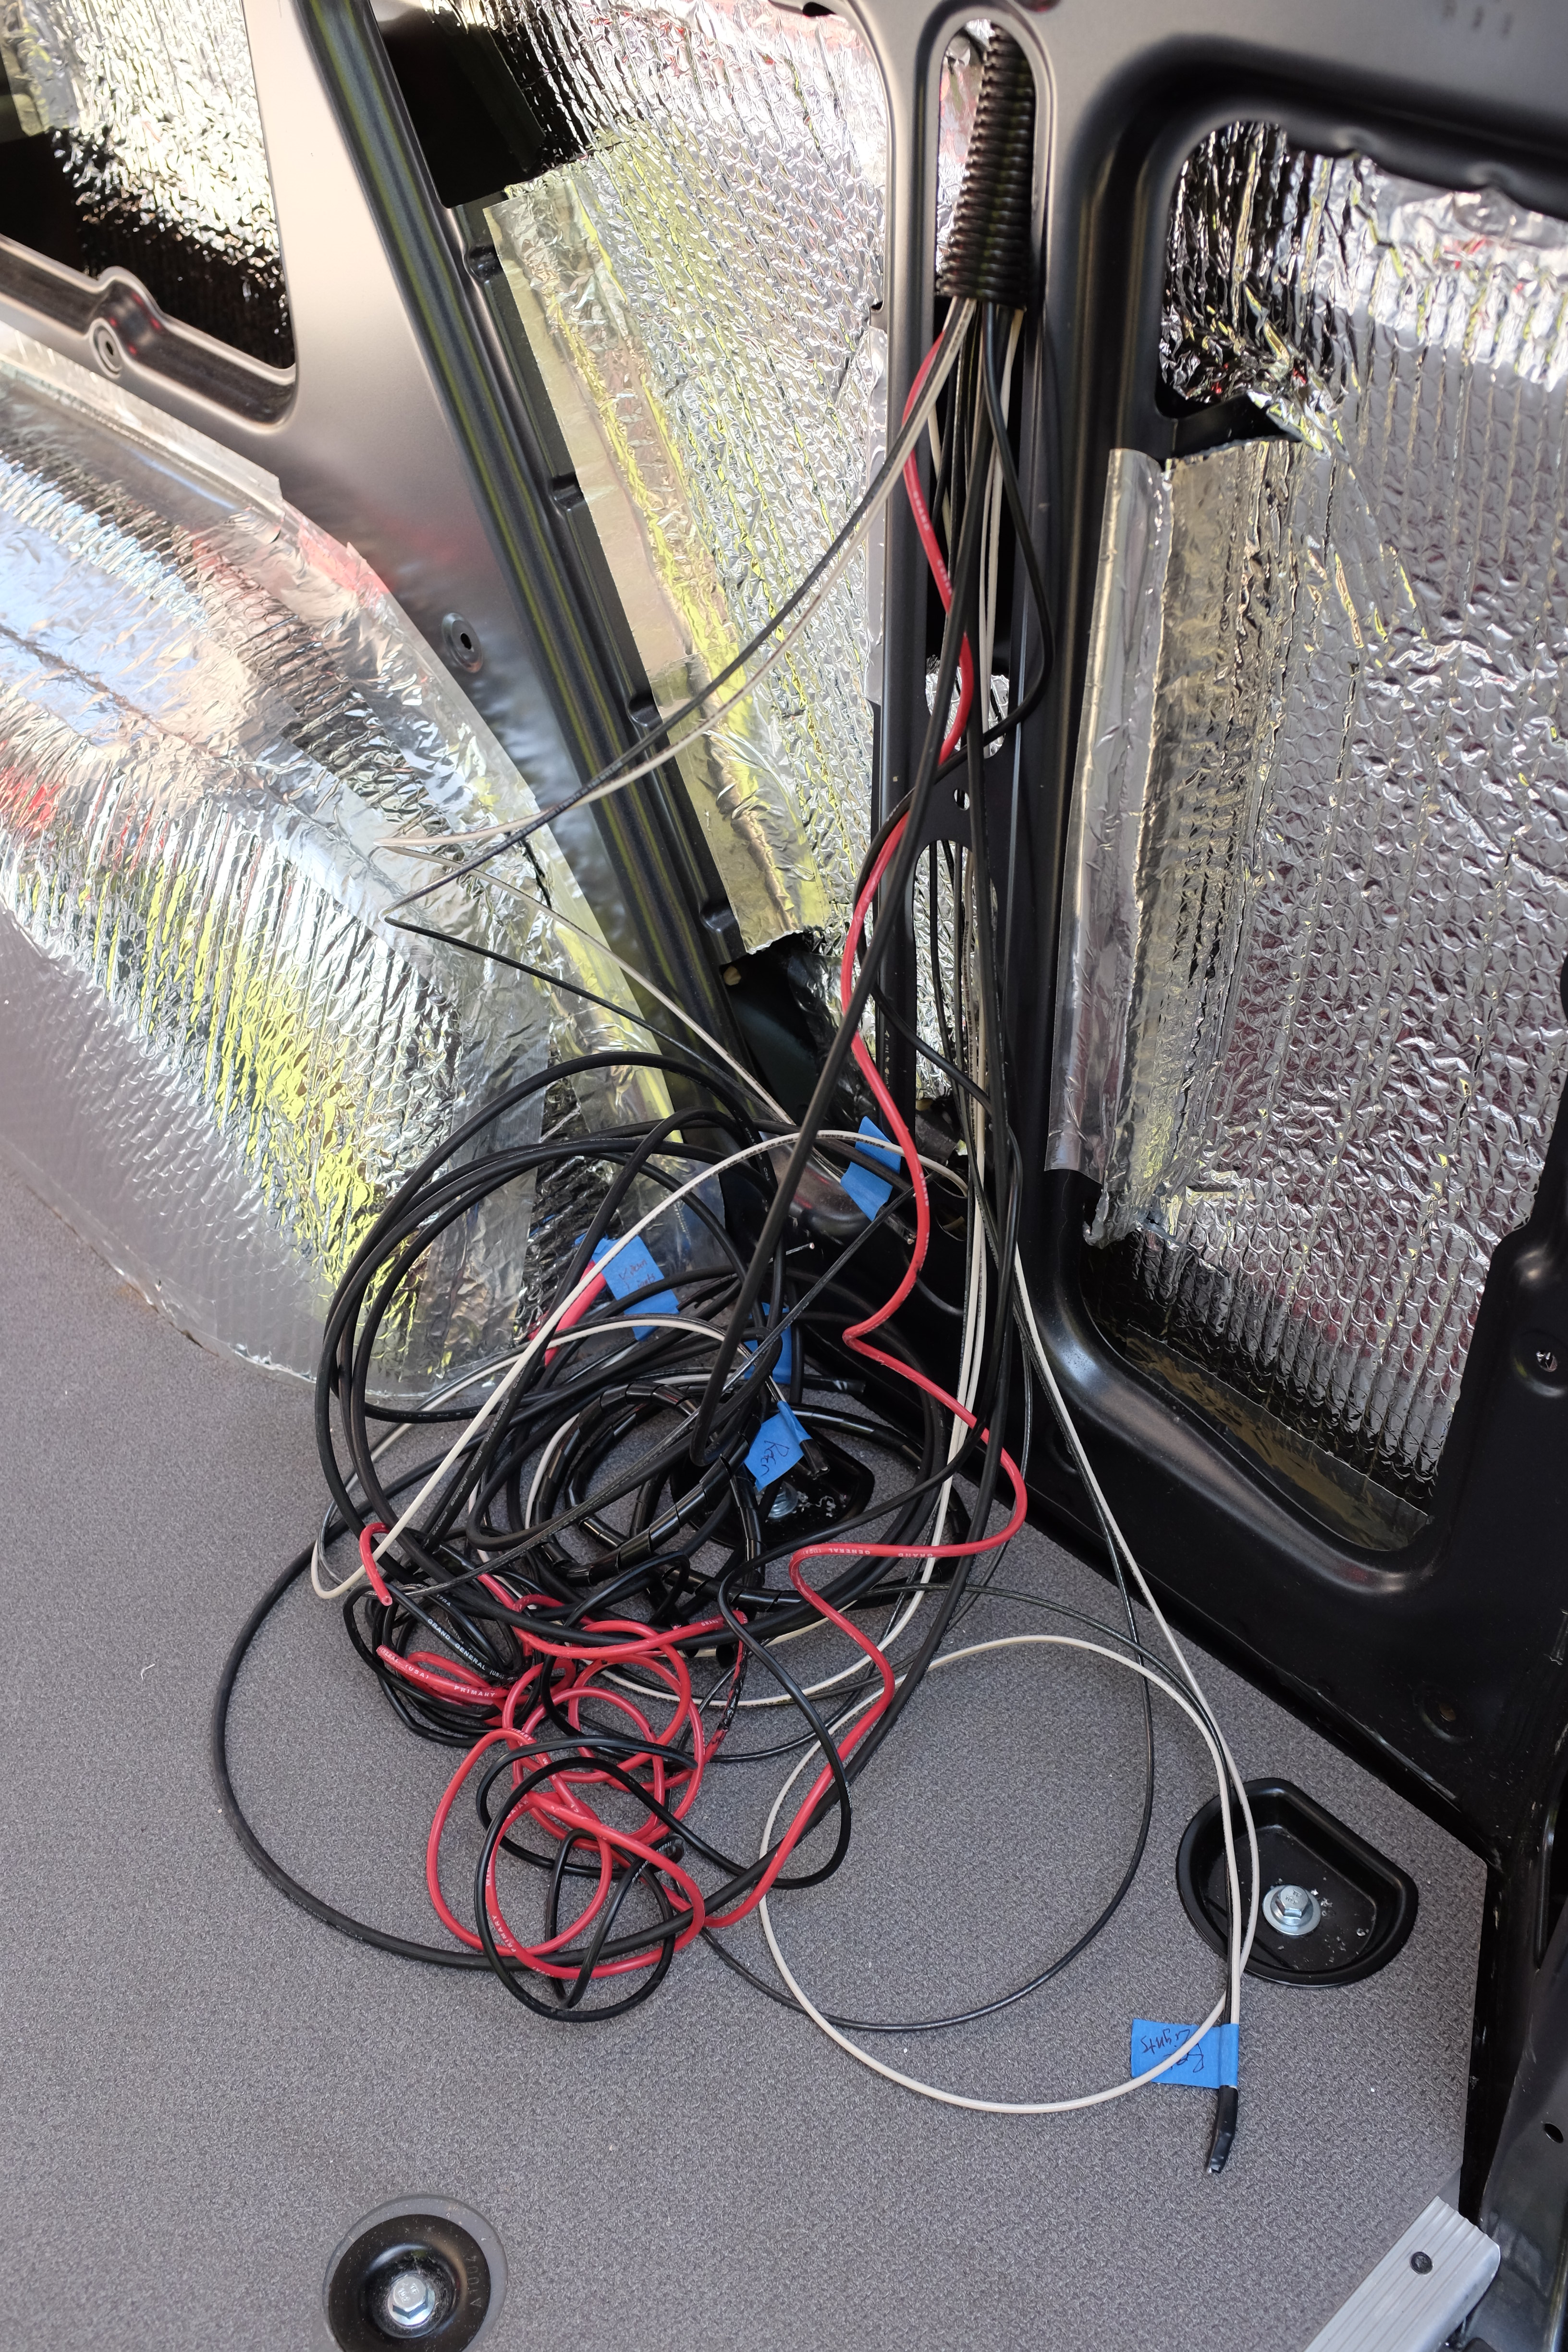
The wiring required a few holes to be drilled in the interior frame of the car, to ensure that wires would be tucked behind the necessary insulation. We used split-loom to keep large clumps of wire together and zip ties to secure the run of the wire to the walls throughout the van. The end of each positive/negative wire is currently labelled and sealed off with blue tape, to make the process of connecting the actual electrical system items a little easier. Once we install the wall, floor and ceiling boards, we can begin to connect the necessary electrical items to their corresponding wires.
The other section of the DIY sprinter solar power electrical system we were able to tackle is the battery bank. We cut 2/0 gauge wire into roughly 6.5” sections, used a box cutter to remove a small section of the exterior material on the wire and put a stud copper lug on each side. The TEMCo hammer lug crimper worked wonders to secure the lugs on each end of the wires. We would definitely recommend buying it for this step of the process. Then we cut small sections of the heat shrink tubing, slipped these over each connecting lug/wire, and melted the tubing with a heat gun (highly recommend buying the glue lined marine tubing!) We did this process 10 times, creating enough battery connectors to have 3 positives and 3 negatives connecting the 4 batteries, and 2 extra of each in case of emergency for later down the road. Finally, we built a thick wooden box to hold the batteries that will sit in the back of the van.
In addition to starting the DIY sprinter solar power/electrical system and nearly completing the insulation, we also purchased some miscellaneous items to help speed along the conversion process and make weekend trips more comfortable.
Our van acquired an abnormal amount of sand during our first beach trip so we bought a WeatherTech custom fit floor liner for the front of the van. We also picked up some matte black exterior decor, including license plate frames and a new Mercedes emblem for the front of the car. We also purchased RB component’s wood panels for our back doors and the sliding passenger door, that we plan to seal and install within the next few weeks (unfortunately, they no longer make these).
Lastly, we caved and bought a Mr. Heater buddy, an indoor-safe portable heater.
The van came with a floor heater in the cargo section but is wired where we want to build our kitchen cabinets and also doesn’t heat the van if it isn’t running. The heater was not very expensive and runs on propane, so it won’t add to the amount of juice needed from the solar panels.
Now that the van is (nearly) insulated and the electrical system is partially completed, we’re hoping the build speed starts to really pick up. We’re excited to start working on the ceiling paneling, the walls, and the floor. No more driving around in an empty metal cargo van!