
TABLE OF CONTENTS
SO YOU HAVE A LEAK
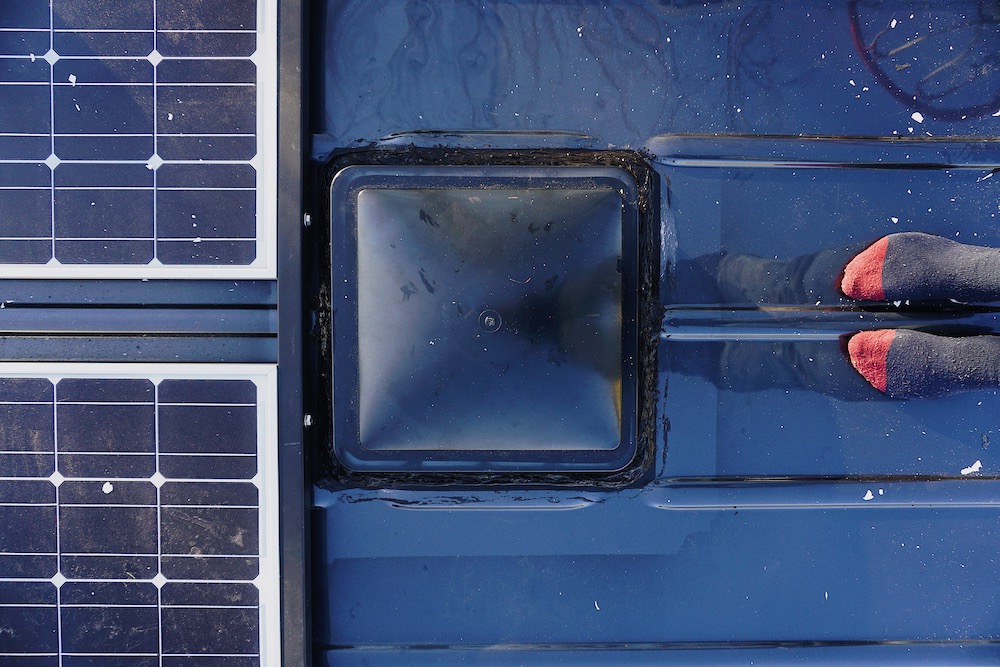
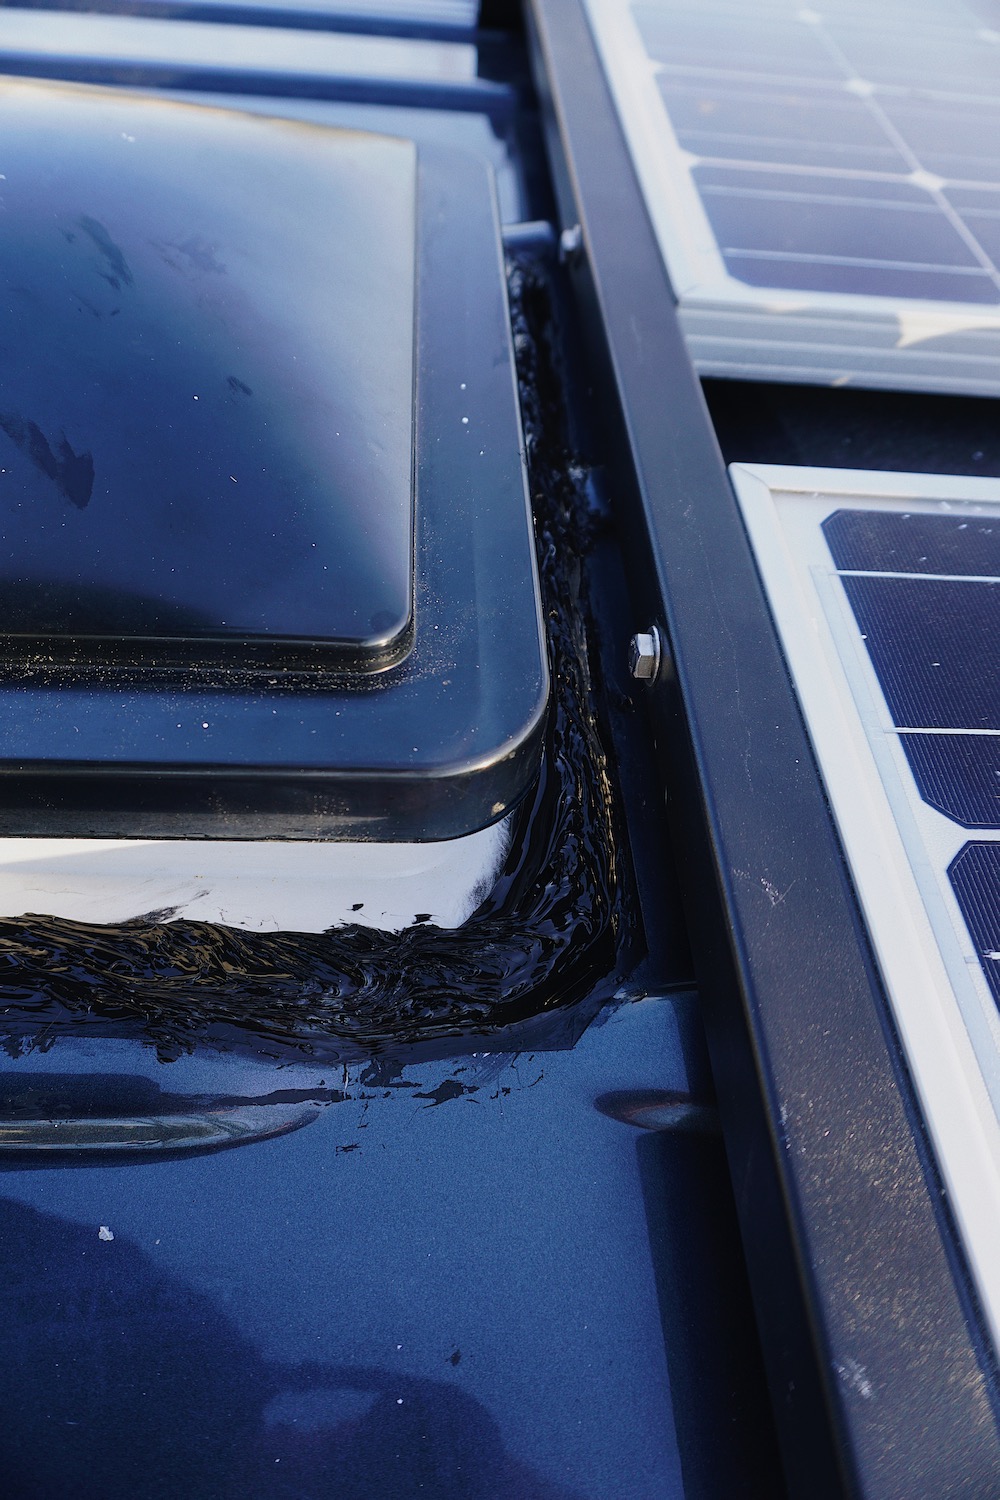
Water leaks in van and RV roof fans are extremely problematic, yet all too common. Over time, moisture caught behind walls or within insulation can cause mold, not to mention long-term damage to surrounding materials. For many van conversions, searching for a leak or water damage is complicated. It requires uninstalling cabinets, removing walls, and essentially taking apart your entire build. So you can only imagine my disappointment when my Fantastic-Fan started leaking.
Surprisingly, leaking fans are not talked about very much on blogs or social media. Yet it seems as though every vanlifer I’ve met has had some sort of experience with a water leak. It doesn’t matter whether your van build is of the highest quality or if you chose to put in minimal effort during certain steps of the process. Overtime, sealants will age and likely crack.
If there is only one thing you take away from this article, let it be this: the moment you notice a leak, handle it. The longer you put it off, the worse it will get. Projects in a “completed van build“ can seem daunting, especially when you’re living on the road full-time. But hey, isn’t that kind of what we signed up for with vanlife? Unpredictability, challenges that will help us grow, and being extremely close with the outdoors, even the rain.
PRO TIP

I used multiple of these throughout my first van build and just always had one hanging inside. They suck up moisture pretty well and help avoid condensation. You can clearly and easily see when they need to be replaced. Plus, they're cheap (3 for $10)!
COMMON MISTAKES - WHY IS THE FAN LEAKING?
- The wrong material was used to seal. Make sure you have the right kind of silicone, although I highly recommend using butyl tape as your main form of sealing.
- Silicone was not properly applied. A proper seal doesn't exist, likely because there are air bubbles serving as tunnels for water to literally slide into your van.
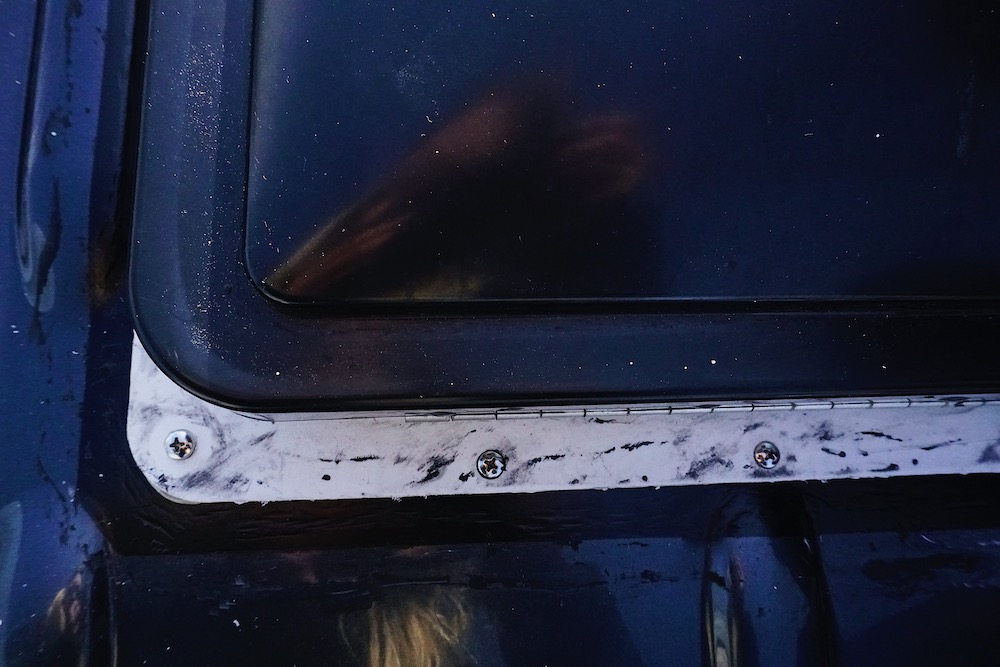
- Screw holes not fully utilized. I can't believe this but there were only 4 screws installed when I removed my fan. The Fan-Tastic Vent fan comes with 16 pre-drilled holes in the frame and 12 of mine were just filled with silicone. This is literally a recipe for a leaking fan.
- Pilot holes drilled into the roof of the van are too large in diameter. If the screws have nowhere to bite, your fan will basically just be held together by the stickiness of butyl tape or silicone, and not mechanically by the screws at all.
- Trying to fix the leaking fan by just adding another layer of silicone to avoid removing the old silicone and resealing the fan. Once silicone is cured, it doesn't like to stick to anything else. Adding extra layers of silicone may slow water down but those efforts will not fix a leak.
- Sealants will crack over time. This happens pretty much no matter what, but especially holds true with vans and RVs due to constant weather exposure and motion.
WHAT HAPPENED IN MY SITUATION: I purchased my Sprinter van brand new off a dealership lot and was honestly too scared to cut into the most expensive thing I’d ever purchased. I was young, unsure of myself, and very inexperienced with the van world. So I trusted a stranger at a local shop and every mistake on the list above was made. I didn’t do enough research, I didn’t provide detailed instructions, and we had no contract or promise of work quality. Looking back, I would hire a trusted builder for my van fan installation or do enough research to do it myself.
Regardless of how big or small your leak is, do your very best to assess the surrounding area for damage, especially your insulation. Feel for any dampness and look for any signs of water. I got extremely lucky in the fact that my leak was very confined. The leak wasn’t horribly heavy and could be managed by placing paper towels around the frame of the leaking fan as a temporary fix. Make sure to allow sufficient airflow and time for any leaked water to completely dry before moving forward with this process. If necessary, remove or replace any materials with mold, rust, or that may cause long-term damage.
HOW TO RESEAL THE FAN
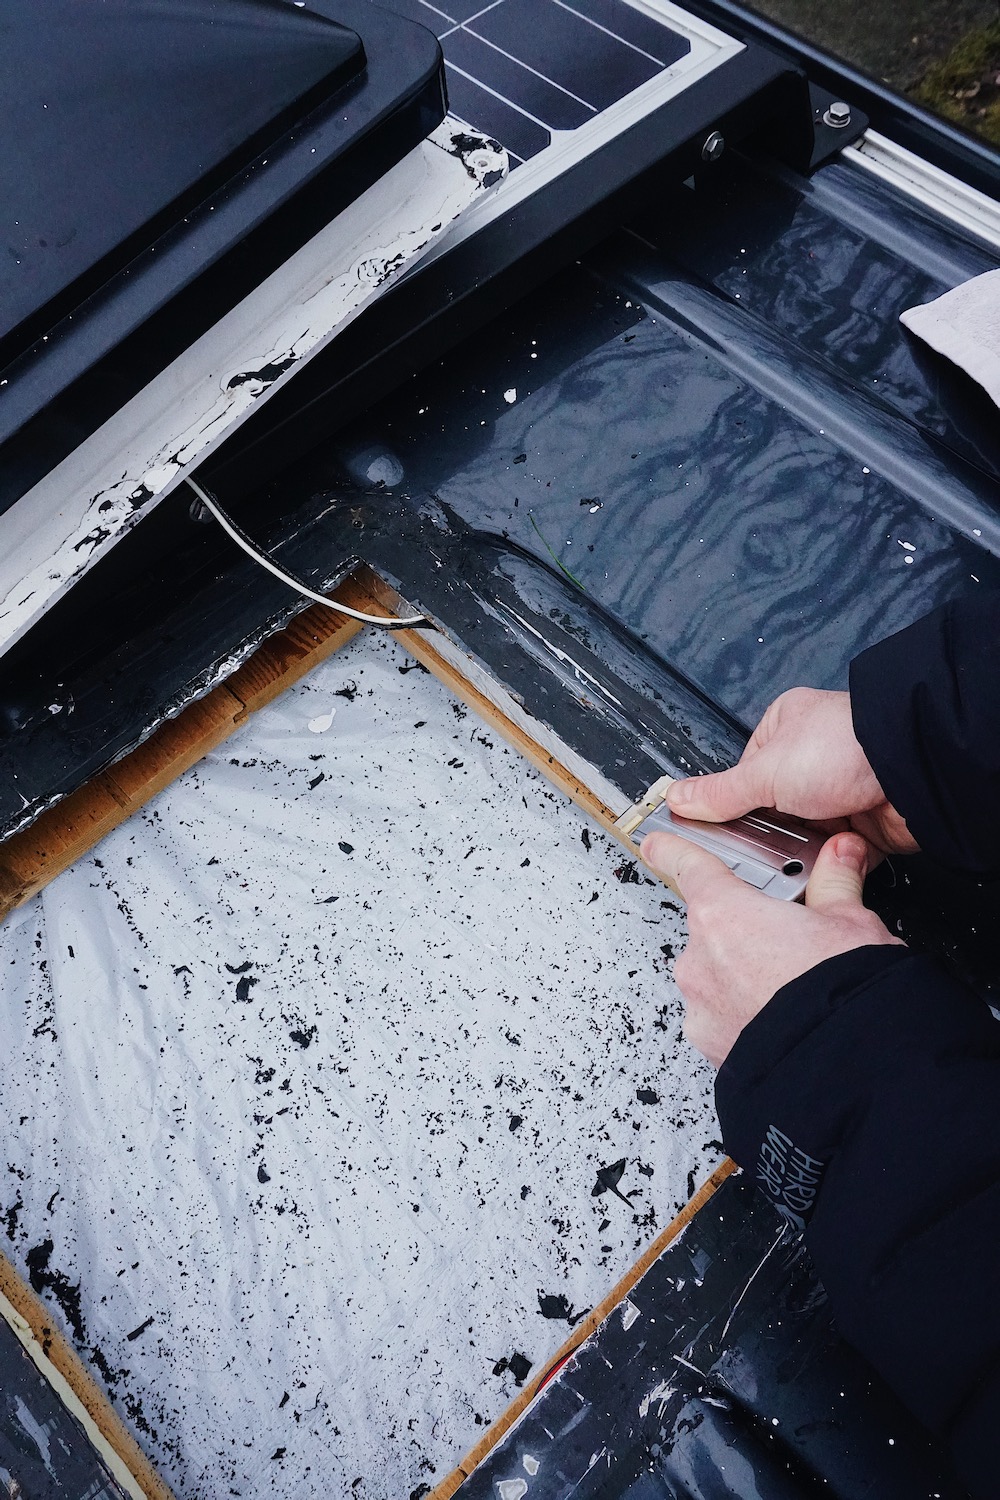
1.) Tape a bag or some sort of barrier inside your van on the ceiling, placing it underneath the exposed fan hole to avoid getting metal shavings and debris anywhere.
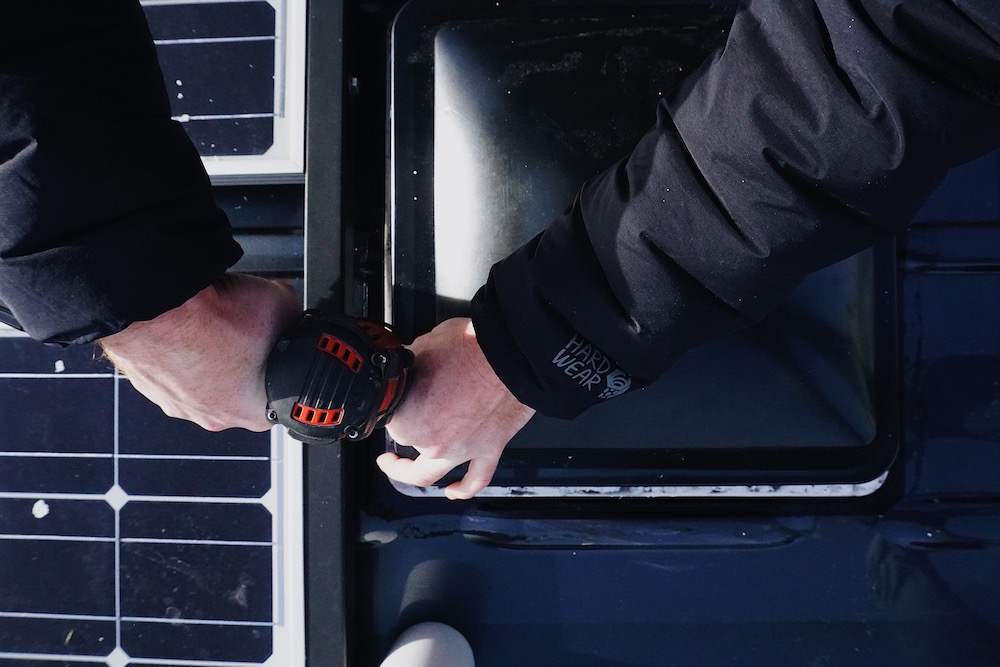
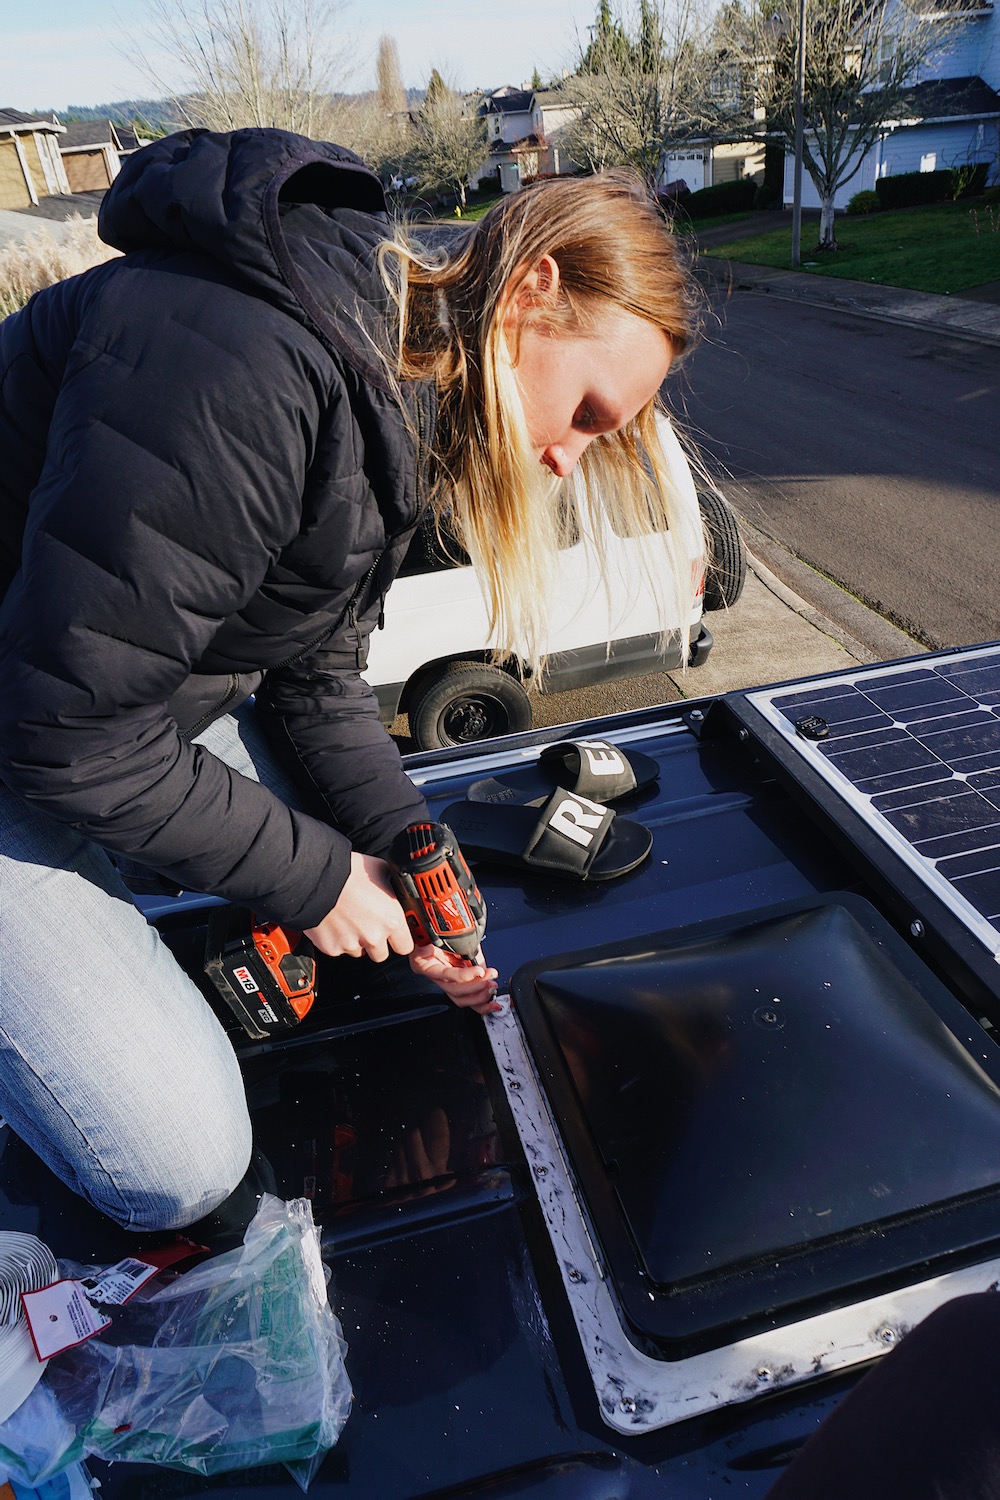
2.) Remove all screws used in the original fan installation. Mine were completely stuck in mounds of silicone so it took a fair amount of messing with the screws to eventually pop them out.
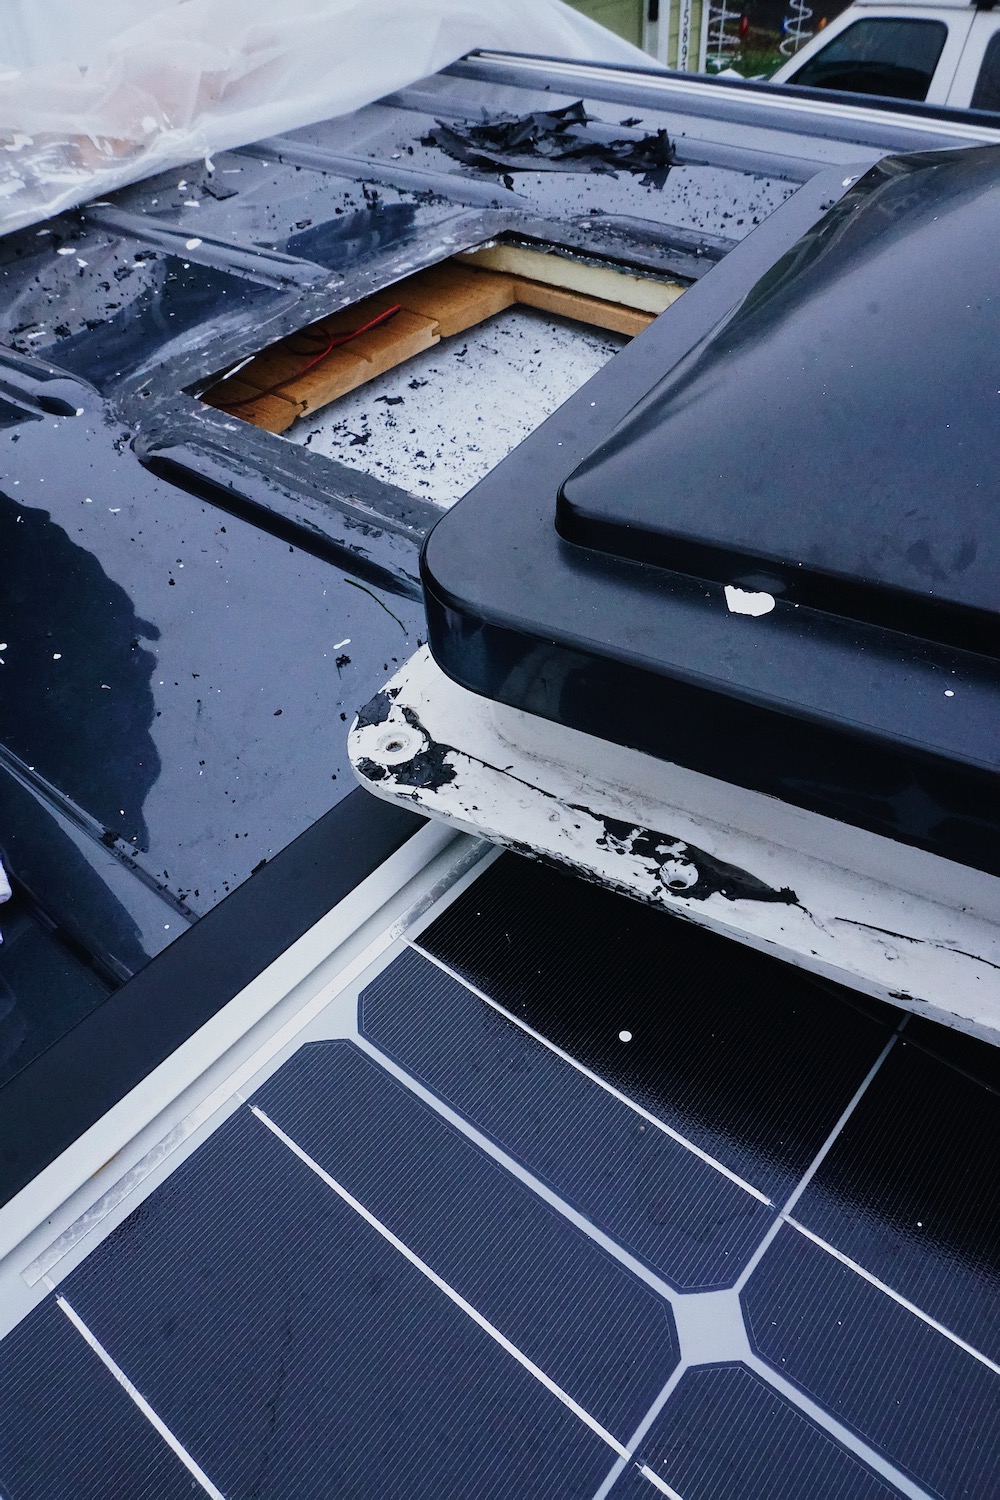
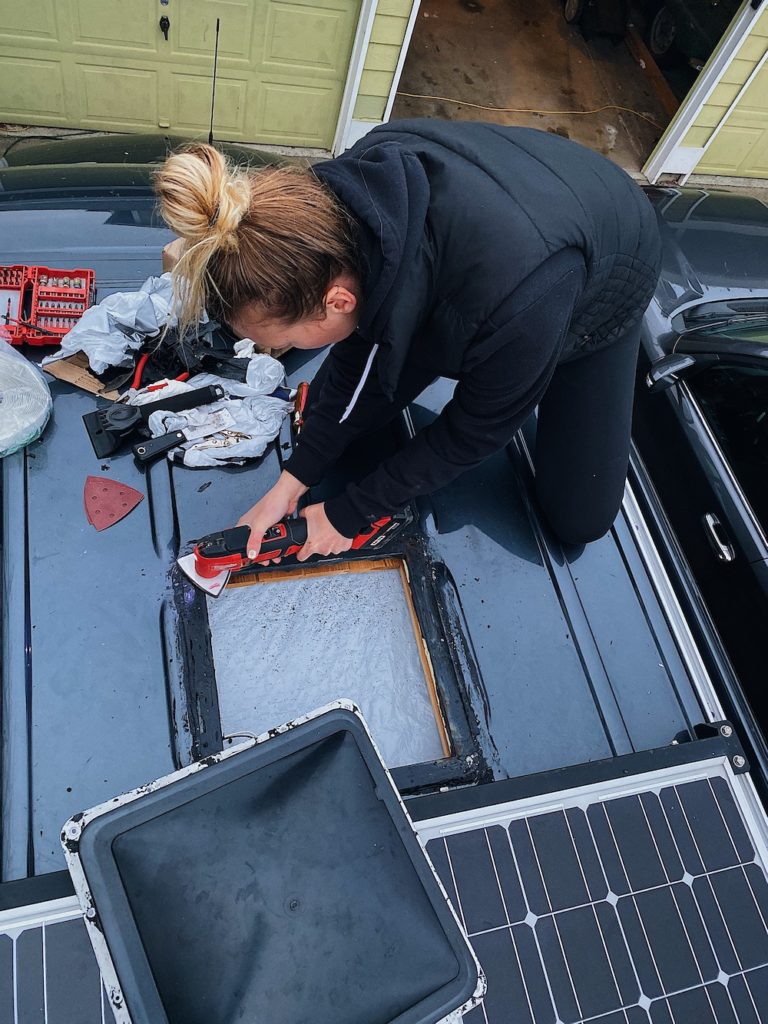
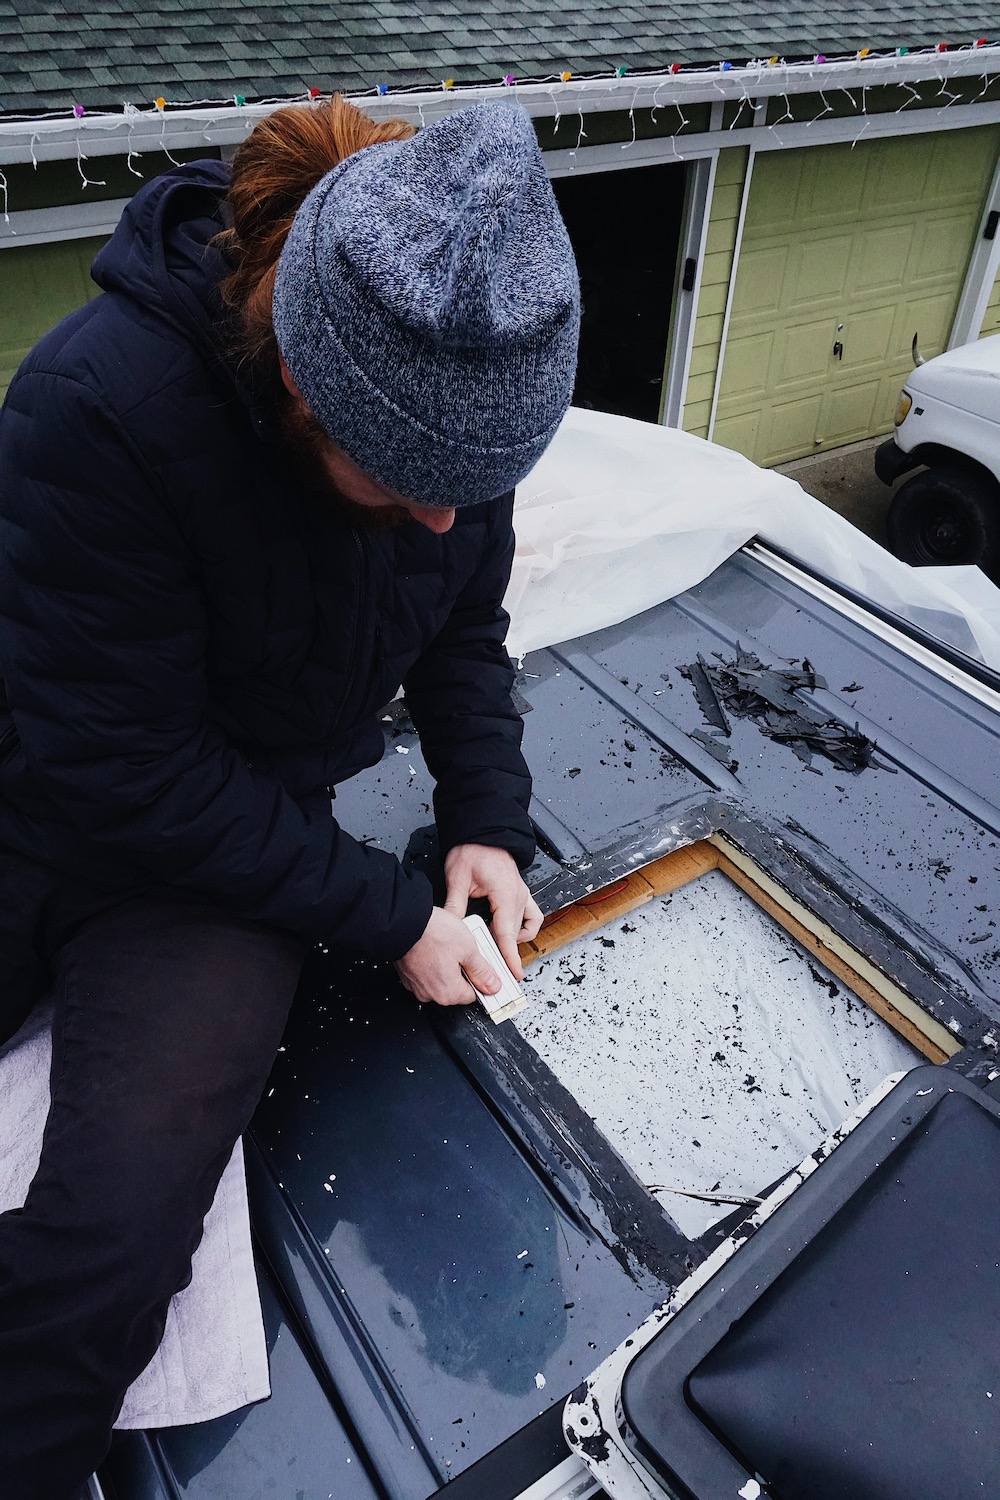
3.) Remove all the old caulking/silicone. Using a razor blade scraper, scrape away all pieces of silicone to get as close to pre-installment surface as possible. Do this on the actual roof and along the flange of the fan to remove all old silicone completely. The larger chunks you can remove, the better. Scraping away at small chunks is like grating cheese! Tip: try to get the razor blade as far underneath the silicone and as close to the roof metal as possible. This allows you to remove the mass of silicone more easily.
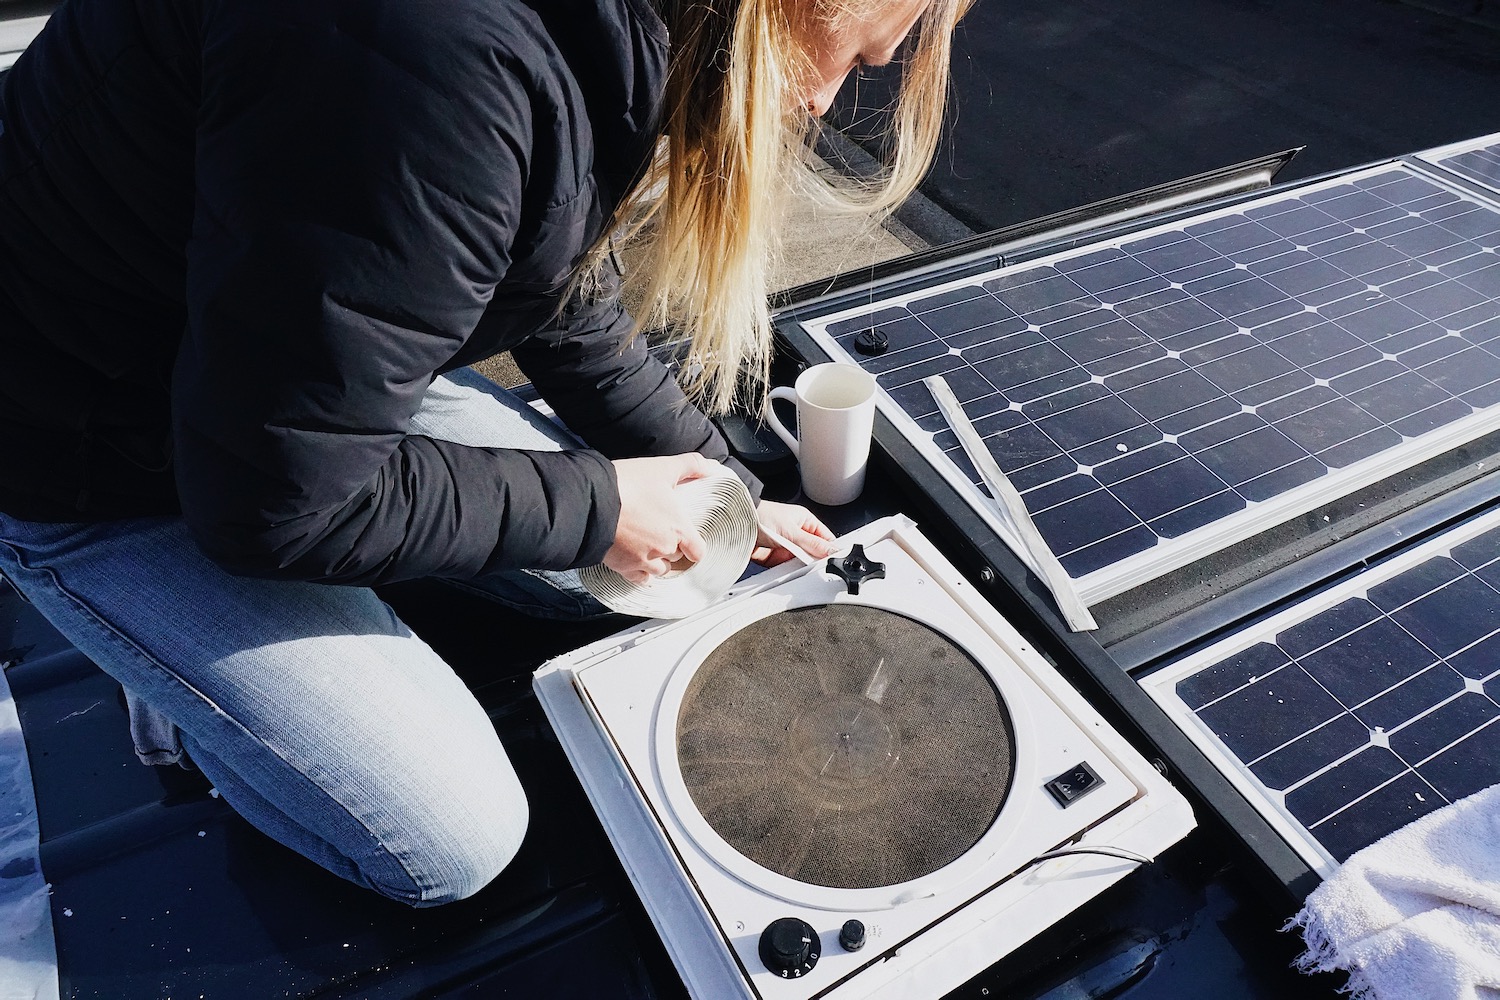
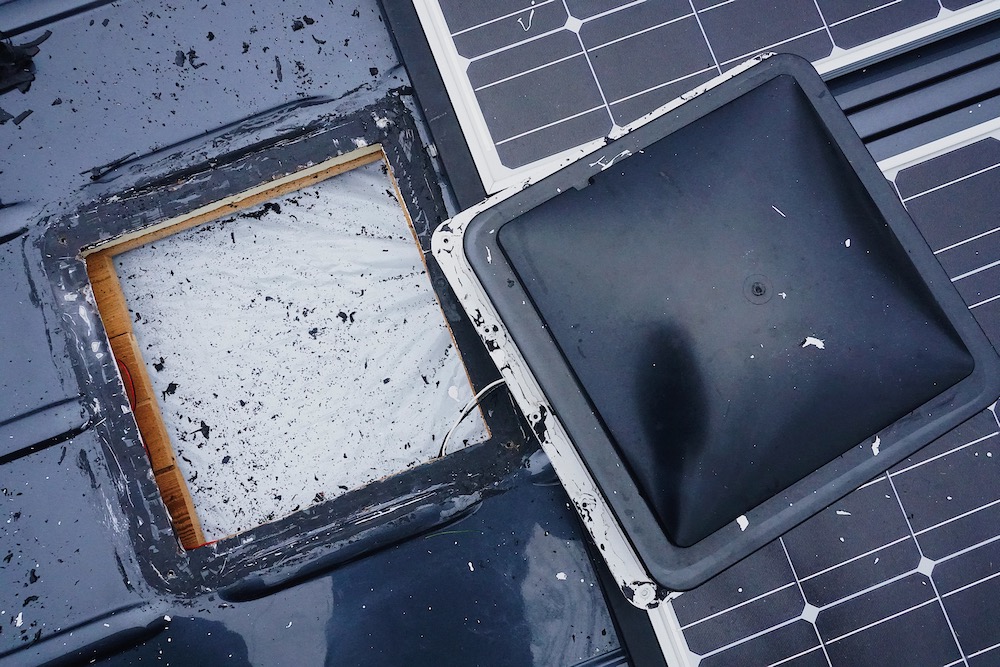
4.) Using a flathead screwdriver (or something similar), wedge your tool between the van metal roof and the leaking fan. Wiggle this around a bit as you try to loosen the fan from your van roof. If you’re having trouble, have a friend go inside the van and lightly push up on the fan as you try to pull it out. Keep working at this until you’re able to fully remove the fan from the metal but be careful of any wiring!
5.) After hand-scraping away as much silicone as possible, use an angle grinder to remove anything leftover. This will create a clean surface on the roof of the van to reseal it. (As you can see, we began with a multi-tool and sanding attachment, then moved to an angle grinder for efficiency). Grind all the way down to bare metal, even through the van paint!
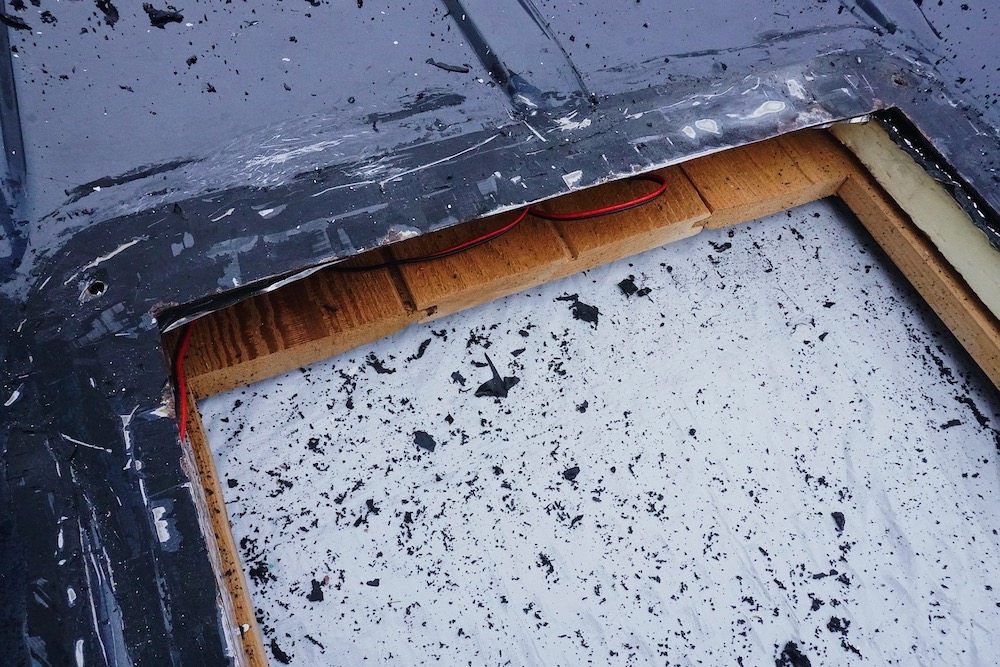
6.) If your van roof already has all 16 mounting holes drilled through the metal from the original installment, skip this step. When my fan was originally installed, there were only 4 screws installed, 1 in each corner. You need to pre-drill holes in the metal to prepare for screws later in the process OR you can skip this step and use self-tapping screws when you are ready to screw the fan down. My technique: put the fan back in the hole of the roof and mark where holes need to be drilled. Remove the fan again and use a drill bit to create pilot holes. Be careful to avoid any wires during this process. *Note: use a bit that is a slightly smaller diameter than the screws!*
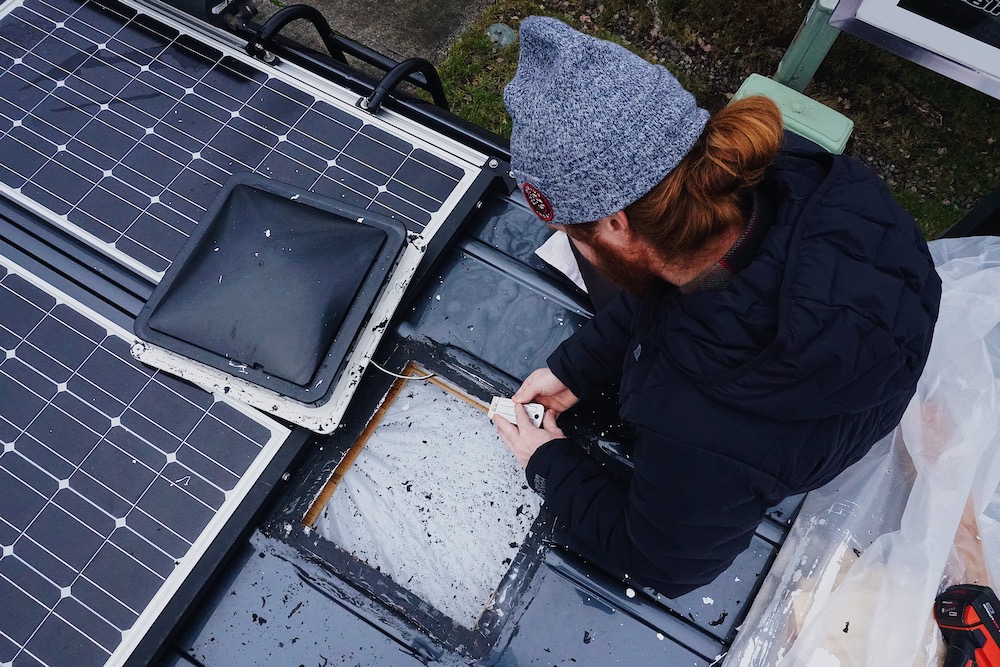
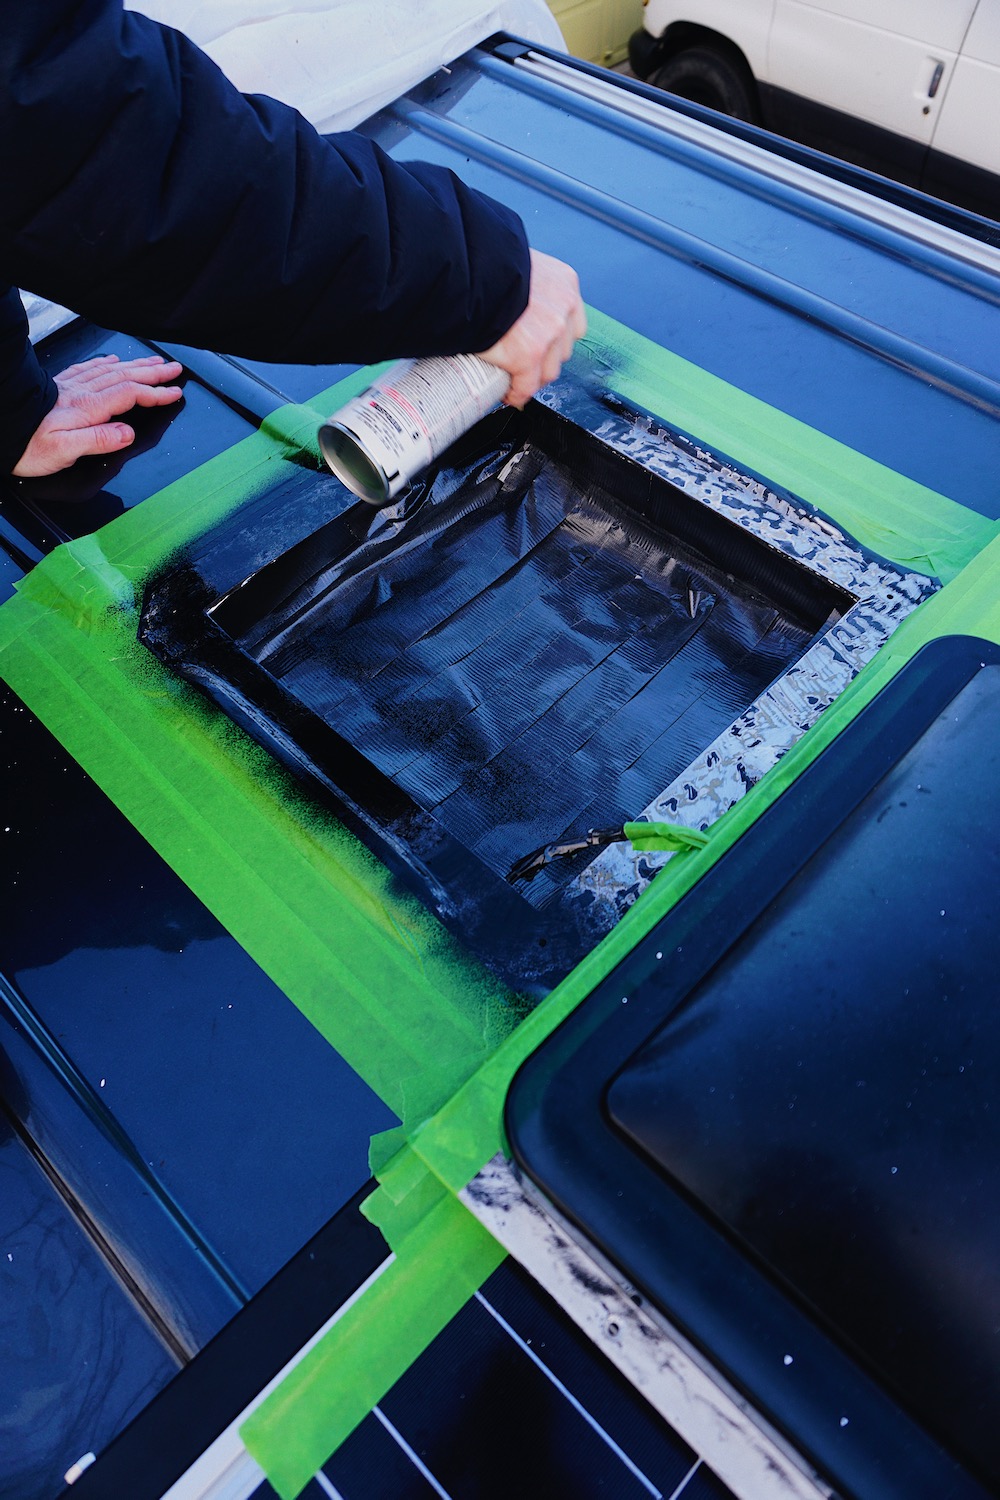
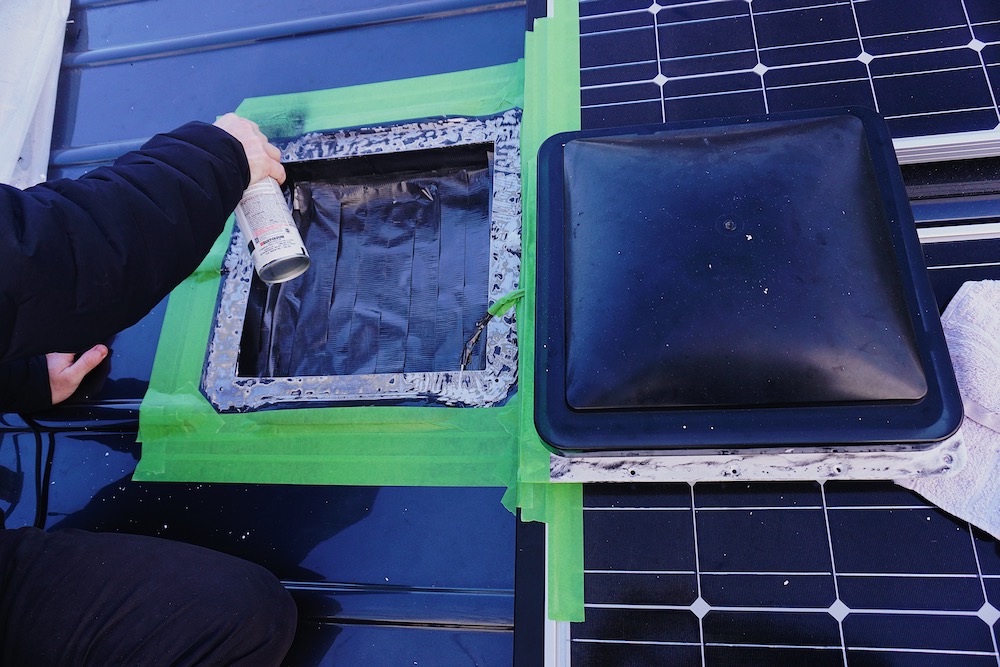
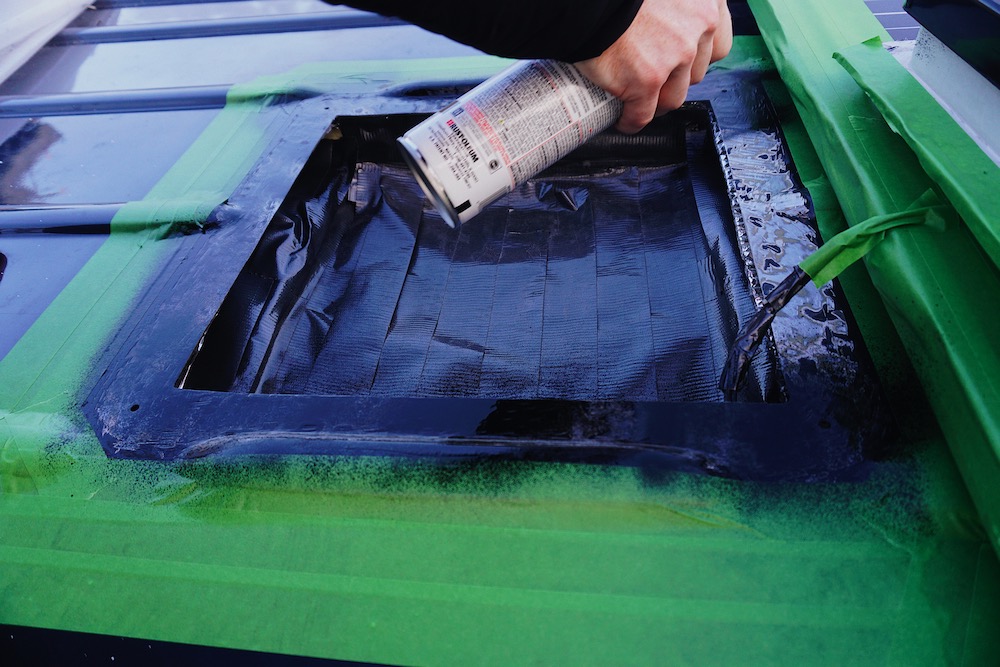
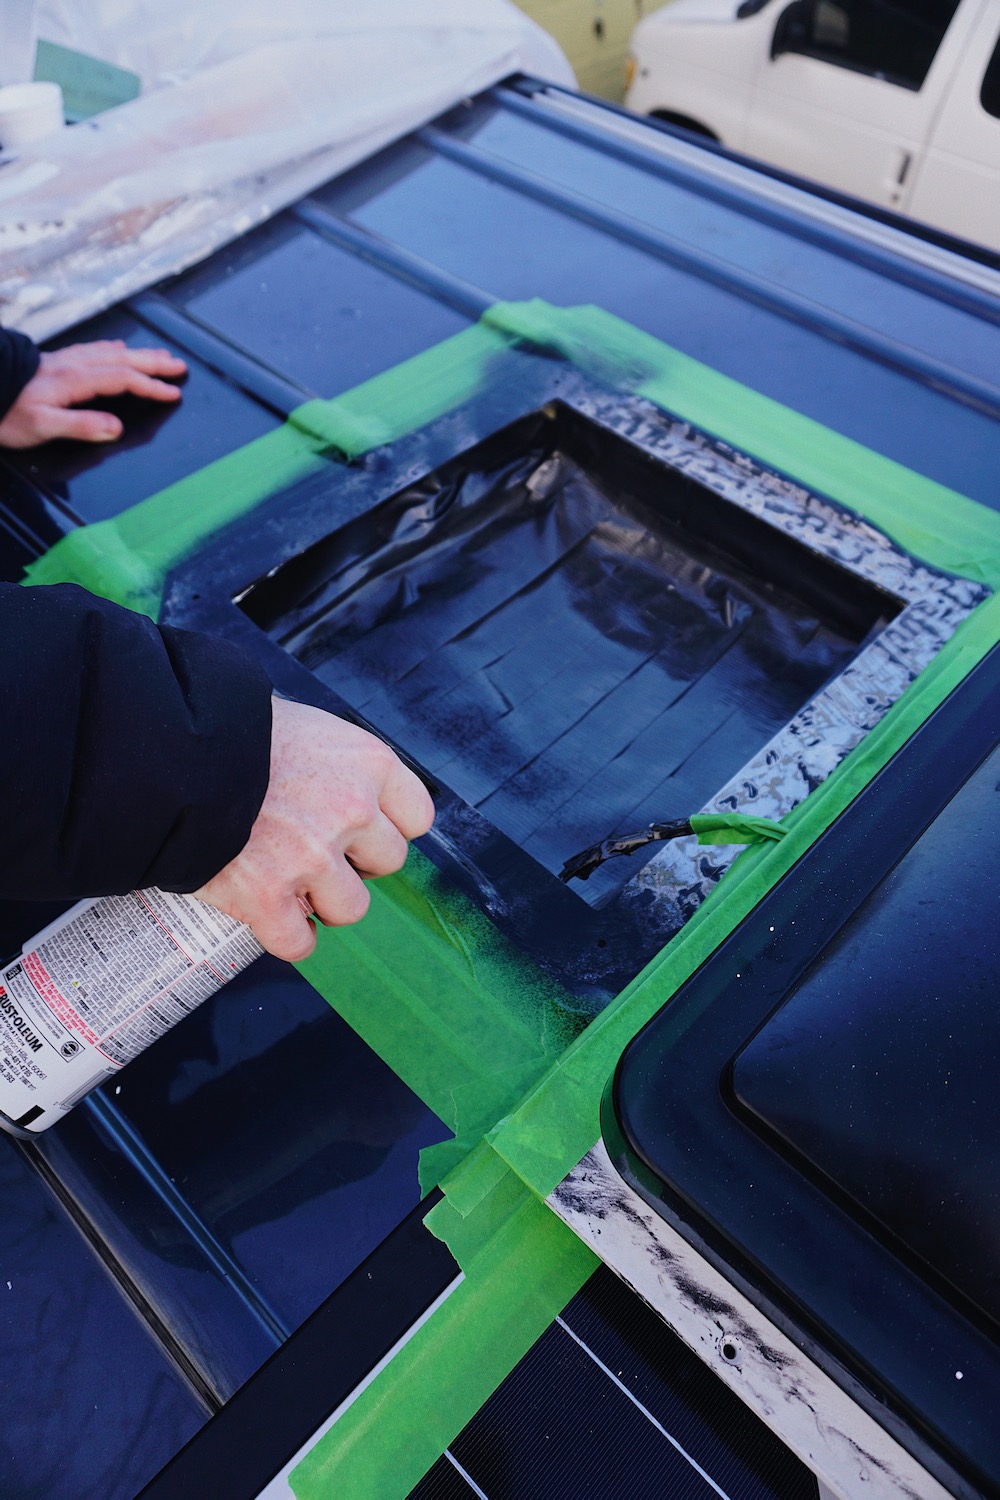
7.) Thoroughly clean the entire area. I recommend using acetone and applying with gloves and a towel for the best wipe down. Then, tape off a 2-3 inch border around the hole in the roof for painting and touching up, making sure the border is large enough to include the entire area you scraped and grinded!
8.) Carefully paint around the fan hole in multiple, thin layers, allowing paint to dry in between each layer. Make sure you paint any exposed metal and get the entire region of where old silicone was removed. Allow the paint to dry overnight.
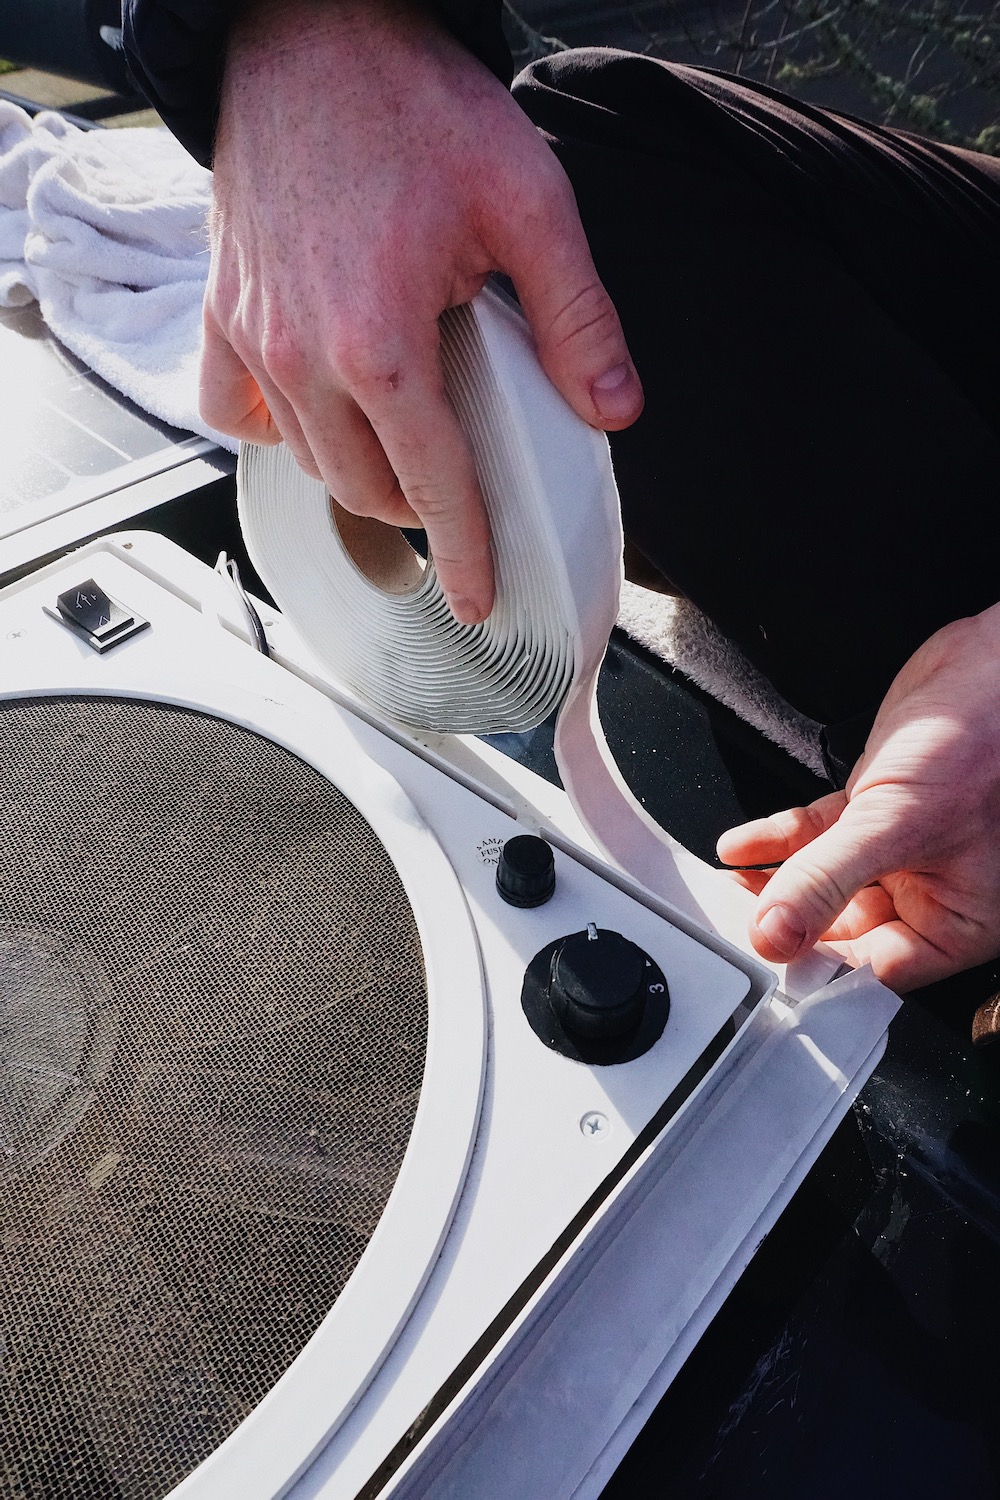
9.) Apply the butyl tape. Flip the fan upside down and apply the butyl tape to the underside of the fan flange, applying to 1 of the 4 sides at a time. Make sure the butyl tape is covering the screw holes completely and that corners are overlapping sufficiently to avoid any gaps. I kept the paper on the butyl tape as I placed it directly on the fan and then peeled it off when I was ready to install the fan.
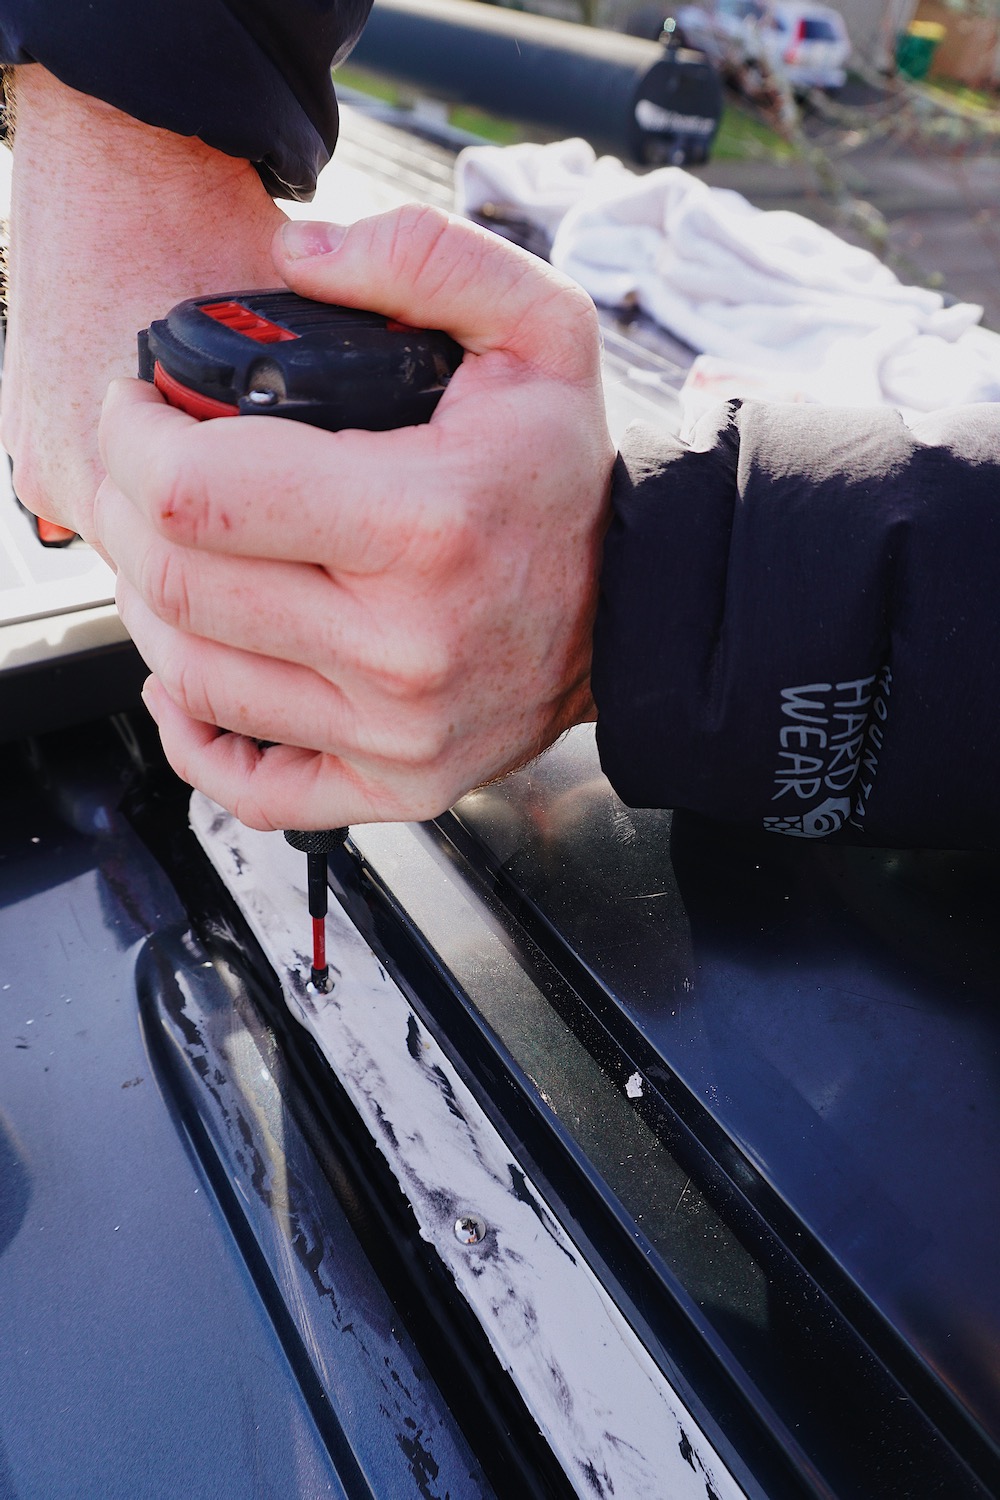
10.) Place the fan back into roof hole for mounting. Apply some pressure on flange to secure. Using sheet metal screws, screw down the fan through predrilled mounting holes, tightening the seal of the fan to the roof. Make sure you sink the screws all the way in! Remove any excess butyl tape that seeps or squeezes out beyond the fan frame.
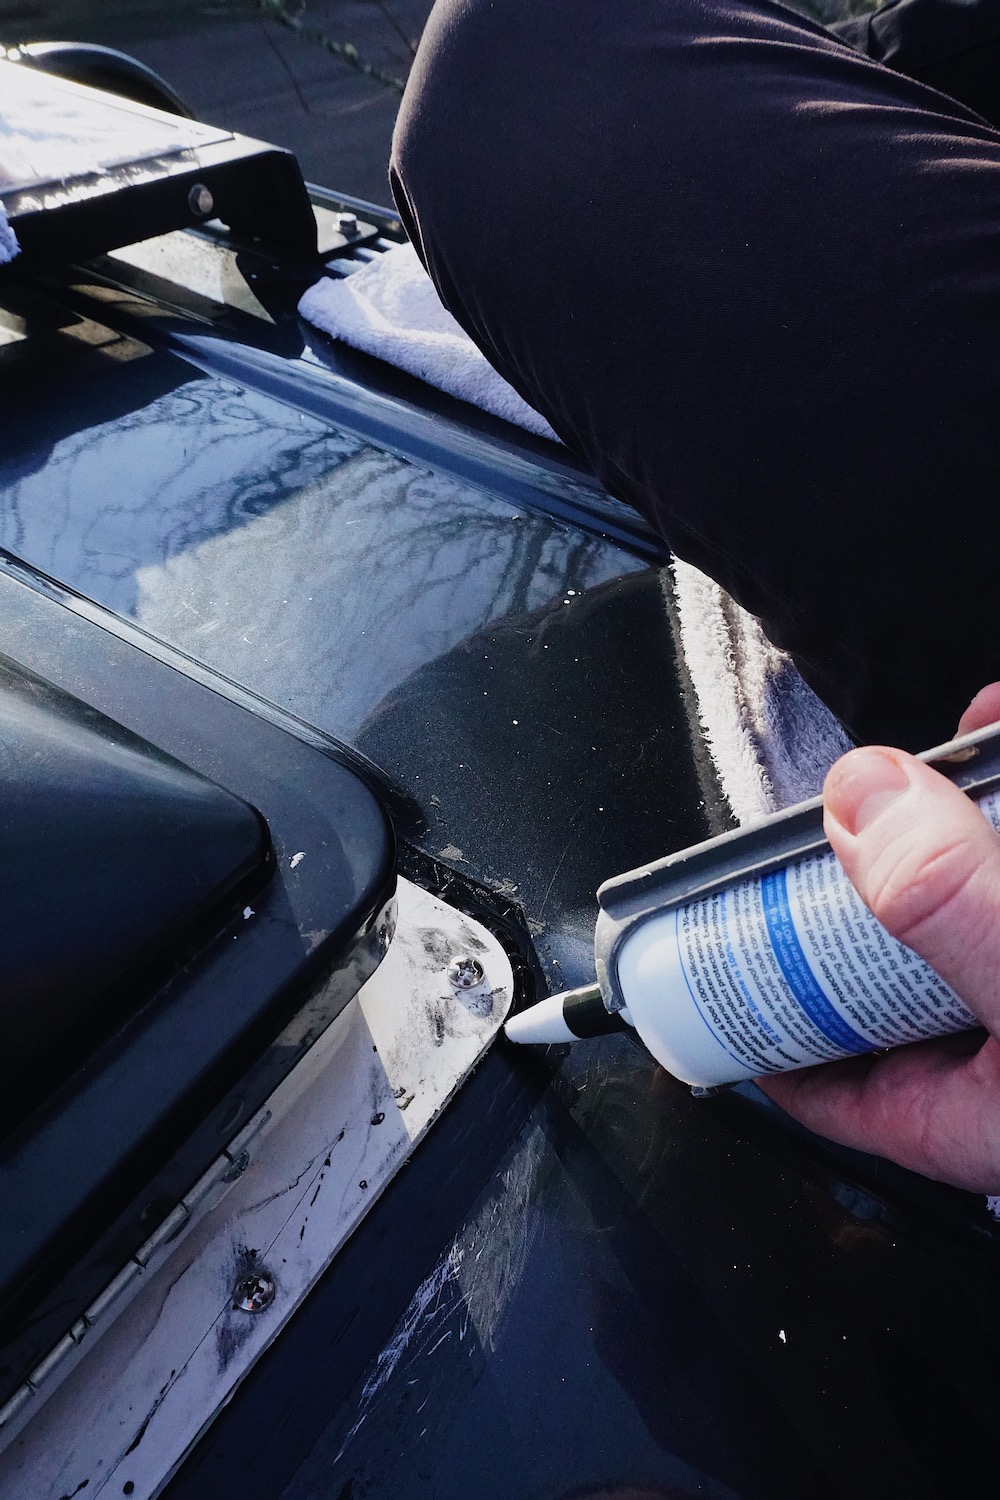
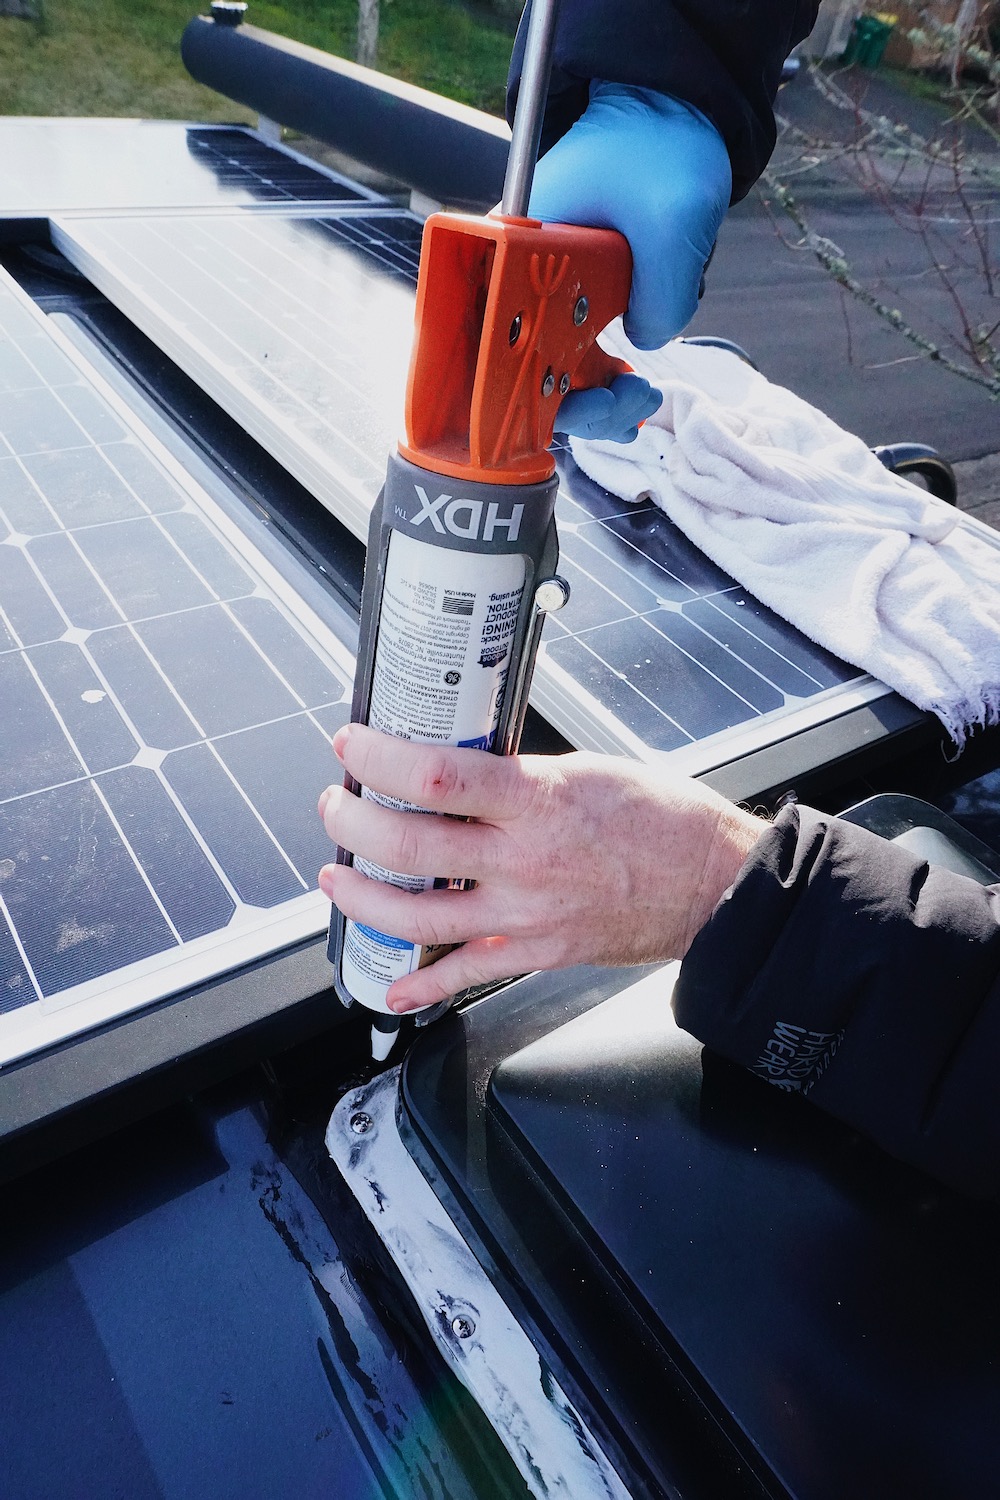
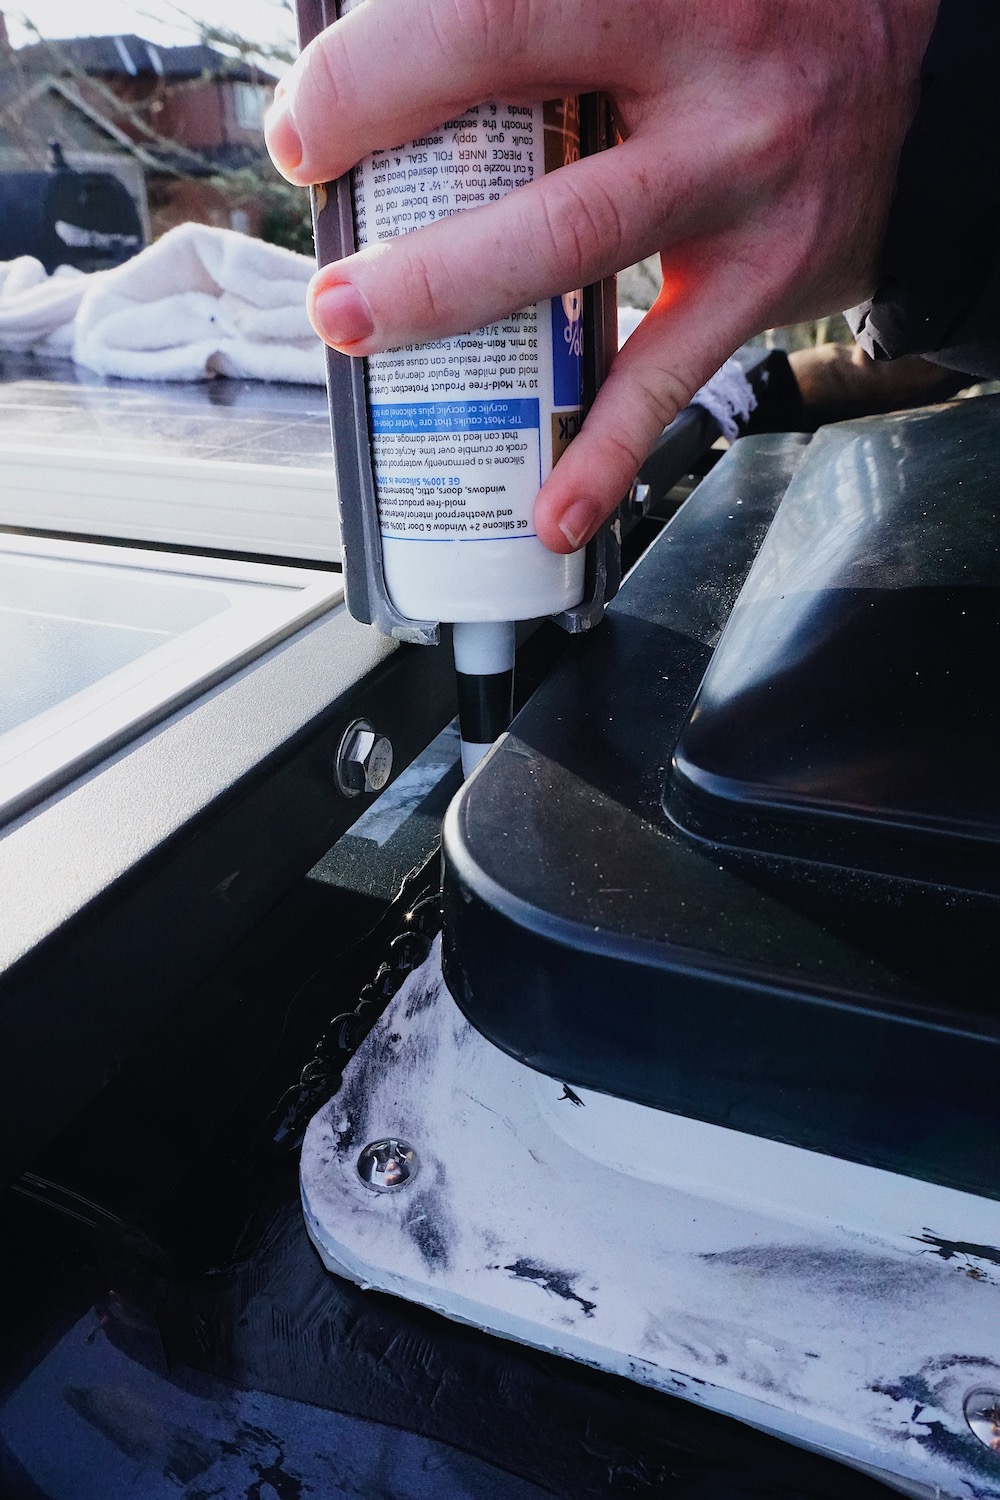
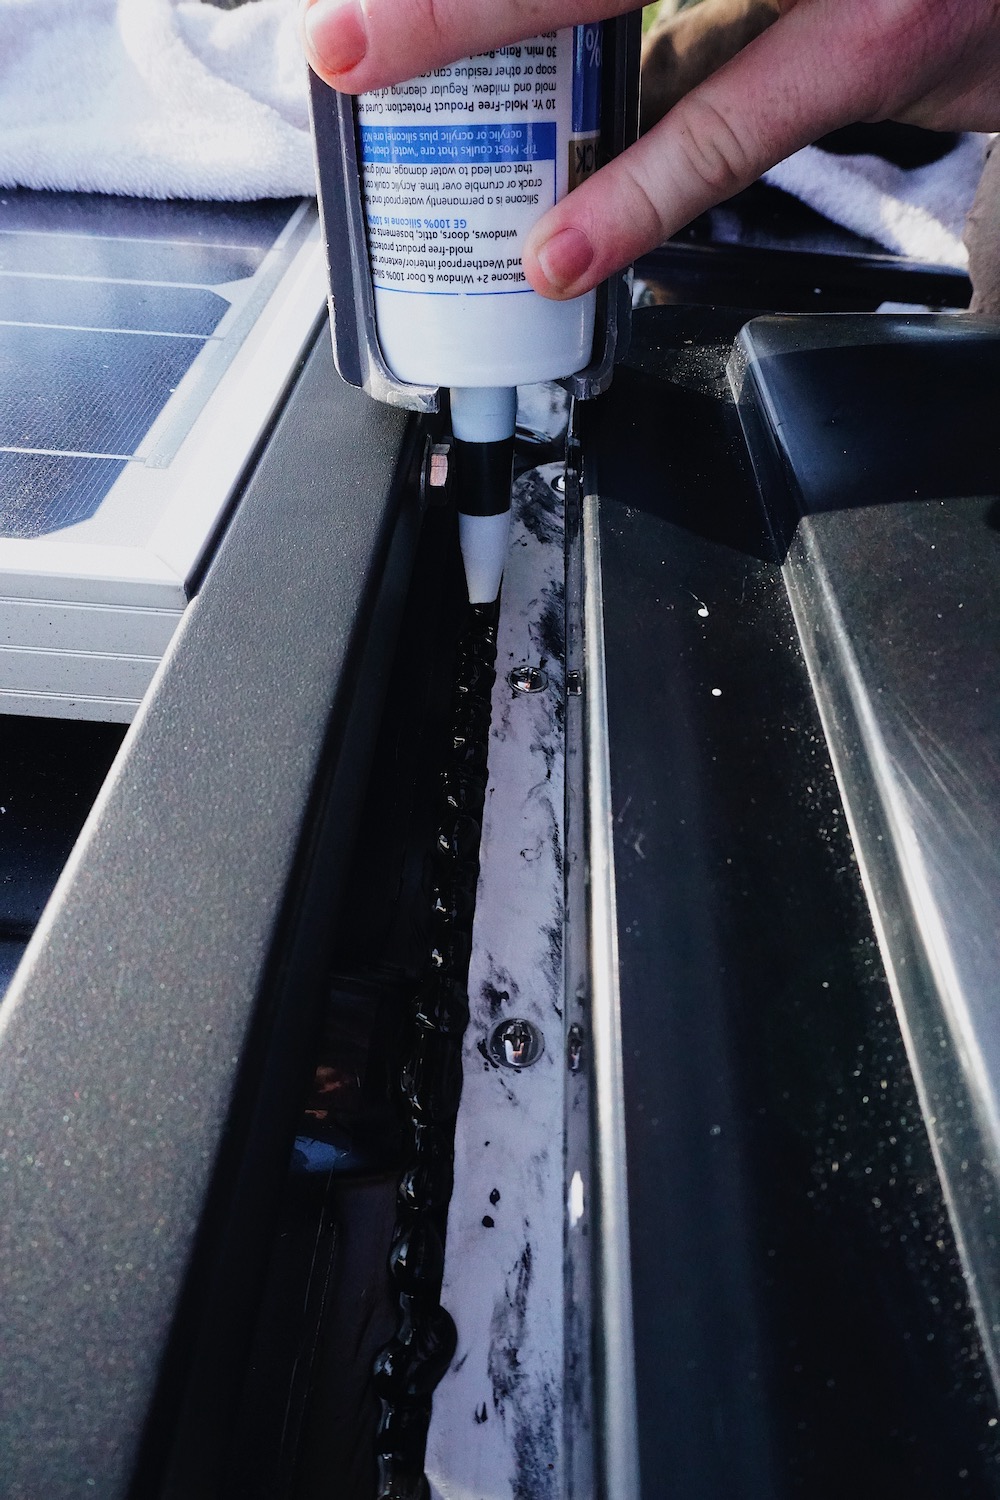
11.) Finish off with installing the silicone. Begin in one corner and install in a continuous bead to avoid any gaps. Make sure that the first bead/layer is installed in the seam between the fan frame and the van roof. Without pausing, continue the bead around a second time, installing this layer slightly above the first, covering the lip of the fan. Again, without pausing, continue the bead around a third time, installing this layer slightly above the second and covering screw holes as you pass them. Make sure to keep this bead continuous as you move inward toward the screw holes.
*Note: every van roof is different. Pay attention to the different grooves and ridges of your van and add extra butyl tape/silicone where necessary to avoid any gaps!*
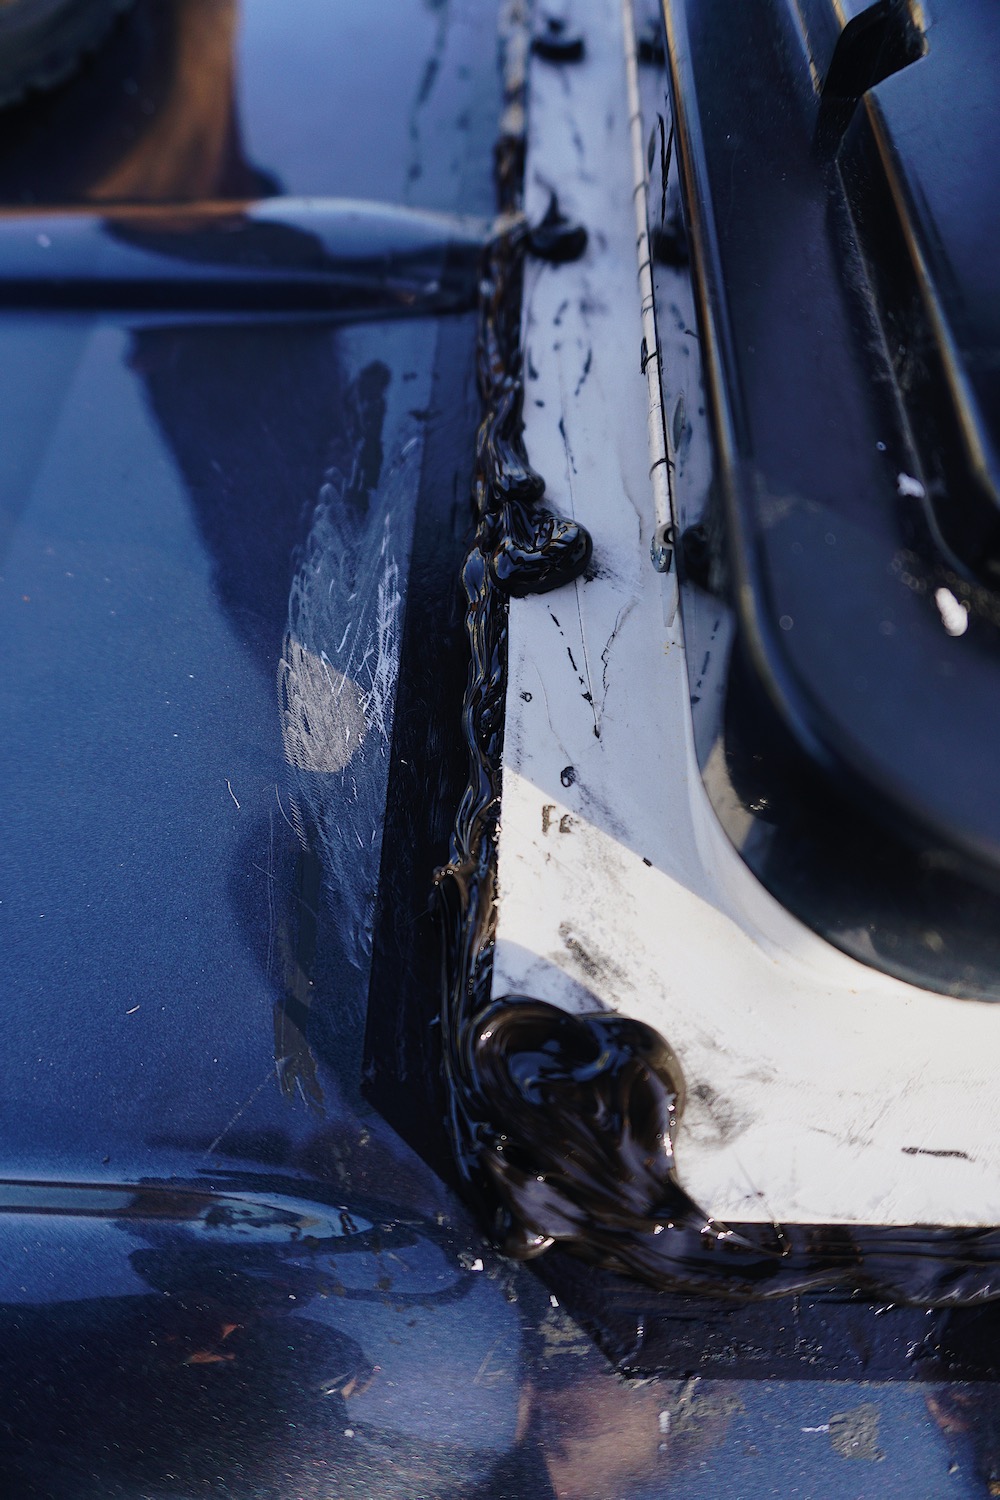
12.) With a pair of gloves, use your finger to lightly smooth out any inconsistencies between the layers of silicone. Allow 24 hours for the silicone to fully cure, or as long as your specific silicone instructs – and you are done! You have fixed your leaking fan!

