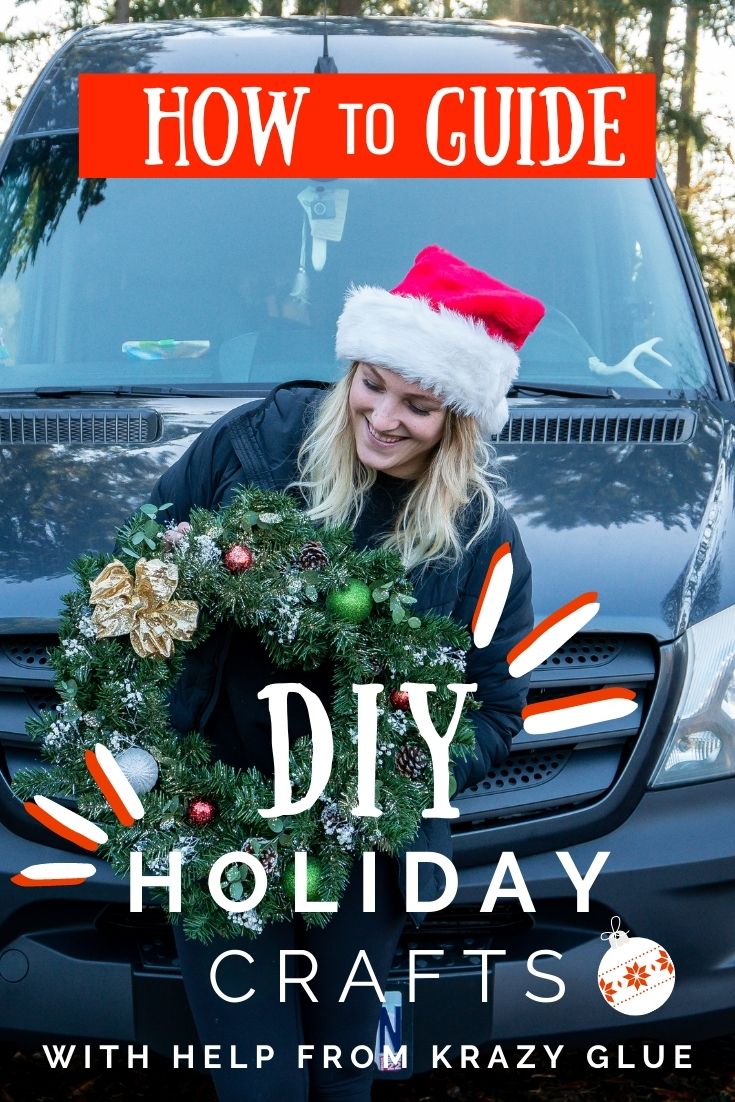
Traveling full-time around the holidays doesn’t mean that all traditions are out the window.
Living in my home on wheels simply requires a bit of extra effort and love to make the holidays special. Before I lived in a van, my holiday season was filled with decorating the house, baking cookies, building a gingerbread house, and more. Some of these things just can’t be done in my 62 square foot Sprinter van, which is why I’ve learned to adapt and cherish the new traditions I’ve created for this unique lifestyle.
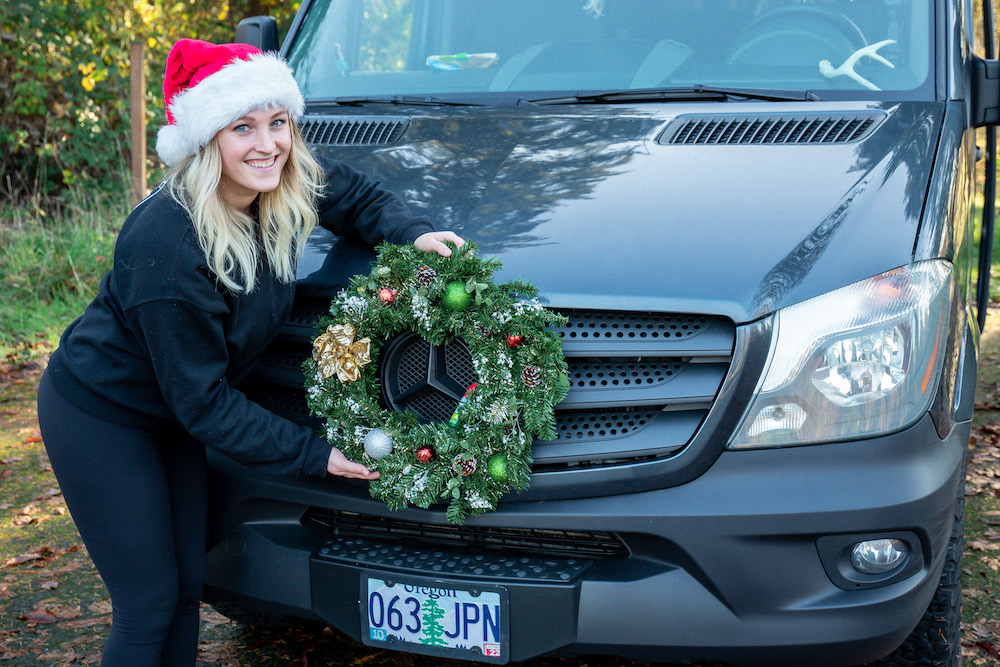
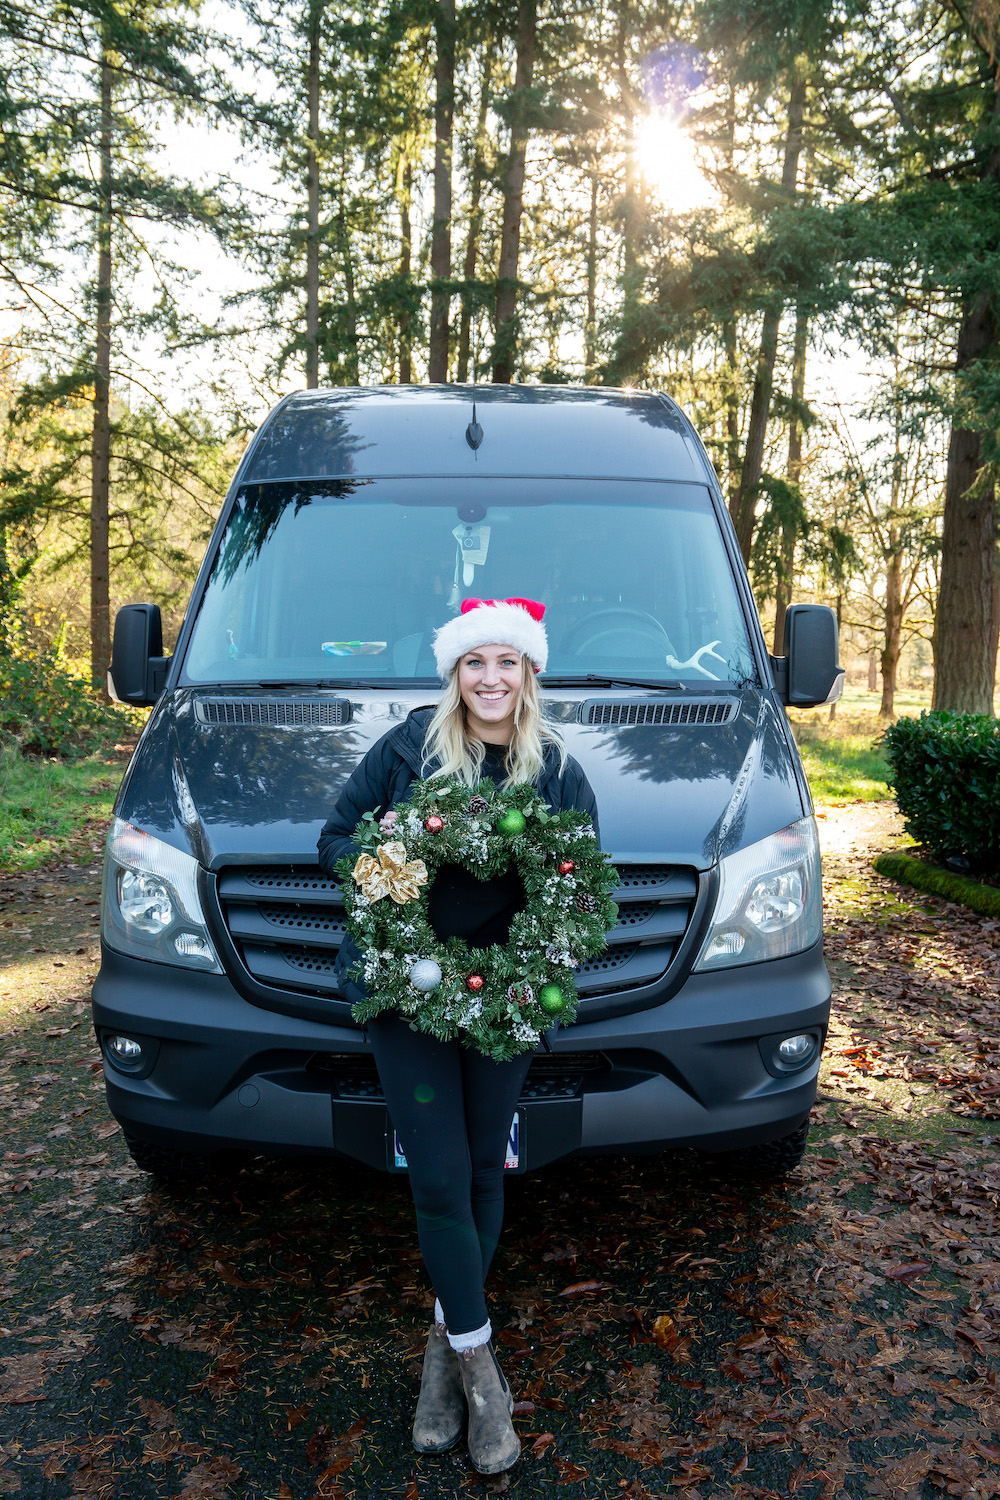
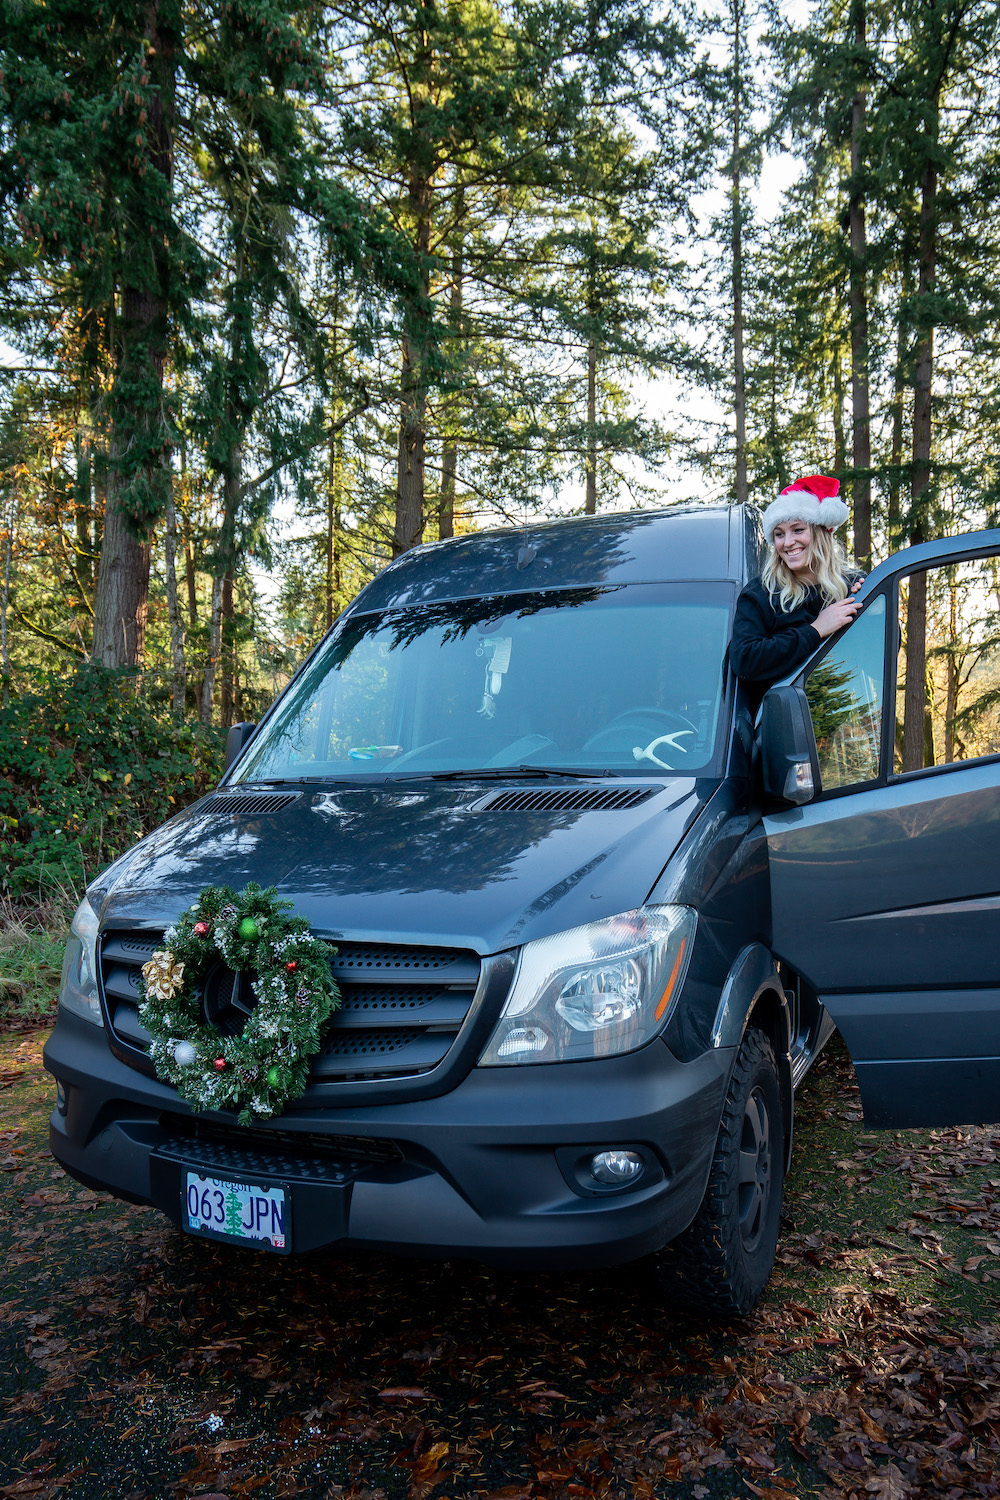
Last year, I hung a small holiday-themed banner in the doorway of my van, and that was pretty much it for holiday festivities. So this year, I wanted to do something more fun that requires a bit more creativity! One of the favorite holiday decorations is hanging wreaths for a front door, and while I don’t necessarily have a traditional “front door” in my Sprinter van, I do have a bumper that is perfectly adequate and can serve as a wreath’s home.
TABLE OF CONTENTS
INTRO TO WREATHS
Something that I particularly love about holiday wreaths is that you can make them in just about any way you’d like! There are so many varieties of wreath designs, color schemes, and styles. This makes it the perfect craft for somebody that is always on the go and whose style often changes year to year.
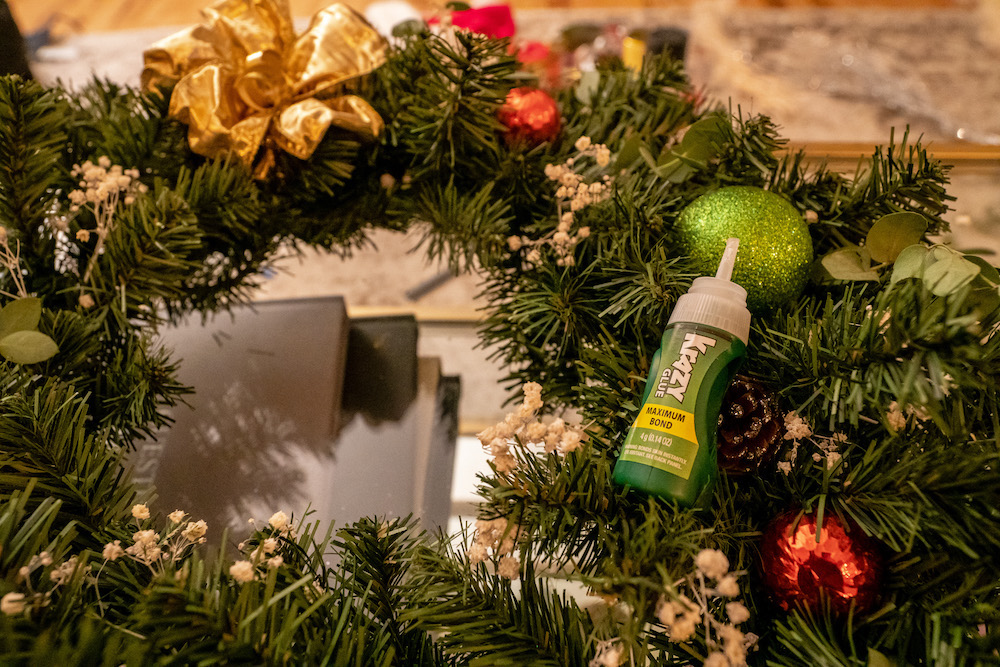
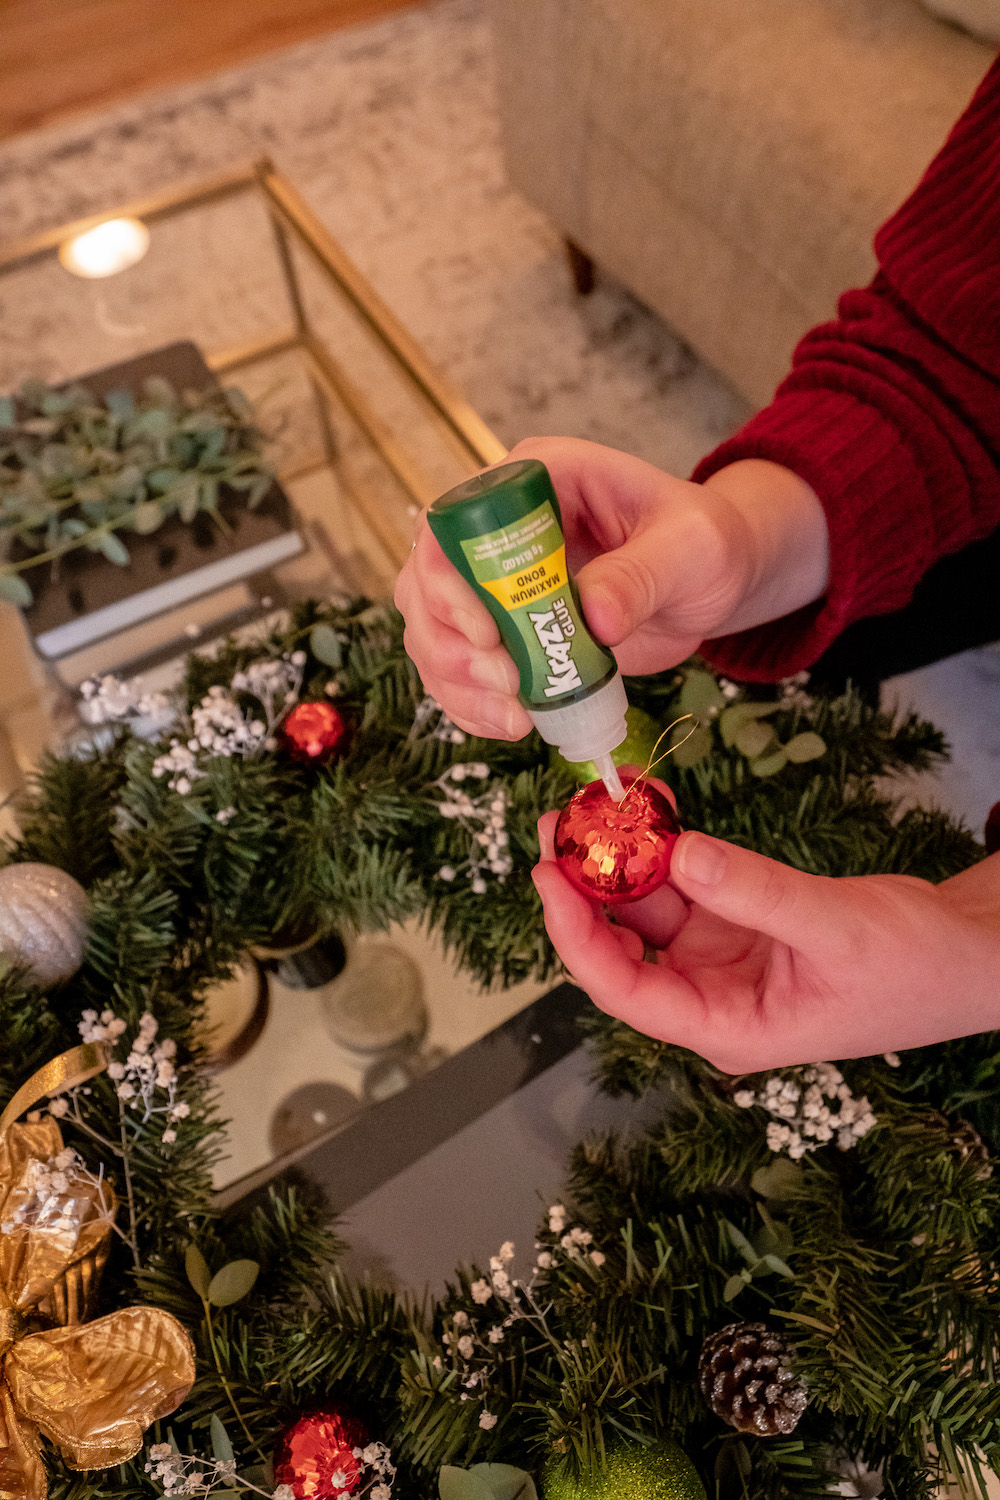
Since wreaths are often displayed outside and I plan to display my DIY holiday wreath on my front van bumper, it’s extremely important to use a bonding material that can withstand different weather conditions and will not fall apart at the first sign of an afternoon breeze. This is where Krazy Glue becomes the vital material for this project! Serving as a staple in US households for over 45 years, this all-purpose glue is a must-have for crafting and quick fixes in my van. It creates a strong bond within just 10 seconds but fully cures within 24 hours, allowing optimal dry time for crafting. Their EZ squeeze Max Bond Gel is perfect for this craft, serving as a thicker gel to hold heavier items with a stronger bond!
So, gather your materials, grab your inspo ideas, and let’s get crafting!
MATERIALS NEEDED
- 18” Noble Fir Wreath
- 6” Bow
- Shatterproof Holiday Ball Ornaments
- Pinecones
- Fresh Eucalyptus
- Baby’s Breath Plant (dried)
- Design Master Colortool Spray Paint (Flat White)
- Silver and Gold Glitter
- Maximum Hold Hairspray
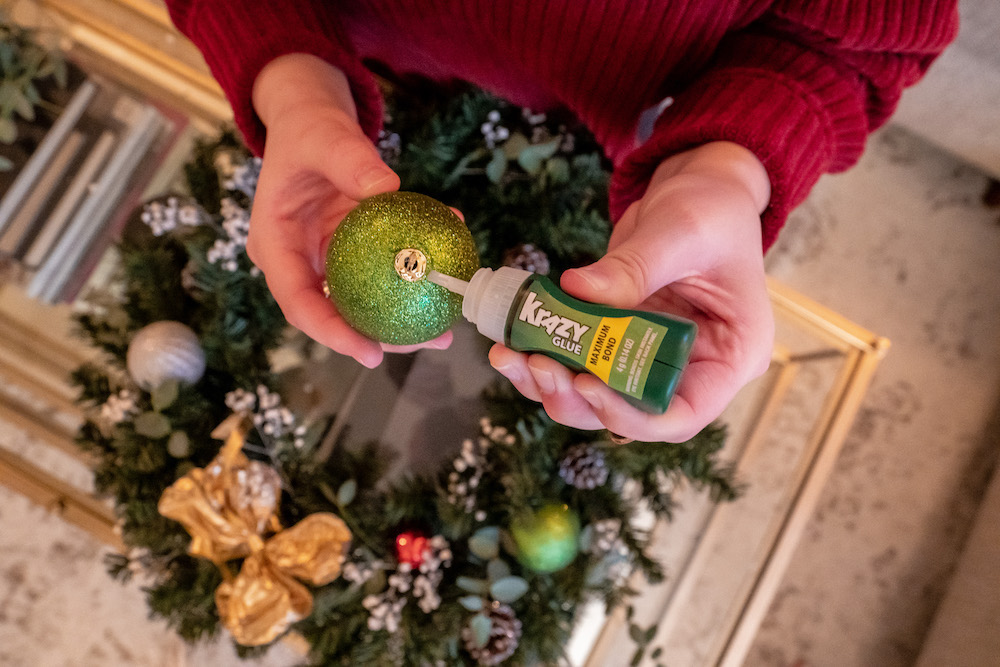
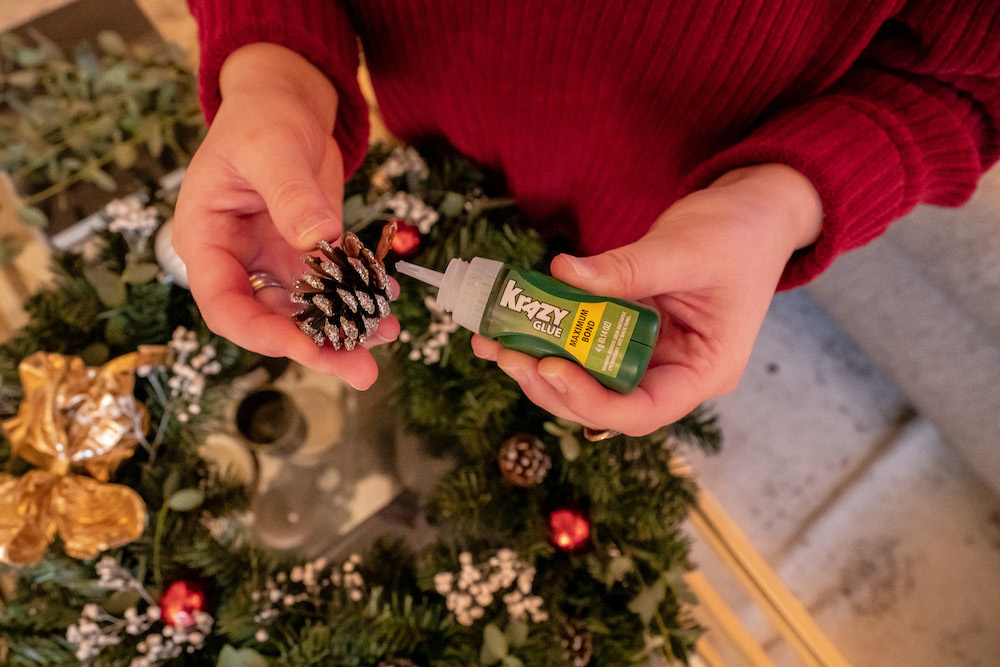
- 4G Max Bond Krazy Glue Gel, EZ Squeeze
- 2G All-Purpose Krazy Glue, Precision Tip
- Large zip ties
STEP-BY-STEP INSTRUCTIONS
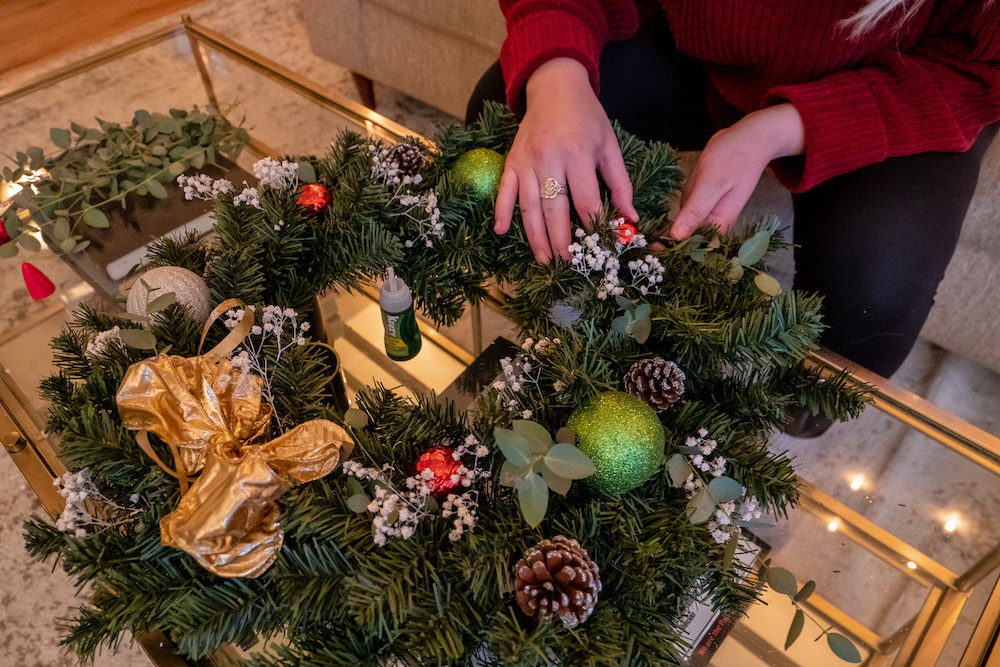
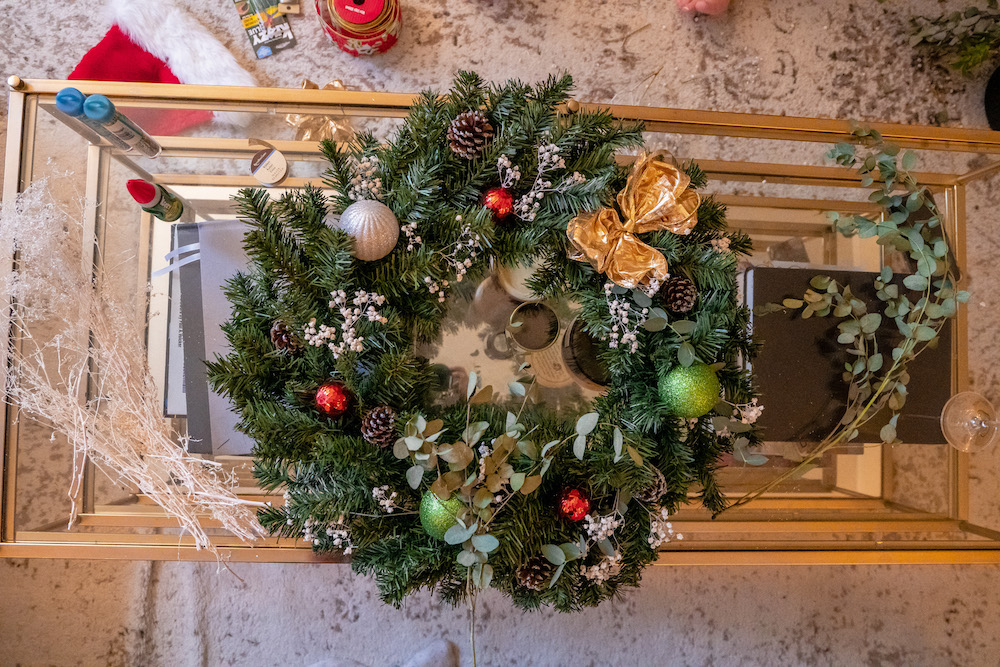
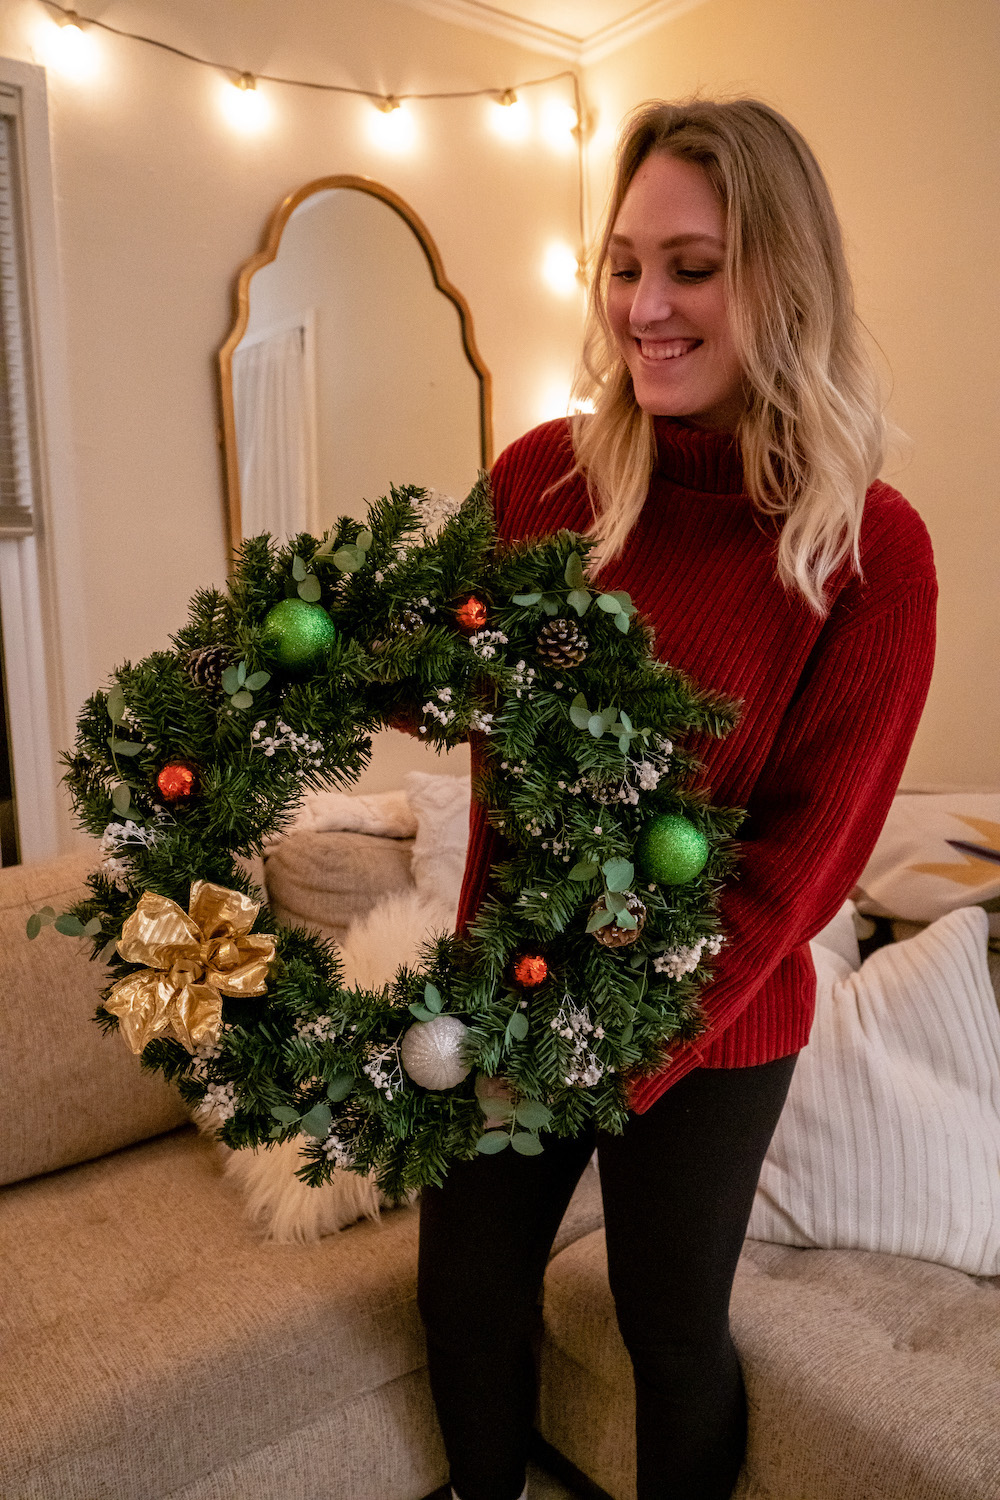
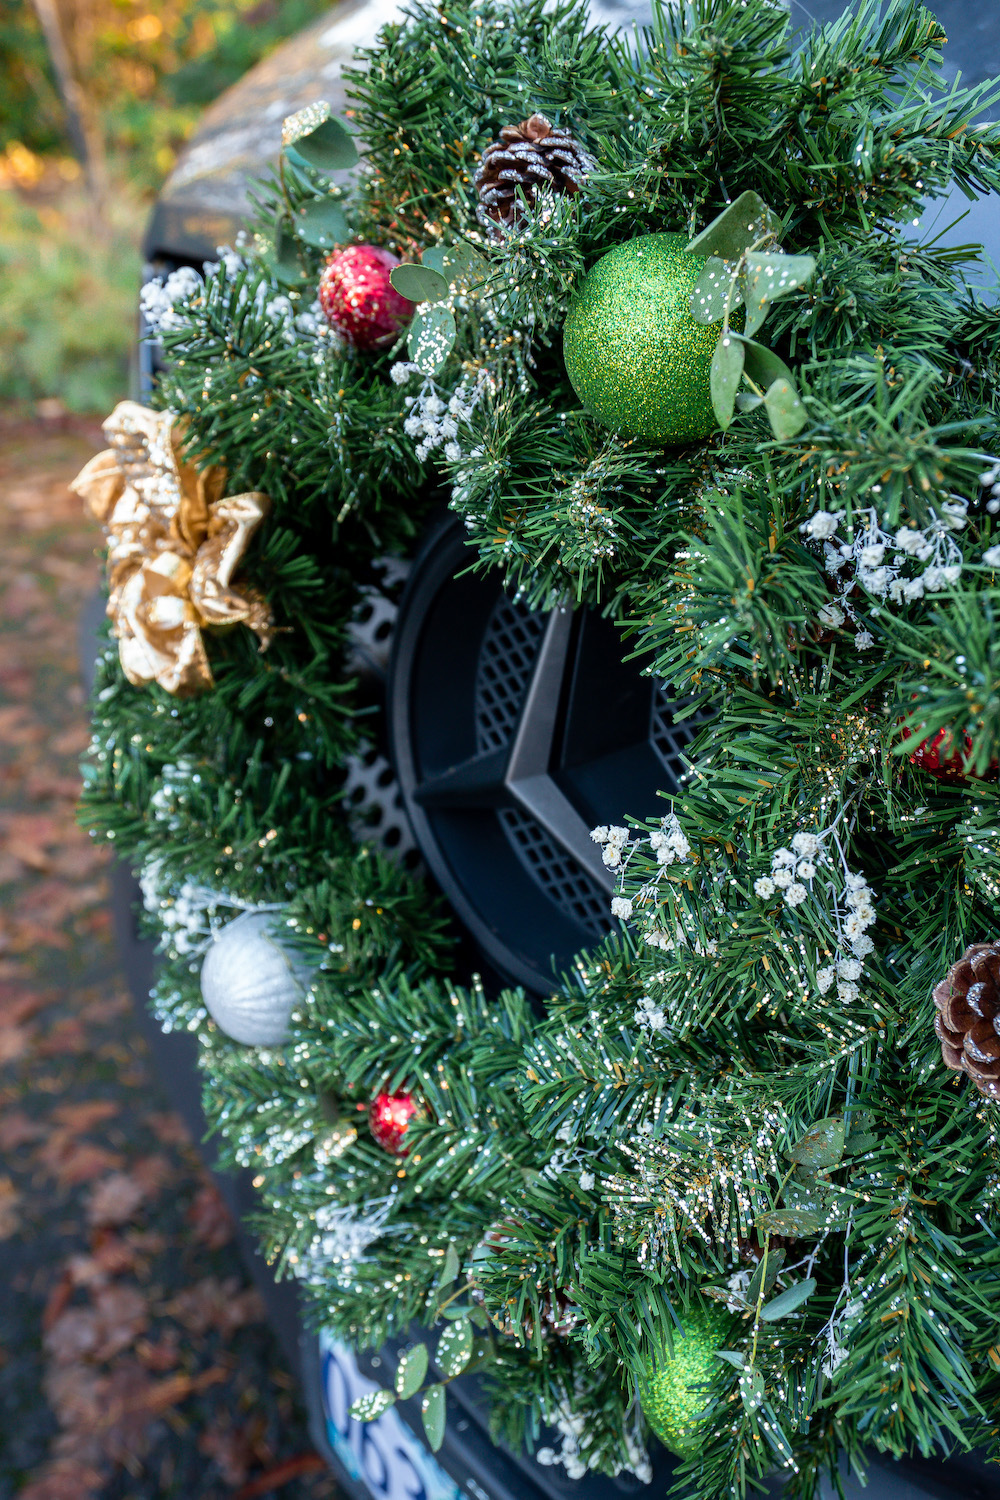
• Pick the decor you want to use in your wreath: ribbons, ornaments, greenery, pinecones, etc. You can either choose a color scheme, including various colors, or go more traditional with reds, golds, and silvers. Have fun with this part and do some searching online for inspiration! Personally, I love glitter decor so I chose to include as much glitter as possible in this DIY holiday wreath.
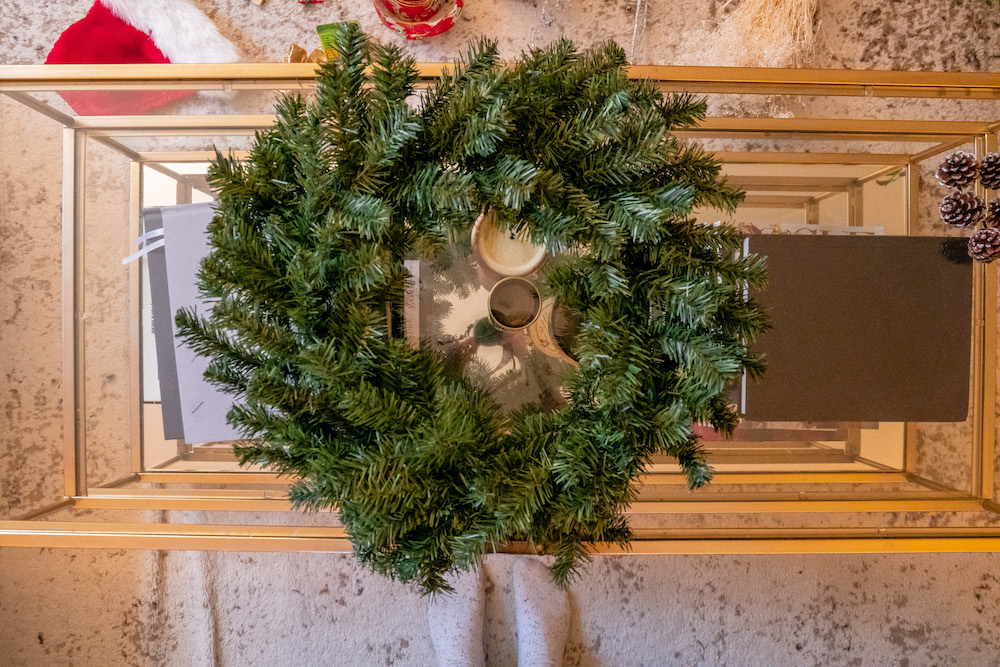
• Fluff your wreath out to make sure the branches are evenly distributed. There’s nothing more blasé than a flattened down wreath. Plumb up the individual tips to allow your wreath to look nice and full in all directions. Pro tip: make sure you choose a plain wreath that is built sturdily, preferably held together tightly with wire! This will help with the longevity of your wreath.
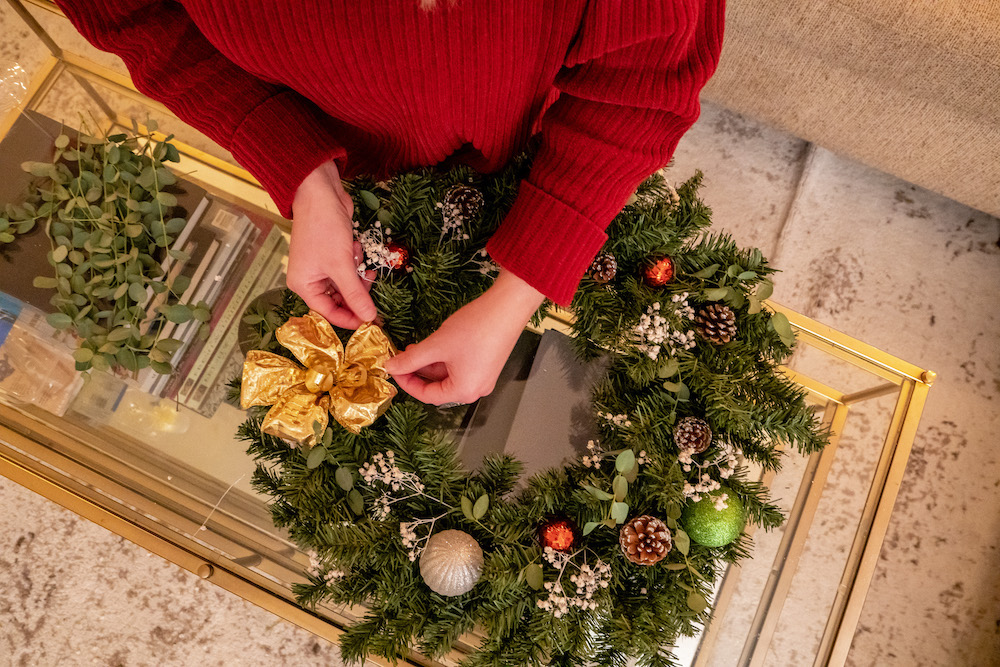
• Pick a focal point for your main decoration, such as a bow. Some prefer to place the focal point at the top, center of the wreath, while others prefer to highlight a side or corner. I love the focal point at the top center or lower left quadrant. If you’d prefer not to have a singular item as your focal point, consider clustering a few ornaments, bows, or dried pinecones for an especially festive look!
• Starting with larger items, begin to temporarily place the materials on your wreath to get an idea of the design you want to follow. This is the most creative part of the project! Try a few different things before settling into a specific design. Considering evenly spacing items or clustering them for a different look. There is no right or wrong way to do this!
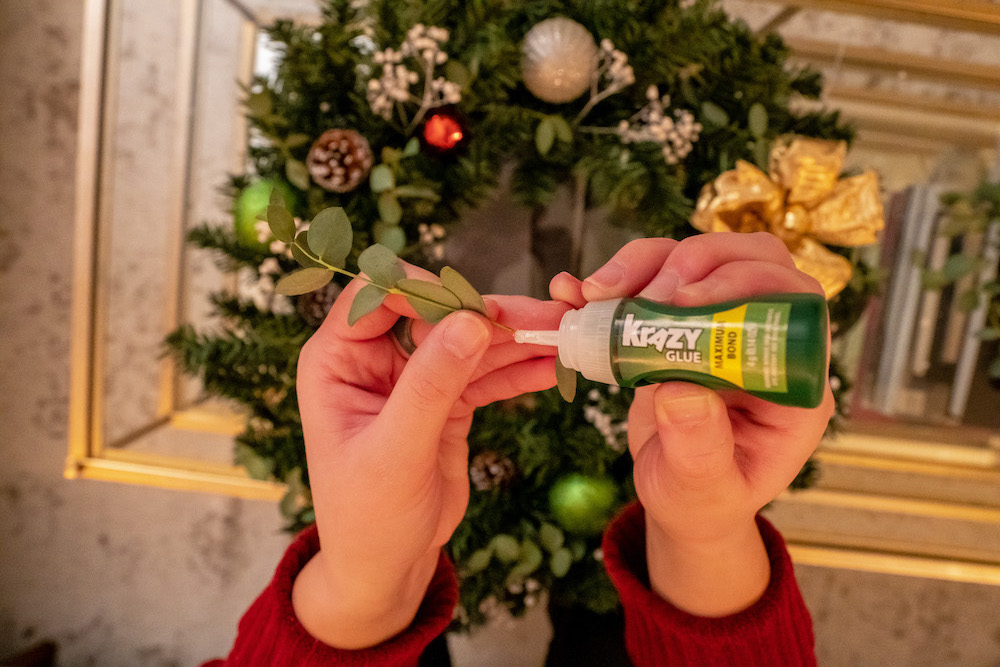
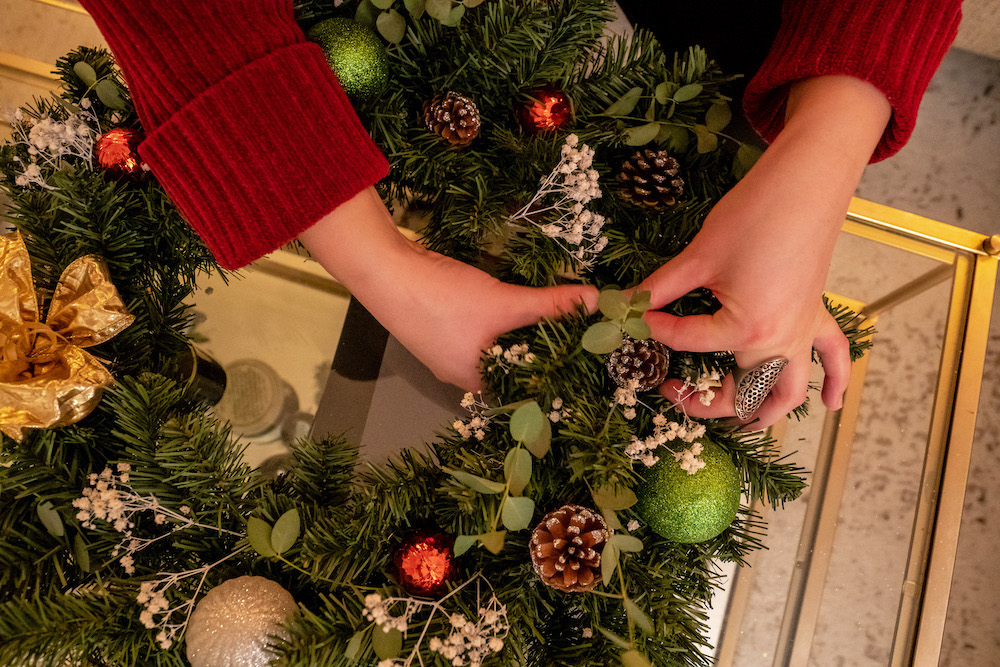
• Fill in the empty space between your decor with greenery or foliage. For this, I chose to use fresh eucalyptus, and white-painted, dried, baby’s breath, filling in the space between pine cones and ornaments. Feel free to use faux greenery during this step, or spruce your wreath up by using a few pieces of fresh or dried foliage! Both add a perfect touch and create an elegant look within a DIY holiday wreath.
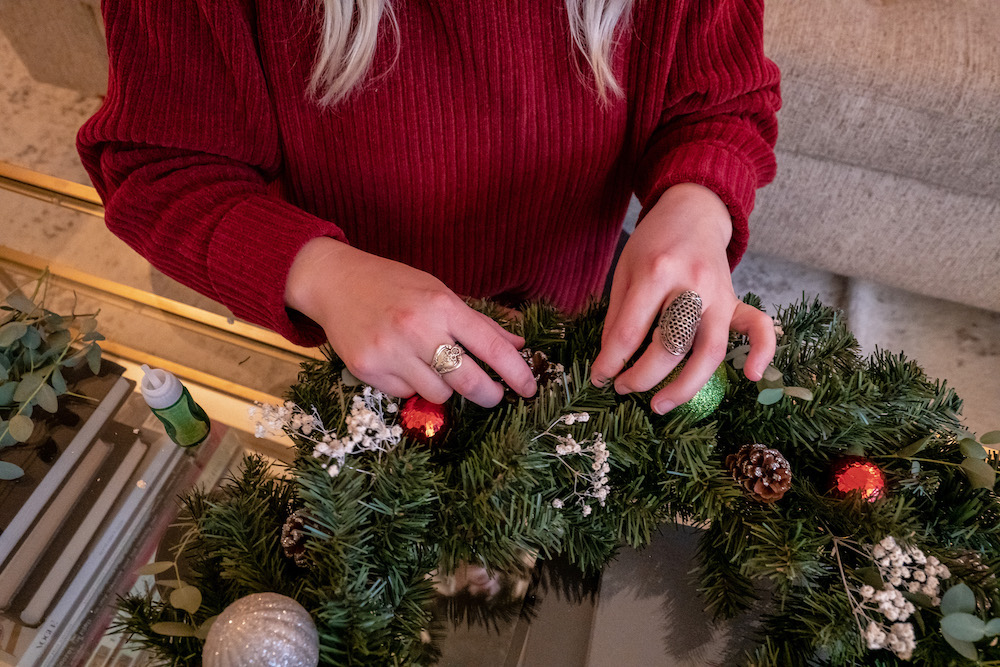
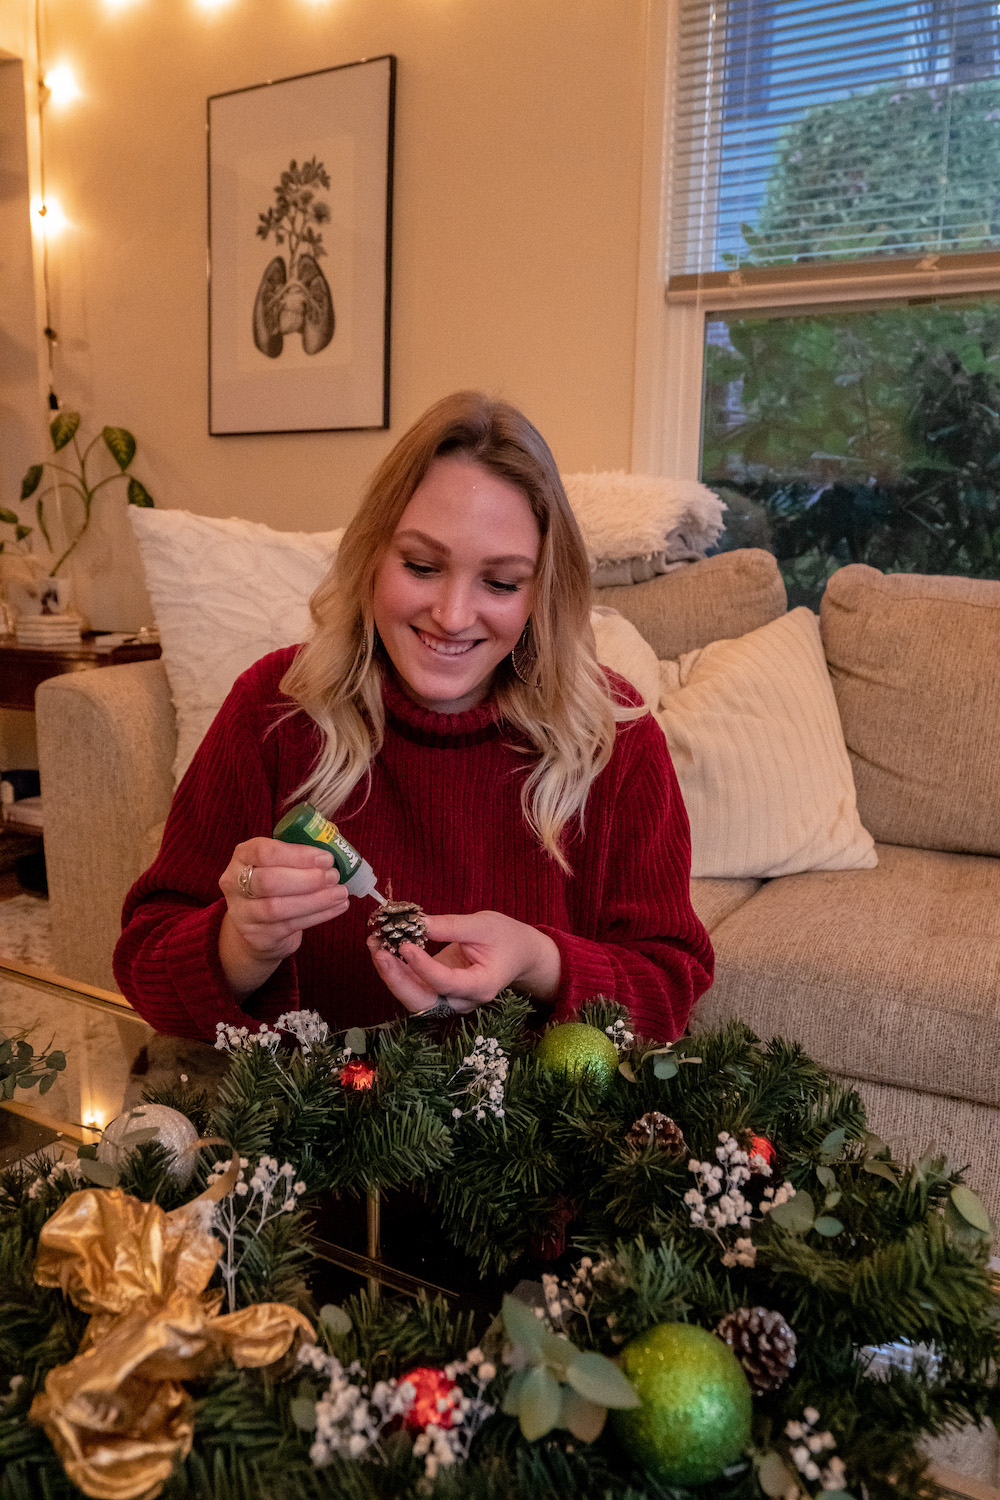
• Begin gluing items and greenery into the wreath one by one with your Krazy Glue, focusing on one piece of decor at a time. This will help you keep the layout and design you originally laid out on the wreath. It’s extremely important to use a sufficient amount of glue! Don’t be shy or simply stick to the tips of items. Be sure to fully cover the section that will be touching the wreath to ensure your items will stay on properly. I would highly recommend using the Krazy Glue Maximum Bond Gel for larger items such as ornaments, bows, and pine cones. For smaller, lighter items, All-Purpose Krazy Glue with the Precision Tip will be sufficient. When pressing on the glued item, use one hand to press the item down and another to lightly push upward underneath the wreath, helping the surfaces touch as much as possible for adequate bonding.
• Allow for your wreath and decor items to dry. The glue and/or gel will start curing within seconds and will create a strong bond within minutes. A full cure won’t set for 24 hours but if handled carefully, you can continue working on the wreath after letting it sit for just under 1 hour.
• For a final, dazzling touch, lightly spray the wreath’s face with hairspray and sprinkle silver and gold glitter all over your holiday wreath, including the newly attached decor. One last, final spray will also help the glitter live more securely on your craft. Be sure to allow this to dry before moving it around too much! If possible, I would let the wreath sit overnight before hanging it up.
• Lastly, attach your wreath to your bumper (or door) for the perfect holiday decoration! When hanging on a door, you can simply use an over-the-top hook that the wreath can hang from. However, when installing on my bumper, I found that the best way to secure the wreath was using zip ties on my grill, circling my Mercedes emblem perfectly with the wreath.
Big thank you to Krazy Glue for sponsoring this article! For all your holiday DIY projects, check out Krazy Glue, and discover the best bonding and crafting materials. Whether you simply need to reattach a loose ornament to last year’s wreath or plan to create your own from scratch, they have you covered!
