On average, over 75 million households in the United States take at least one camping trip per year.
Camping is becoming an increasingly popular hobby, with a steady increase in participants since 2014. Within the realm of camping, there are so many ways to execute this experience. Fifth wheels, trucks with pop up campers, tent campers, campers sleeping in the back of their vehicles, backpackers, back-country horseback riders, and…*my favorite*…vanlifers. Beyond the type of transportation for camping, there are also many ways to camp. For example: dry camping, backpacking, canoe camping, overlanding, and even glamping. Of all the ways to camp, my favorite is primitive camping, also known as dispersed camping, or even more generally, “free camping”, which is why I’ve created the perfect guide to free camping.
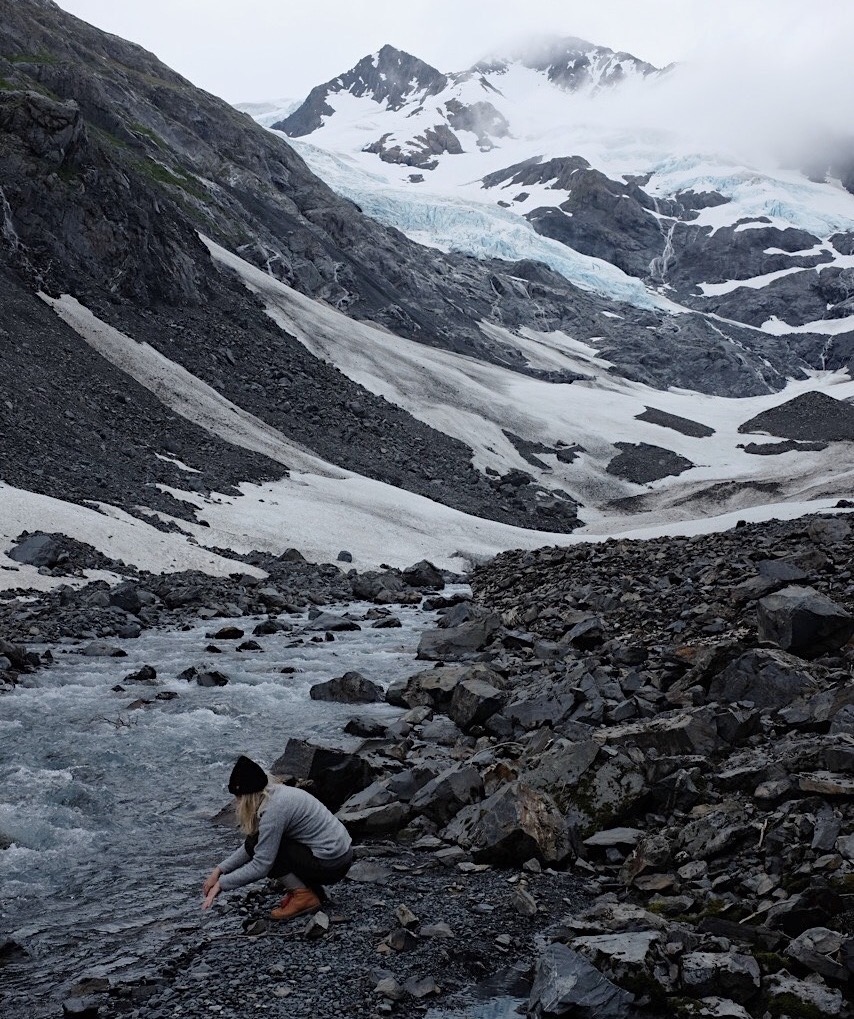
Now, I’ve been living on the road full-time for four years as of October 2020. So what does this mean? This means I travel full time in a self-contained vehicle. Early on, I knew I wasn’t going to be able to afford to pay for camping every night. And so began my journey of learning how to tackle dispersed camping like a pro. Nearly 80% of the time, I stay on public lands (I’ll dive into what this means later on). Learning how to find free camping is a combination of resources, community, and skill.
After years on the road, I’ve gathered all my best tips to help you understand what free camping is, how to find it, and how to take care of it. To learn more about how to find the best spots, keep reading below on my guide to free camping
HOW TO IDENTIFY FREE CAMPING
The United States consists of 2.27 billion acres of land. Out of that 2.27 billion, the federal government owns about 640 million acres, equaling about 28% of the total land area. To help provide some basic understanding of federal lands, here is a list of common words and terminology used when discussing free camping and federal lands.
FREE CAMPING GLOSSARY
- Bureau of Land Management (BLM): an agency within the United States Department of the Interior responsible for administering public lands
- U.S. Fish and Wildlife Service (FWS): an agency of the US federal government within the US Department of the Interior dedicated to the management of fish, wildlife, and natural habitats
- National Park Service (NPS): an agency of the federal government of the United States that manages all national parks, many national monuments, and other conservation and historical properties with various title designations
- U.S. Forest Service (FS): an agency of the U.S. Department of Agriculture that administers the nation's 154 national forests and 20 national grasslands
- Amenities: any services or hookups provided by an organized campground, such as water, electrical, track services, showers, or bathrooms
- Dry camping: a form of independent parking off-grid in an RV, car, van, or truck, without any amenities. Also known as boondocking, dispersed camping, or free camping
- Self-contained: a rig that provides the ability to have all the essentials which allow you to function independently of any campgrounds or amenities
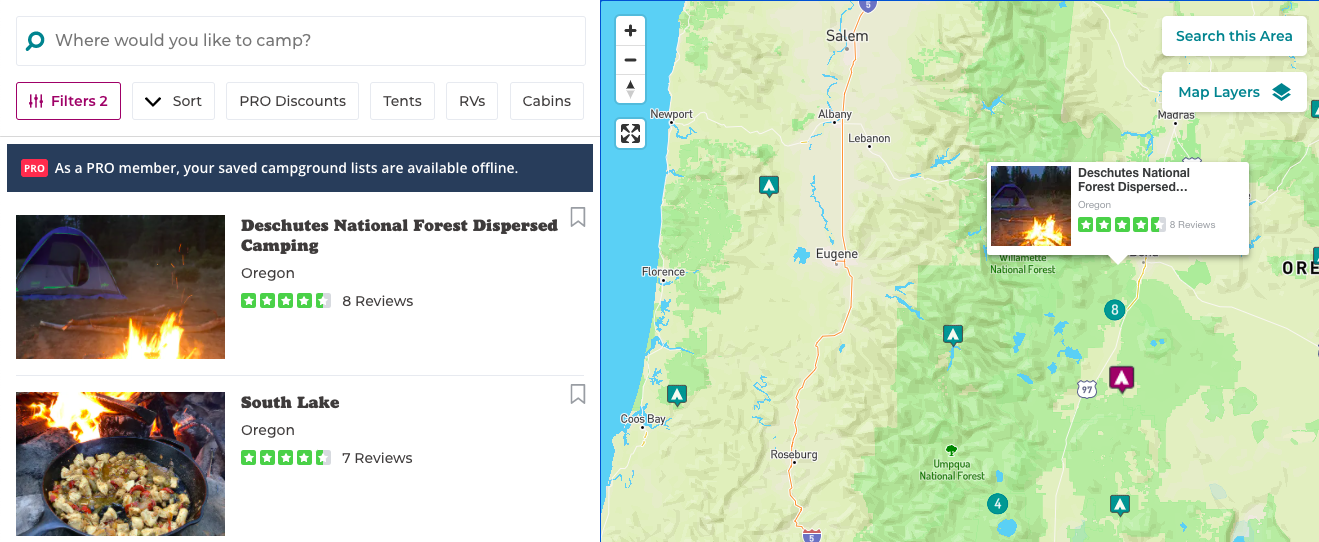
I’ll start off by encouraging you to use the resources available to you. There are teams of people, specialized in this area, who have jobs to literally make this as easy as possible for you. Use these resources!! It took me nearly two years of living on the road full-time before I ever felt confident in just finding a free campsite on my own without an app. My best recommendation is to download the Dyrt. The Dyrt app is now the #1 ranked app for camping, helping make adventuring more possible for interested individuals. When searching for free camping in the Dyrt, filter by two categories: Site Type (dispersed) and Price (free). This will help you find free camping, ranging from a legal and safe place to pull off for a quick night’s rest, or that beautiful viewpoint and room for a campfire.
Behind this resource is a team that is working to make camping more easily accessible. Many of these more detailed resources are available within The Dyrt PRO, which can be purchased for $35.99. Within the last year, they’ve released many new features that make this possible, including (my favorite), PRO Map Layers. This new feature is an overlying map filter that helps users find free camping. There are three layers: BLM (orange), USFS (purple), and NPS (purple) – see glossary above for full names and definitions.
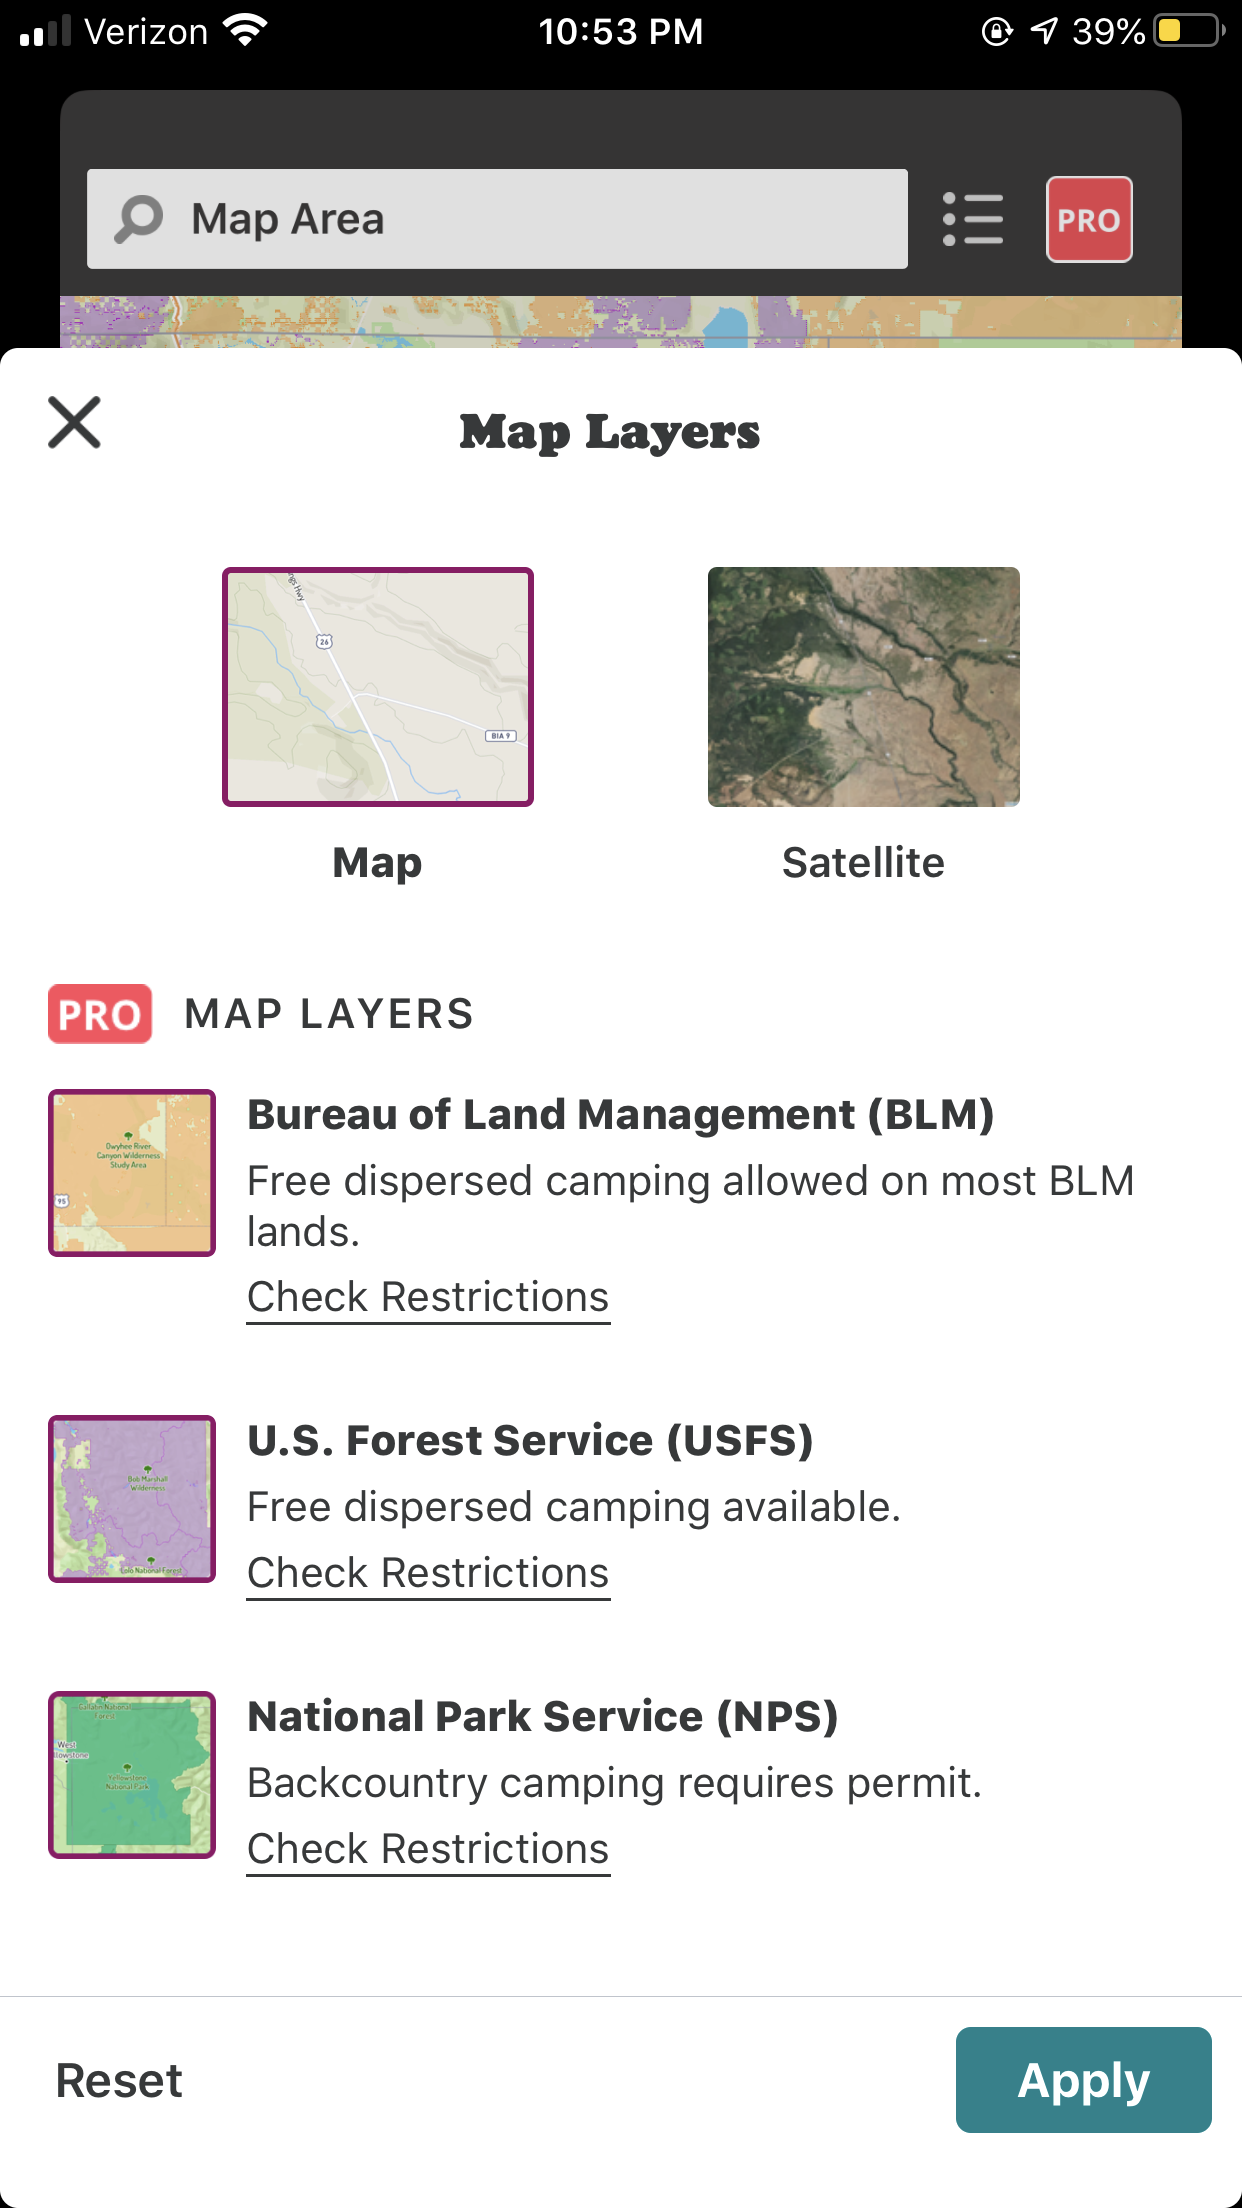
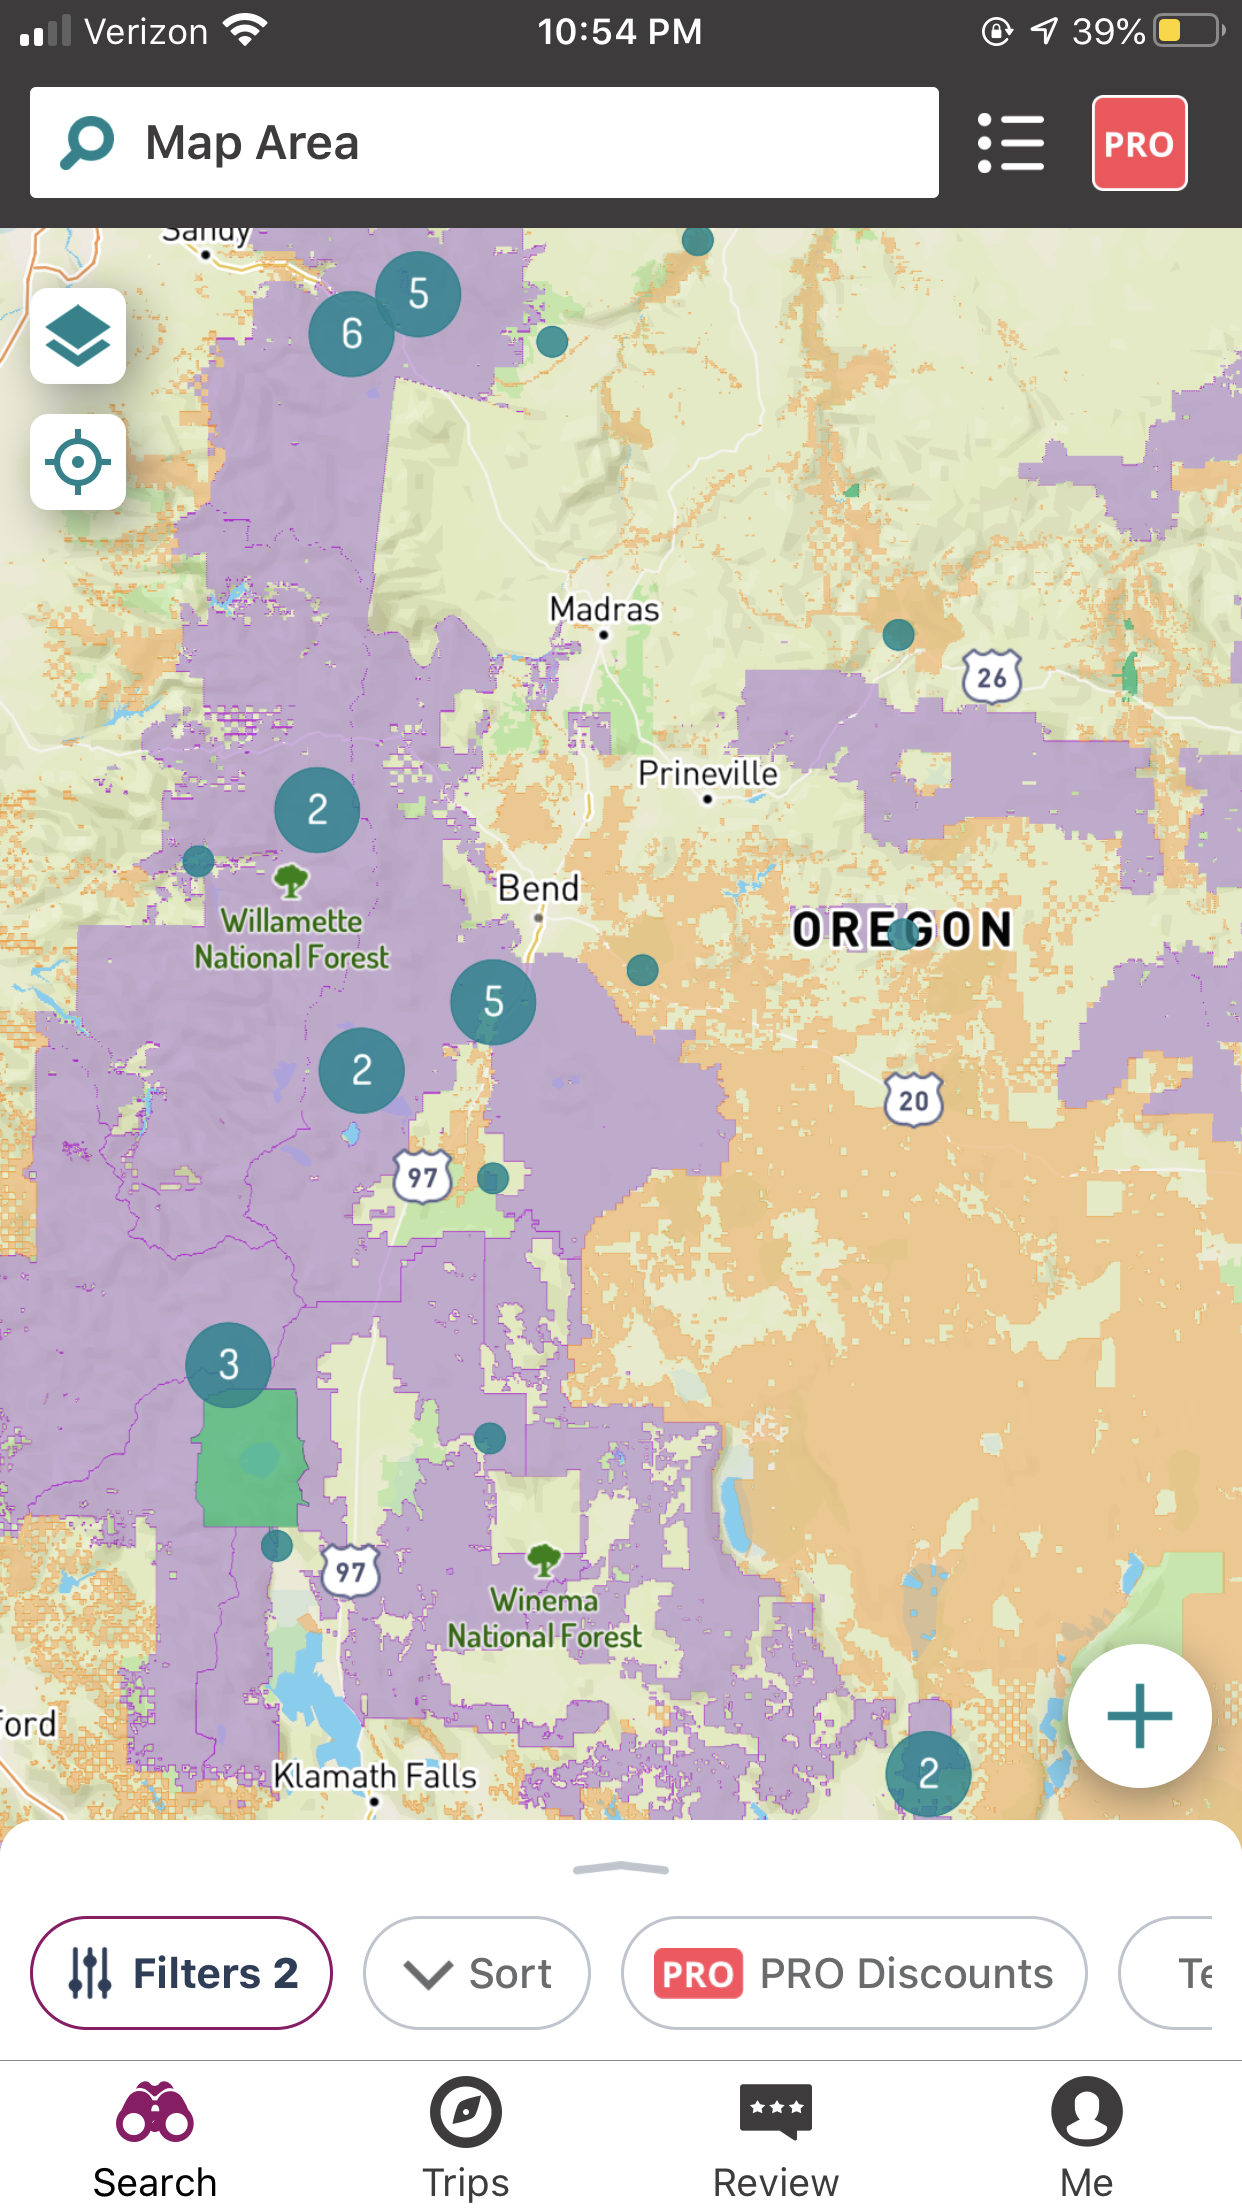
What this feature will help you do is essentially become more confident that you are parking somewhere you are allowed to park, AKA, you’re being legal and complying with local law and regulations. It may also help you avoid crowds by not visiting the same GPS coordinates listed on other resource sites. Additionally, it will help you build the skill set needed to find your very own sites as described in this guide to free camping (and get brownie points and bragging points for doing so).
Use code "soweboughtavan" for 10% off the Dyrt PRO!
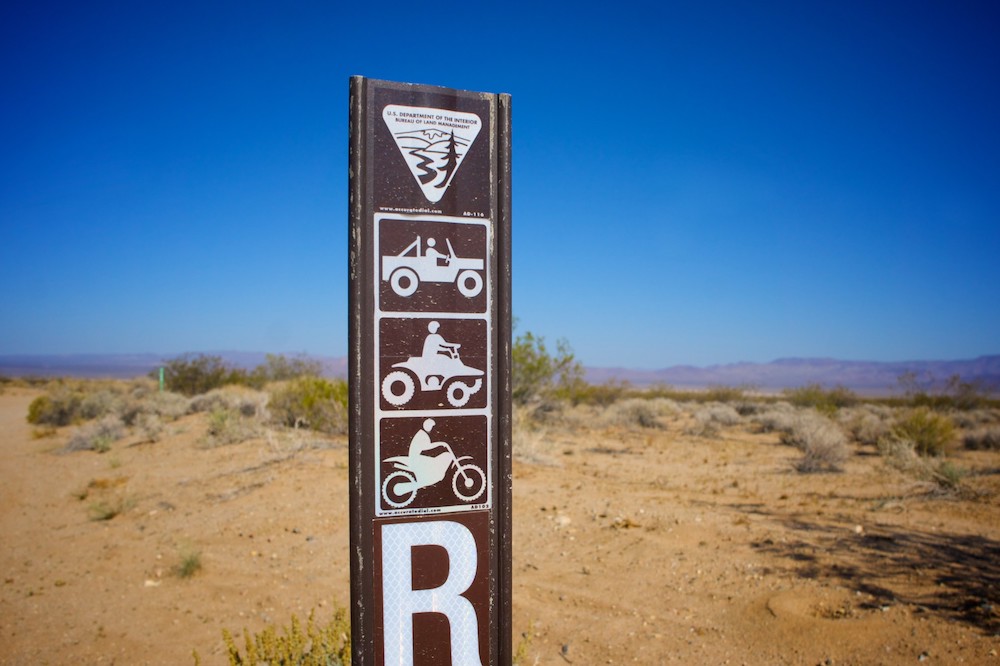
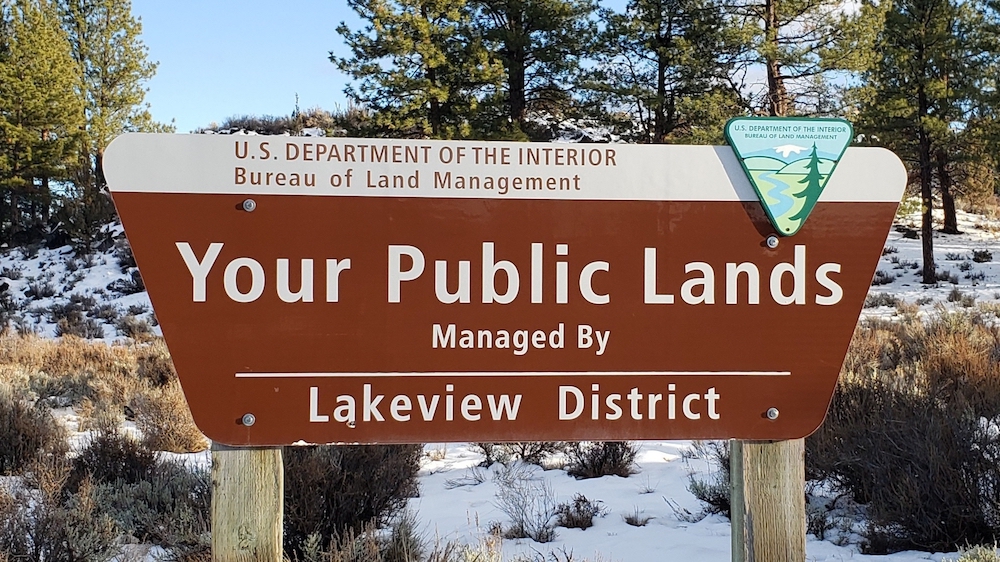
LOOK FOR SIGNS
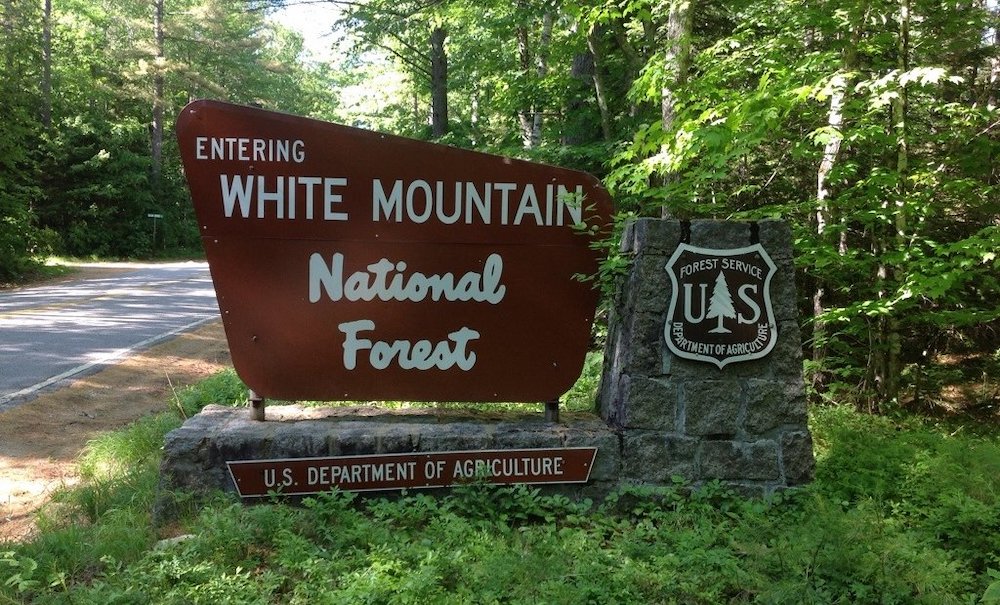
If you keep your eyes peeled, you’ll begin to notice public land signs. The most common signs I see are informing me that I am either entering or exiting national forest. I also regularly see signs regarding local campfire regulations when I’m on public lands, which just helps add to my confidence that I know I’m allowed to be there. Another clue that you’re on legal public lands, specifically national forest, is if you spot a “Forest Service Road” sign that is identifying the road name. For example, you might see a sign that says “Forest Service Road 4711”. Similar to any green road sign with white text, Forest Service Roads are usually clearly labeled. TIP: sometimes they are shortened on maps to “FSR”.
In addition to signs that will state what land you’re on, also look for information center, visitor center signs, or park ranger station signs. If you haven’t yet, stop at a local federal lands office next time you’re camping! They are full of knowledge and love to share their expertise. Often, they’ll lead you towards a great place to overnight, provide maps, or recommend great trails in the area.
BRING THE RIGHT EQUIPMENT
Part of bringing your own equipment has to do with safety, but part of it has to do with the actual law. Many public lands require you to carry certain items for safety, such as a shovel and bucket for fire regulations. All outdoor bathroom use must be buried (with exception for certain regions: see LNT practices below). Mostly, I just want you to be smart and safe. These are just the absolute basics, but I would never go camping far out in the wilderness without these items.
Over time, I have also learned to purchase and use earth-friendly products and materials. This basically allows me to be prepared for dispersed camping at all times. The most common eco-friendly products I purchase are soaps and paper products (i.e. biodegradable soap and biodegradable toilet paper). Take just a few seconds longer to look at the labels of the products you are purchasing! You’ll be able to tell fairly quickly if things are biodegradable or planet-conscious.
- FREE CAMPING MUST-HAVES:
- Communication Device
- Pack in/out supplies
- Shovel
- Fire Starters
- Bucket
- Headlamp
- First aid kit
- Water filter
Check out more gear-focused posts here!
LEARN ABOUT YOUR LOCATION
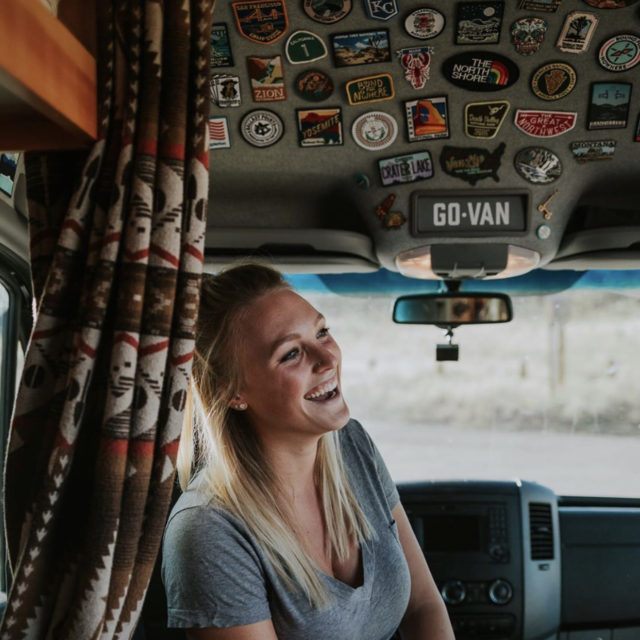
Take some time to learn about the land you are on! Figure out the history. Maybe check out the local visiting center. Many towns offer free walking tours (remember to tip your guides!) or have local afternoon programs to teach visitors about the region. A small way I document and remember my travels, while also supporting local areas like visitor’s centers, is by collecting patches. I then attached them to my van’s headliner shelf as a sort of road map to the places I’ve visited. Currently, I have well over 100 patches, including one from each state in the US. Beyond just the memory it creates for the places I’ve fallen in love with, many of these are hand-stitched by locals, or purchased from small shops. This allows me to support each town I visit, even if just a little.
Overall, it helps to be not only sure, but CONFIDENT of where you are. Learn the skill of identifying the land you are on! This will help you manage any 2:00 AM knocks you may have, or locals trying to tell you to leave. I’ve had MANY people tell me I wasn’t allowed to park somewhere but once I made it clear that I knew local regulations, they left me alone. It’s important to know what you are and aren’t allowed to do. And following the rules is cool. It’s the right thing to do. Be knowledgeable. Be safe. And don’t forget, be respectful.
LEARN BEST PRACTICES FOR VARIOUS AREAS
It’s important to note that this may from vary state to state. Even further, it may vary as much as by county. But surely, it will always vary by landscape. For first and foremost, always practice Leave No Trace (LNT) principles. This consists of 7 main principles. Click on each listed principle to take you to a more detailed page on the LNT website so you can work towards minimizing your impact.
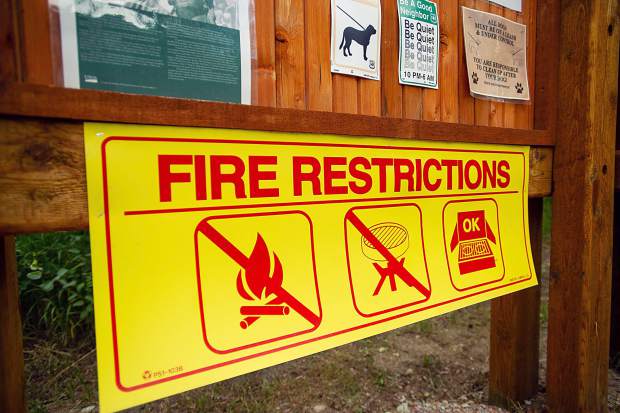
Additionally, identify which states you need a fire permit in. For example, the state of California requires you to have a fire permit in order to have a campfire or use a charcoal camp stove, BUT the permit is also good for the state of Nevada. Research the state you are in to figure out local regulations and if needed, figure out how to get one. Most commonly, you’ll be required to watch a brief presentation and take a short quiz. Some states also require that you physically print out the permit and have it in your vehicle/bag. Beyond a permit, get in the habit of researching local fire bans (1-800 numbers, local websites, check forest websites/federal land websites). If you’re not sure, just google the number for the forest service area you’re in and call the office! They usually have an automated message with updates.
WHAT KIND OF CAMPING ARE YOU LOOKING FOR?
How will you be camping? RV, tent, van, car camping, other? Many places, even dispersed/free camping will have vehicle length requirements (or maximum suggested lengths). This may just be out of regulation but it often is due to sharp corners that longer vehicles can’t fit in, or smaller turn-offs and parking areas. Avoid getting yourself in a pickle by doing a bit of research beforehand if you can. This is especially important if you are going to a “free site” you discovered from a resource! Many of these have more strict regulations, as opposed to simply, legally pulling off on the side of the road and parking for the night.
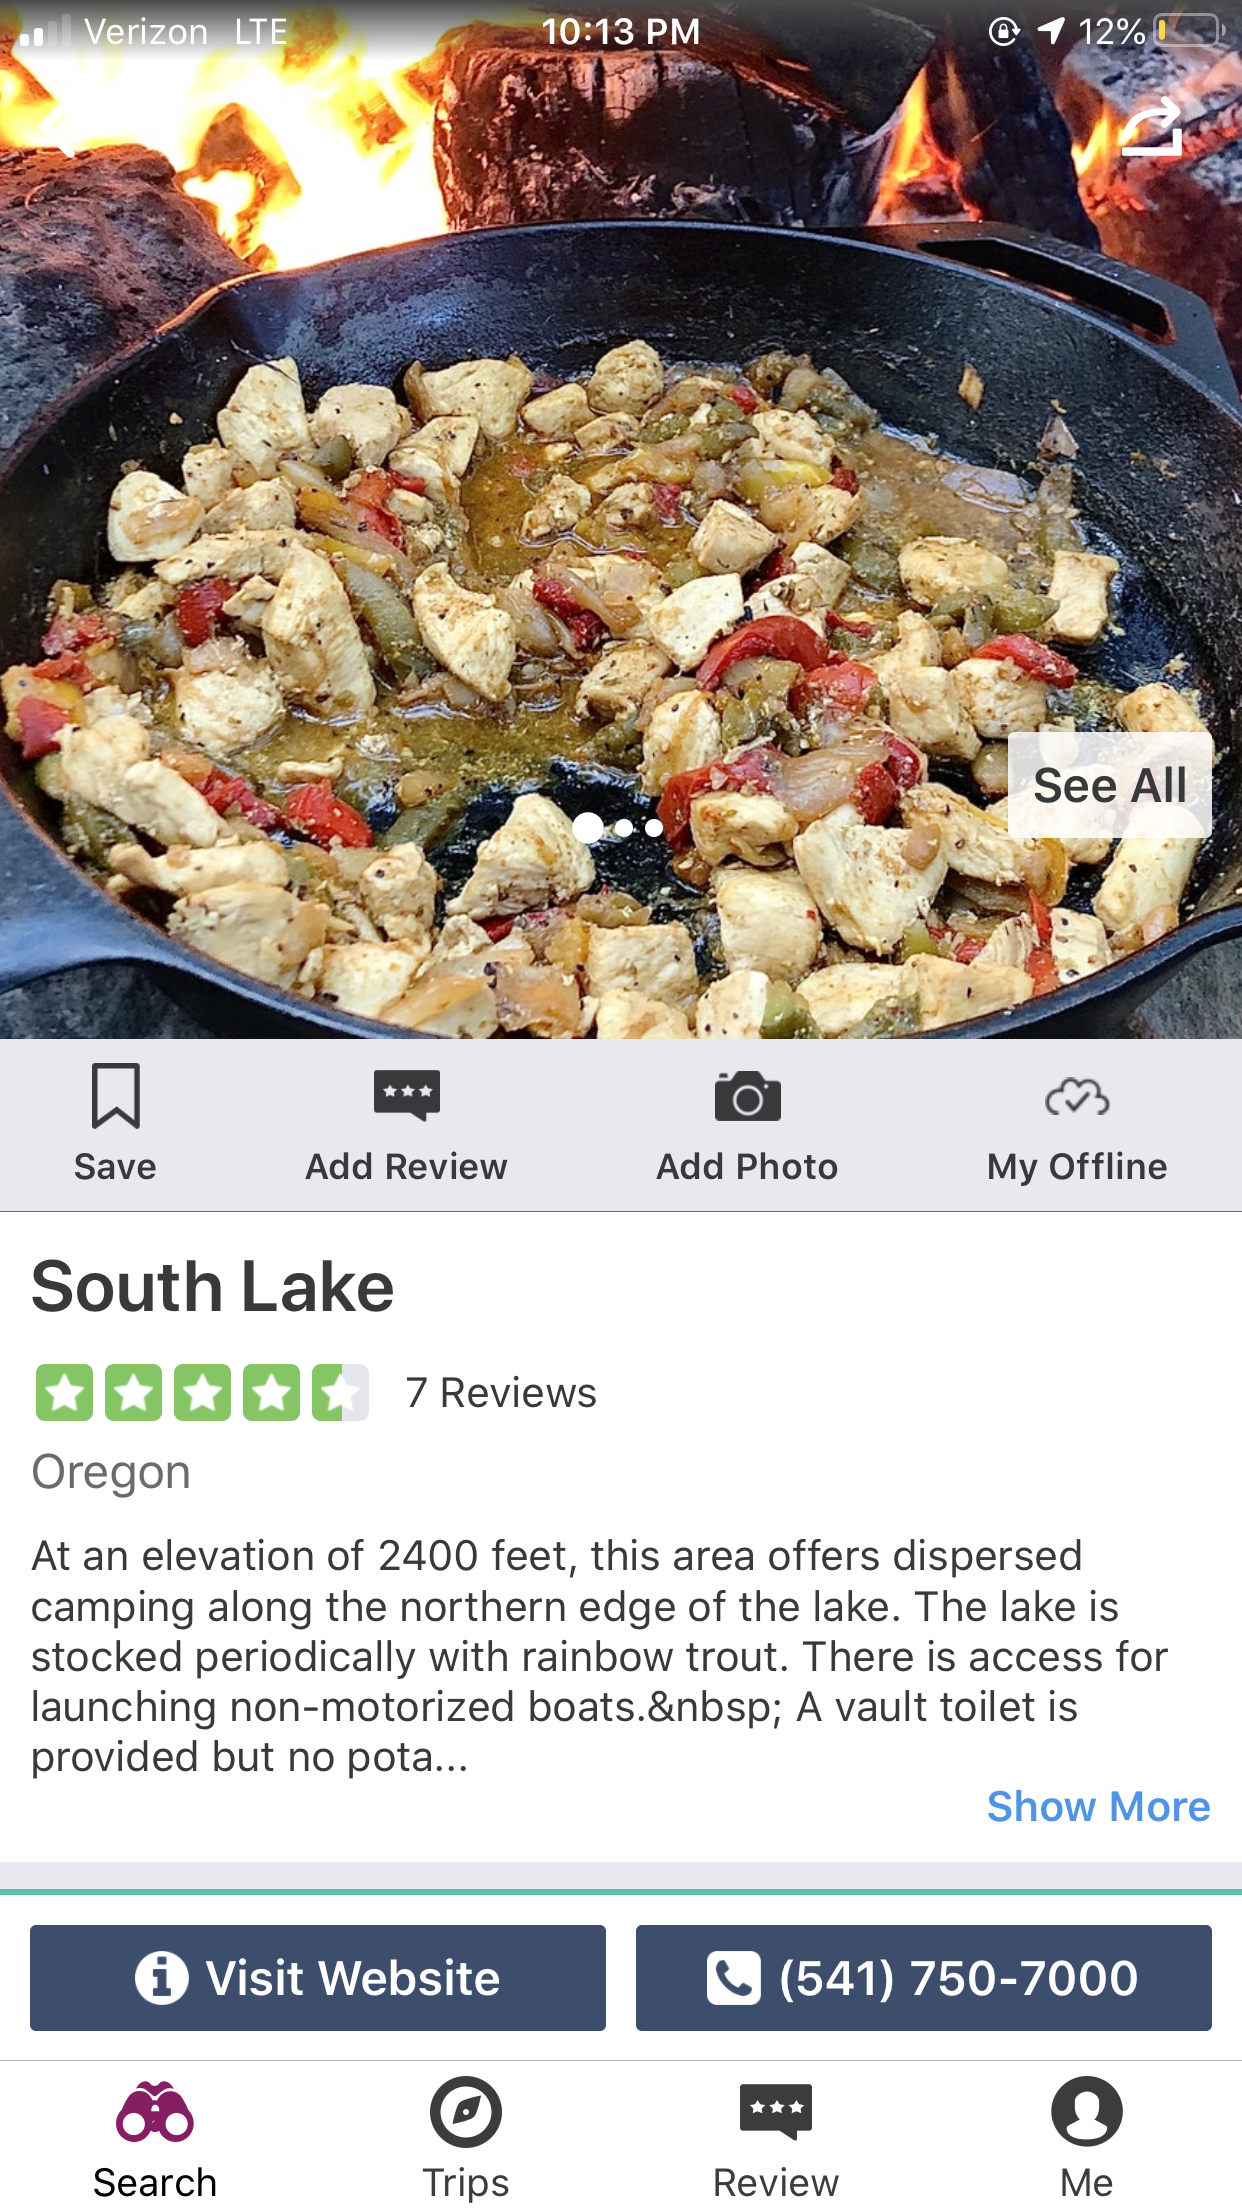
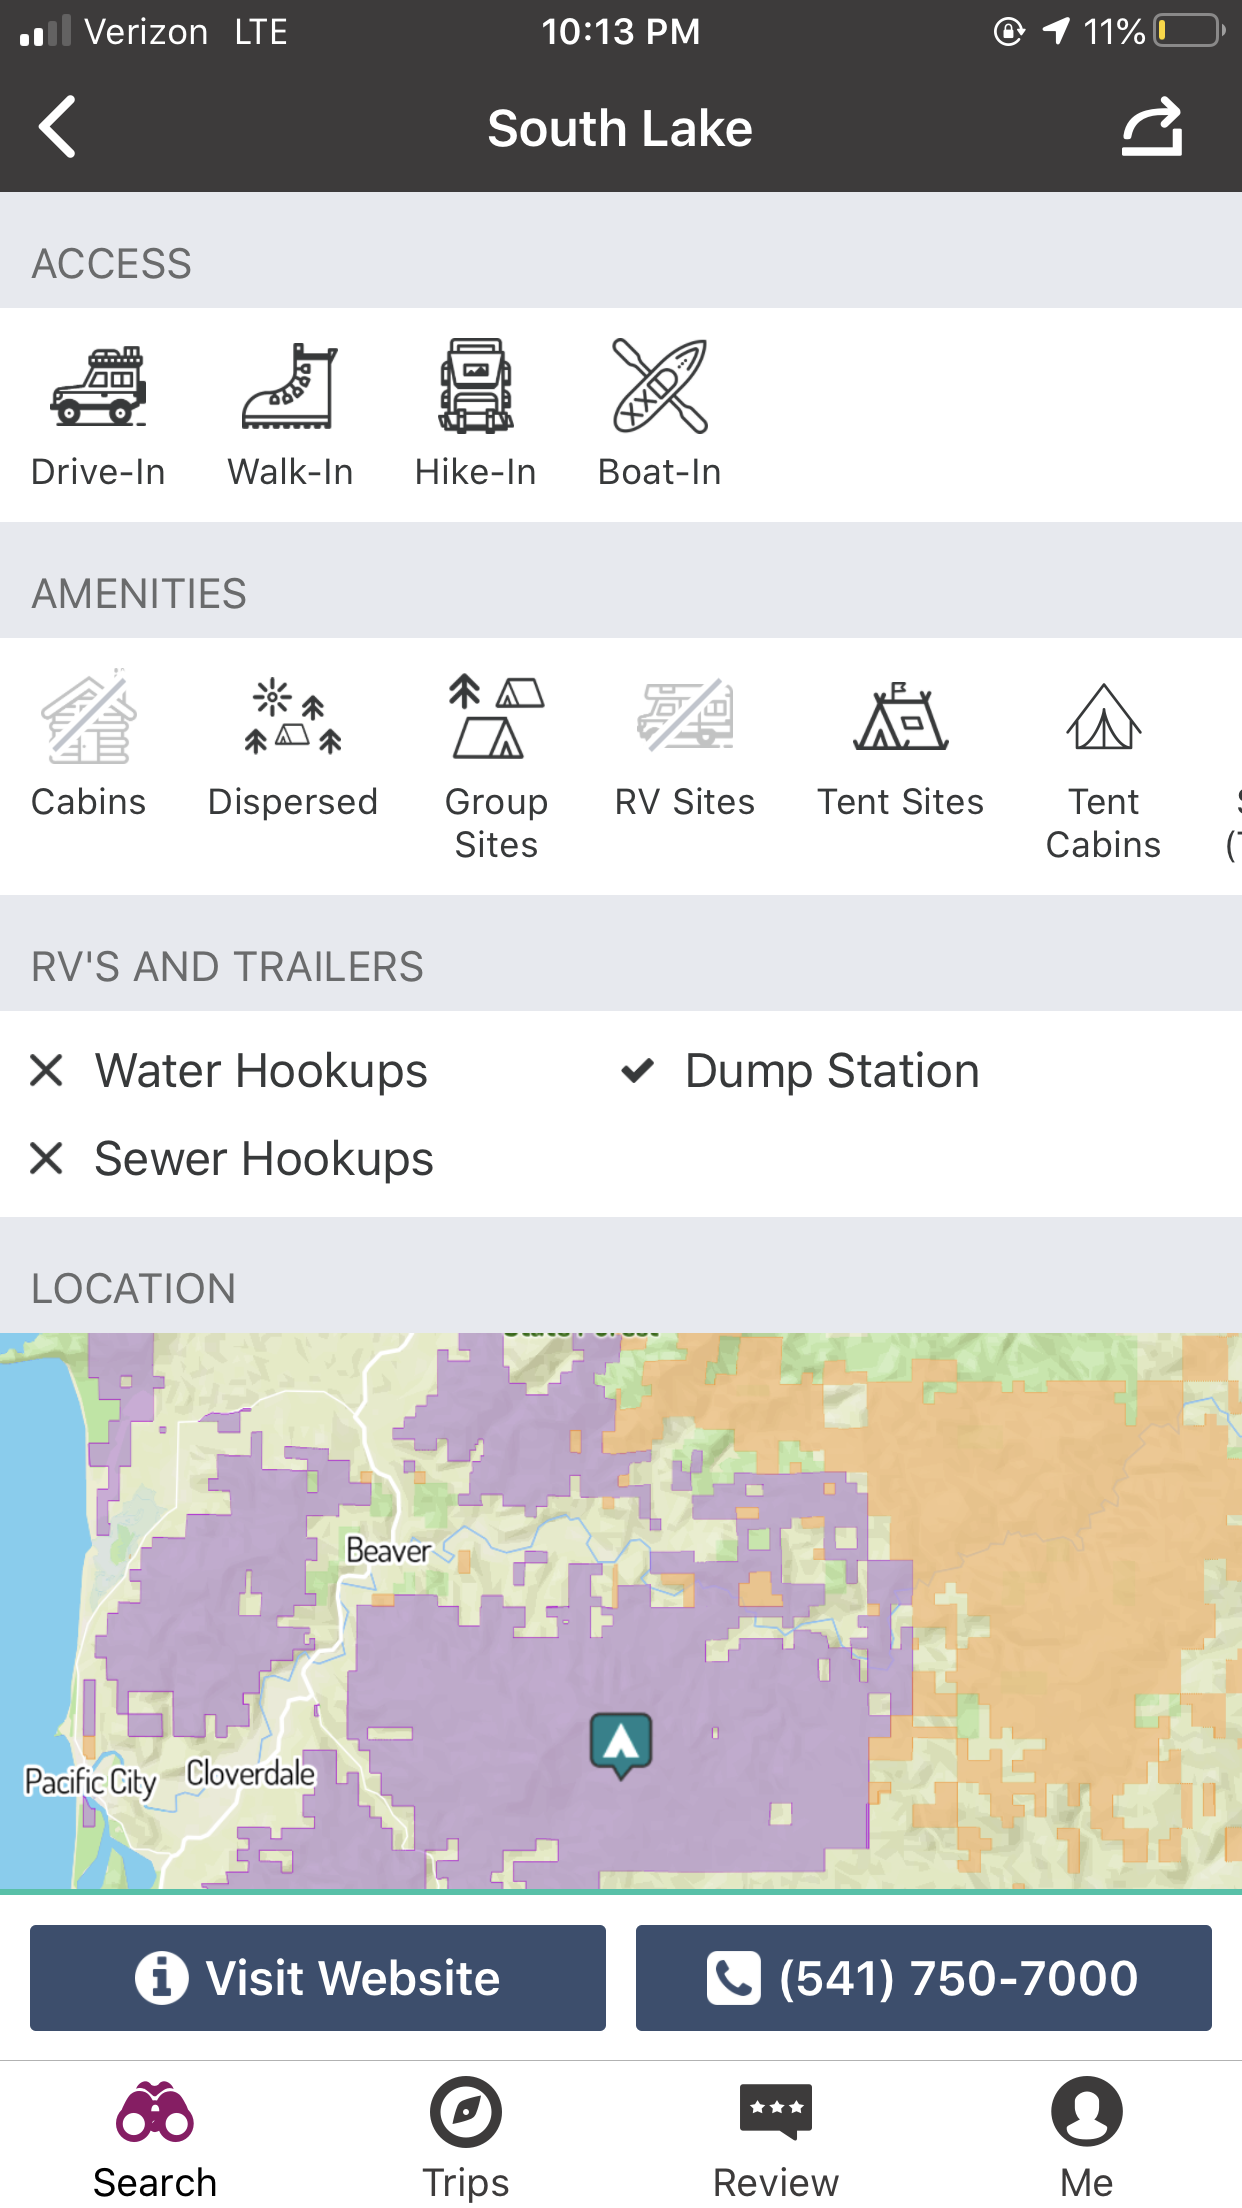
The Dyrt lists all the details you’d ever want for each site on their app. If you click on a specific site, as the one shown below, it will tell you how you’re able to access that site. You can also filter your campsite search results by a specific type of access. This is extremely helpful if you’re looking for a walk-in, hike-in, or boat-in site.
RESEARCH MAXIMUM STAY REGULATIONS
Figure out how many days you’re allowed to stay on the land. Different kinds of public lands and primitive campsites have different regulations. The most common numbers I’ve seen are either 14 days or 21 days, but I’ve seen many other listings in between as well. Depending on how popular the area you are located in is, this may be heavily enforced. I’ve had numerous encounters with United States Forest Rangers (NF) and Law Enforcement Rangers (BLM) throughout the years. Sometimes they wave and pass on by, sometimes they pull over and ask how long I plan on being there. They often will take a look around too, just to check that you are following fire regulations, not littering, etc. Know your area and avoid any trouble!
PICK UP AFTER YOURSELF
Always, always, always pick up after yourself. If there is one thing I want you to take from this guide to free camping, it’s this. At the risk of sounding like a broken record, trash is a major issue when it comes to the outdoors, especially with free camping and public lands. If you really want to be the best camper out there, get in the habit of these things. 1.) Spend 15 minutes cleaning up upon arrival. I always keep large trash bags in my car for this. One of the things that I try to focus on a lot is large pieces of plastic and cigarette butts (I pick up whatever I can find but recognize that certain things will decompose and others will literally be on planet earth forever). 2.) Absolutely pick up all your trash. Nobody should be able to tell you were there.
If you are leaving damage to the areas you are visiting, I would recommend spending some time reflecting on this. Public land is a privilege that we are lucky to have access to, and that access can be taken away. Don’t damper everybody else’s fun just by your own laziness!
LEARN TO BE FLEXIBLE WITH YOUR SITES
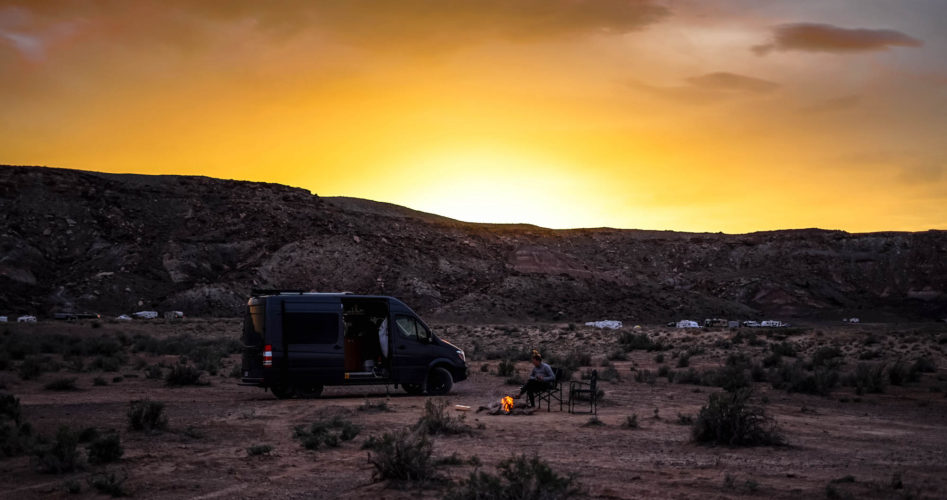
Not every primitive campsite is going to be beautiful, overlooking a mountain range or a desert bluff. With all good things, comes some not so ideal things. Occasionally, I think I’m heading towards a beautiful spot, near a river or lake, and end up finding myself in an overcrowded area, a literal pull-off on the side of a highway, or maybe even a gravel or concrete parking lot. I’ve learned to be thankful for the amazing spots and also the very average and mediocre spots.
The most important thing for me is that I have a safe and legal place to park for the night. And for every average or mediocre campsite I stay at, there is another beautiful one waiting for me to discover it. It’s all about balance. Plus, the more you seek out dispersed camping, the better you’ll be at discovering it. Like all skills, it takes time and practice, but it is so worth it.
PREPARE FOR NO CELL SERVICE
I always recommend having some sort of hard-copy map or atlas with you when you’re going to a primitive or dispersed campsite. It is extremely common for these areas to lack cell phone service. Additionally, invest in an app that will allow you to download maps of areas you’re visiting so you can access them online, such as the Dyrt PRO. PRO allows you to download maps and search for campsites anywhere, no matter whether you have cell phone service or wifi, or not.
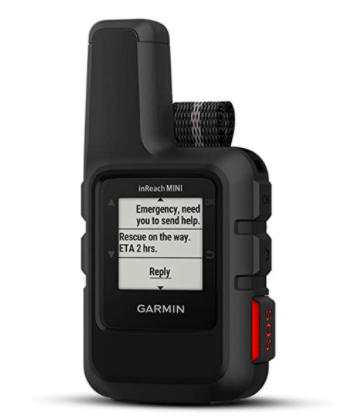
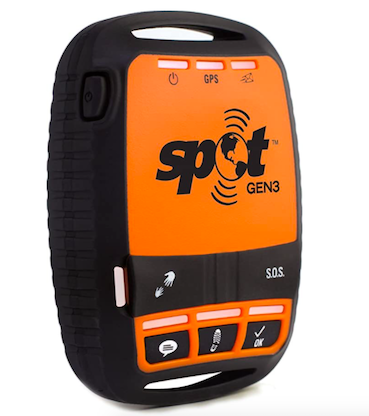
Lastly, if you want to be extra careful, I would invest in a Spot 3 or Garmin inReach Mini. Both of these tools will help you in case of an emergency. The inReach Mini is a two-way satellite messenger, while the Spot can only send short messages (such as SOS, send help, etc.), but cannot receive them.
ALWAYS BRING PLENTY OF WATER
Even the most “primitive” type of campers can get by without too much gear. But the one thing that can be overlooked is access to water. Most of these dispersed areas and public lands will not provide access to water, especially drinking/potable water. Remember that each person should consume between 85-125 ounces of water each day (I’d recommend figuring out your exact consumption recommendation so you can adjust properly!) You’ll also likely need water for cooking and cleaning dishes. Of course, if you have any pets, you’ll need to calculate in their daily consumption as well. I always keep a 36-ounce growler filled with drinking water in the back of my van, just in case of emergency. Be prepared and make sure you can stay safe and hydrated.
FIND A WAY TO GIVE BACK
Lastly, I would recommend finding a way to give back to these amazing public lands. If you have the means, consider donating. Understandably, this is not feasible for everybody. An alternative option is to volunteer, or serve as a council member. Here are a few resources to help you get started:
Don’t be nervous to get creative! Maybe this looks like organizing a clean up with some friends. Or driving out to one of your favorite local spots and cleaning for an afternoon, even if you don’t plan on camping there that night. As these lands take care of us and allow us to call them home for a night, or 2, or 14, or even 21, remember that it is our responsibility to also take care of them in return.
Thank you to the Dyrt team for being a partner of this guide to free camping and supporting my van life journey on the road. The Dyrt currently has 15 million annual users and was built for people like you and people like me, individuals that just want to get outside and explore. To check out the Dyrt or download the Dyrt PRO, click here! Happy camping everybody!
